Overnight Oat Banana Mindfulness Muffin

IMG_5956

IMG_5957

IMG_6158

IMG_6151

Sadie and I sat by the door near the bird feeder as dawn approached. A frustrated cardinal scolded us; he is used to having an unobstructed snack at first light. A pair of bard owls discussed whose turn it is to make supper.

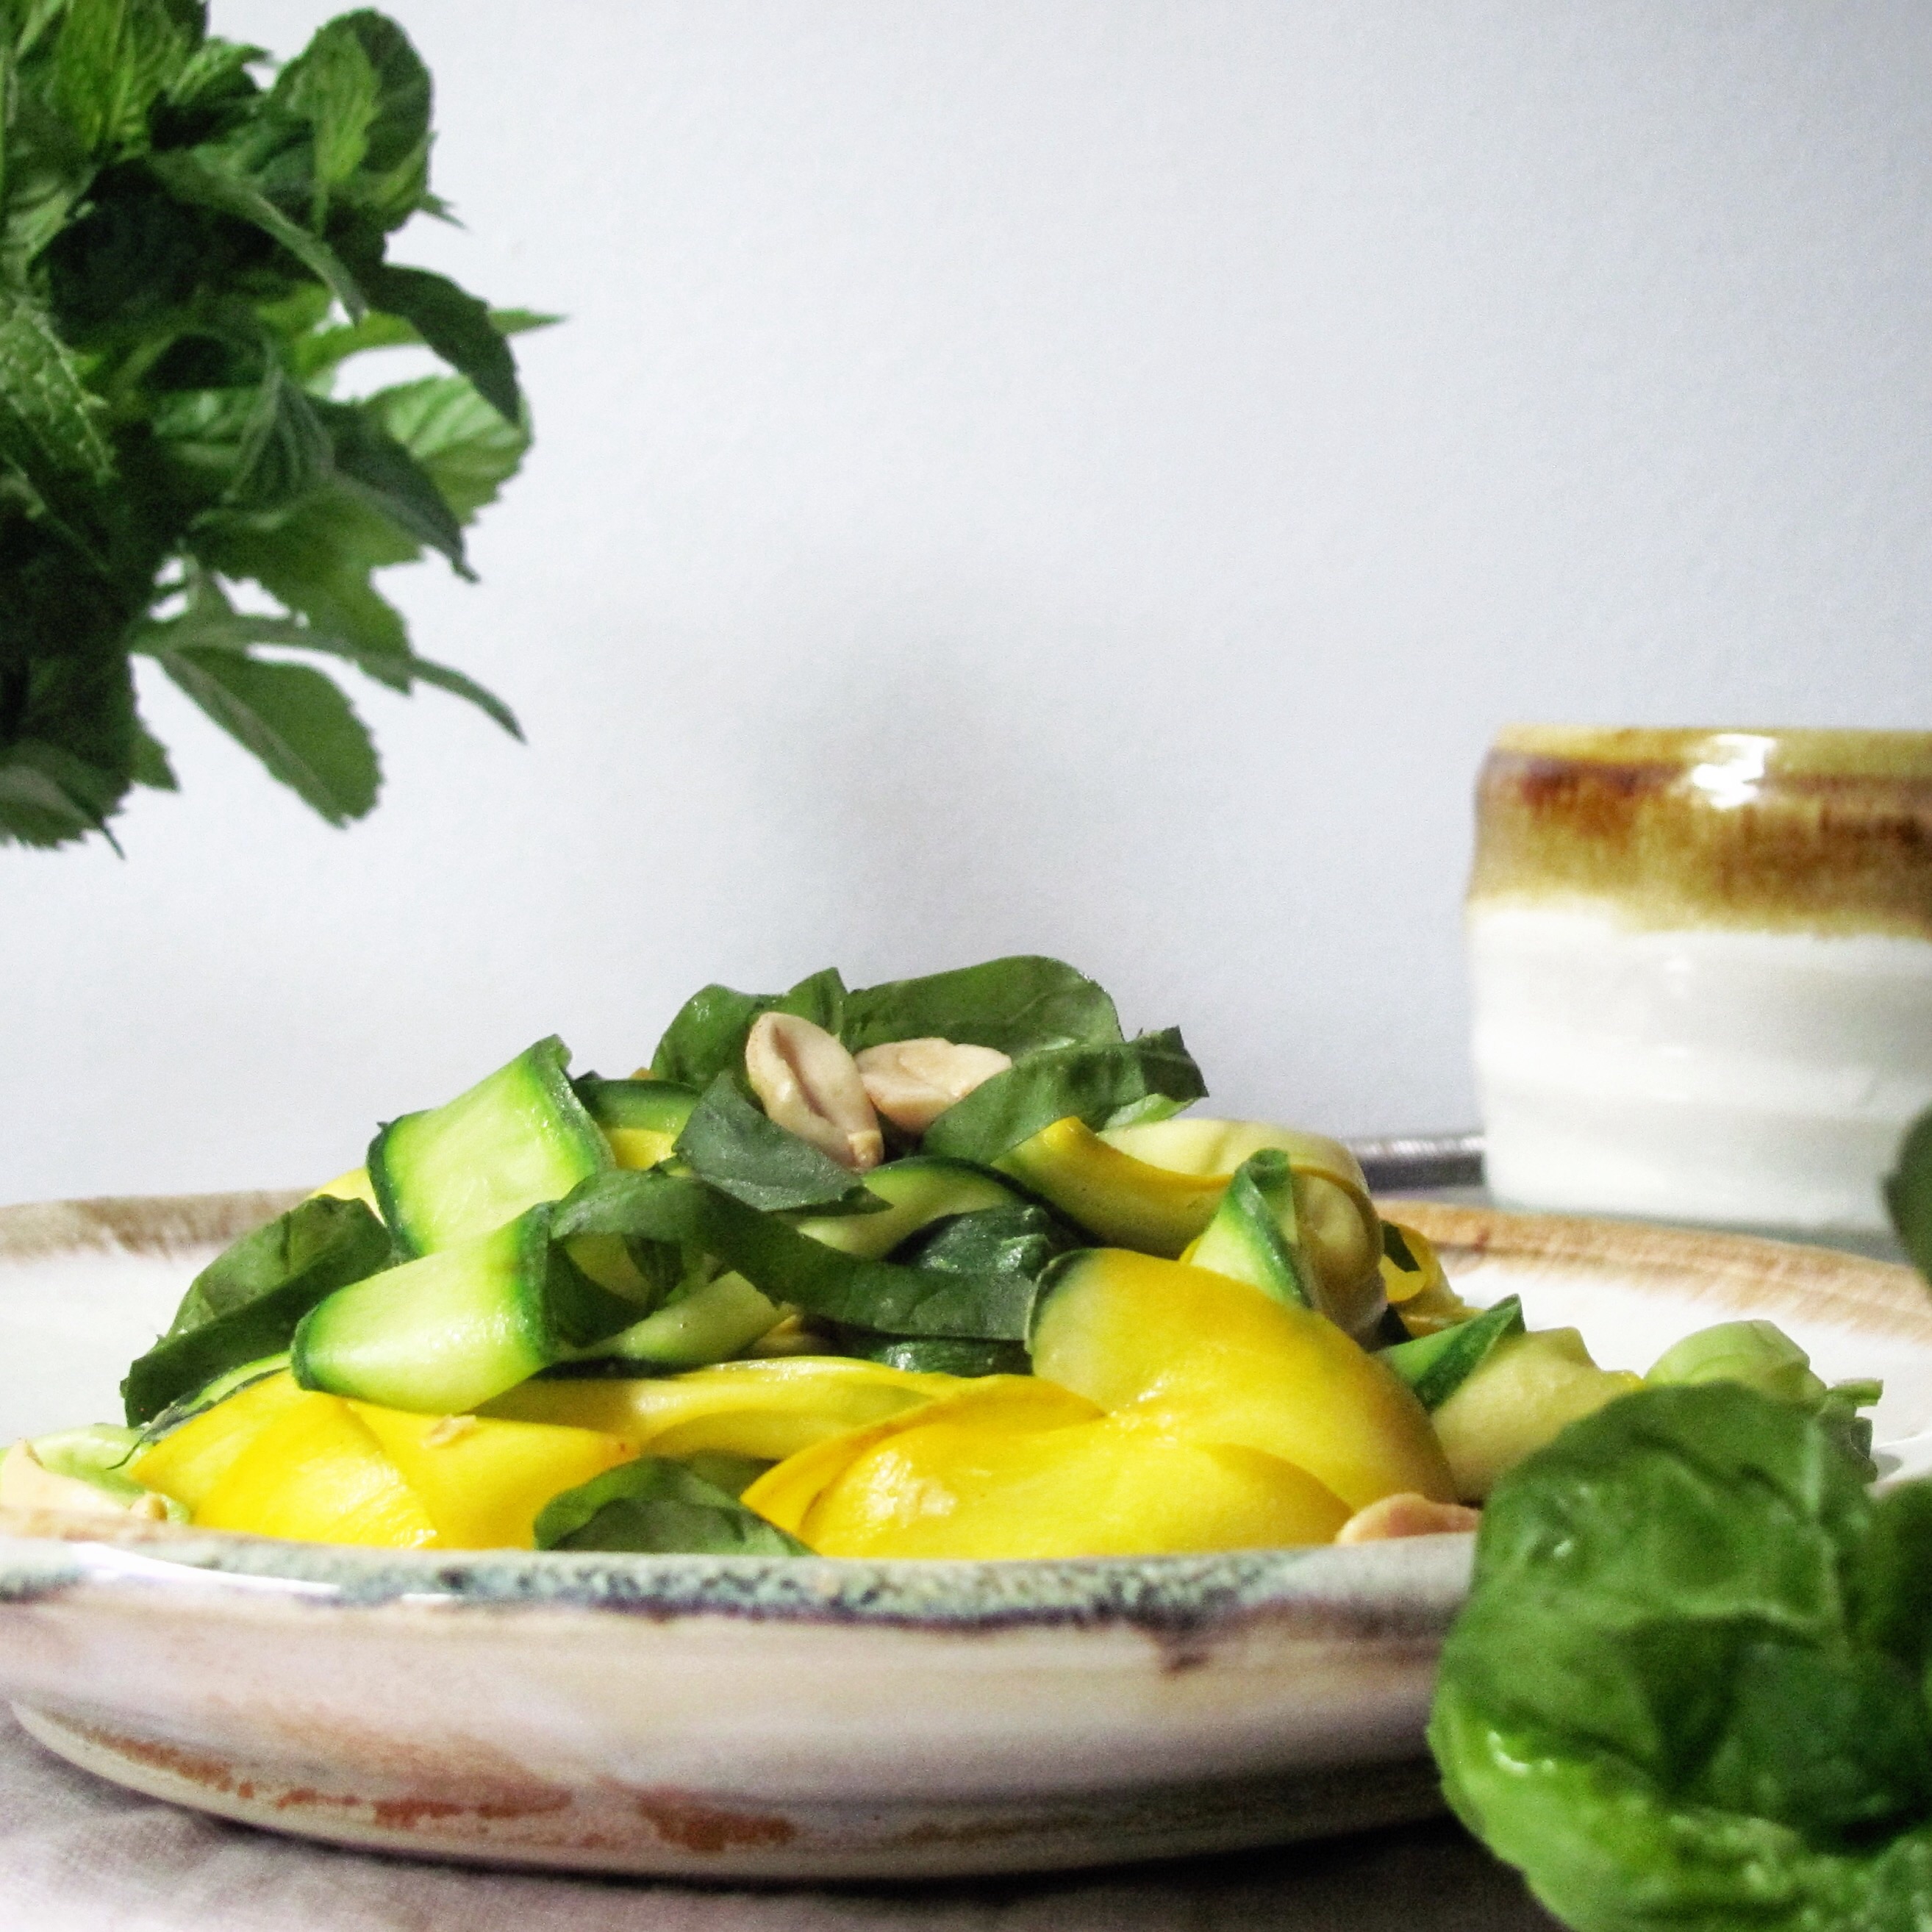
The other night, I sat by the lake with Bob and watched the full moon eclipse; on my run that afternoon I’d been dazzled as a bald eagle few low over the water in the bright sunlight. Meg and I stood in the same place a week earlier, holding hands while the sun rose in the mist.

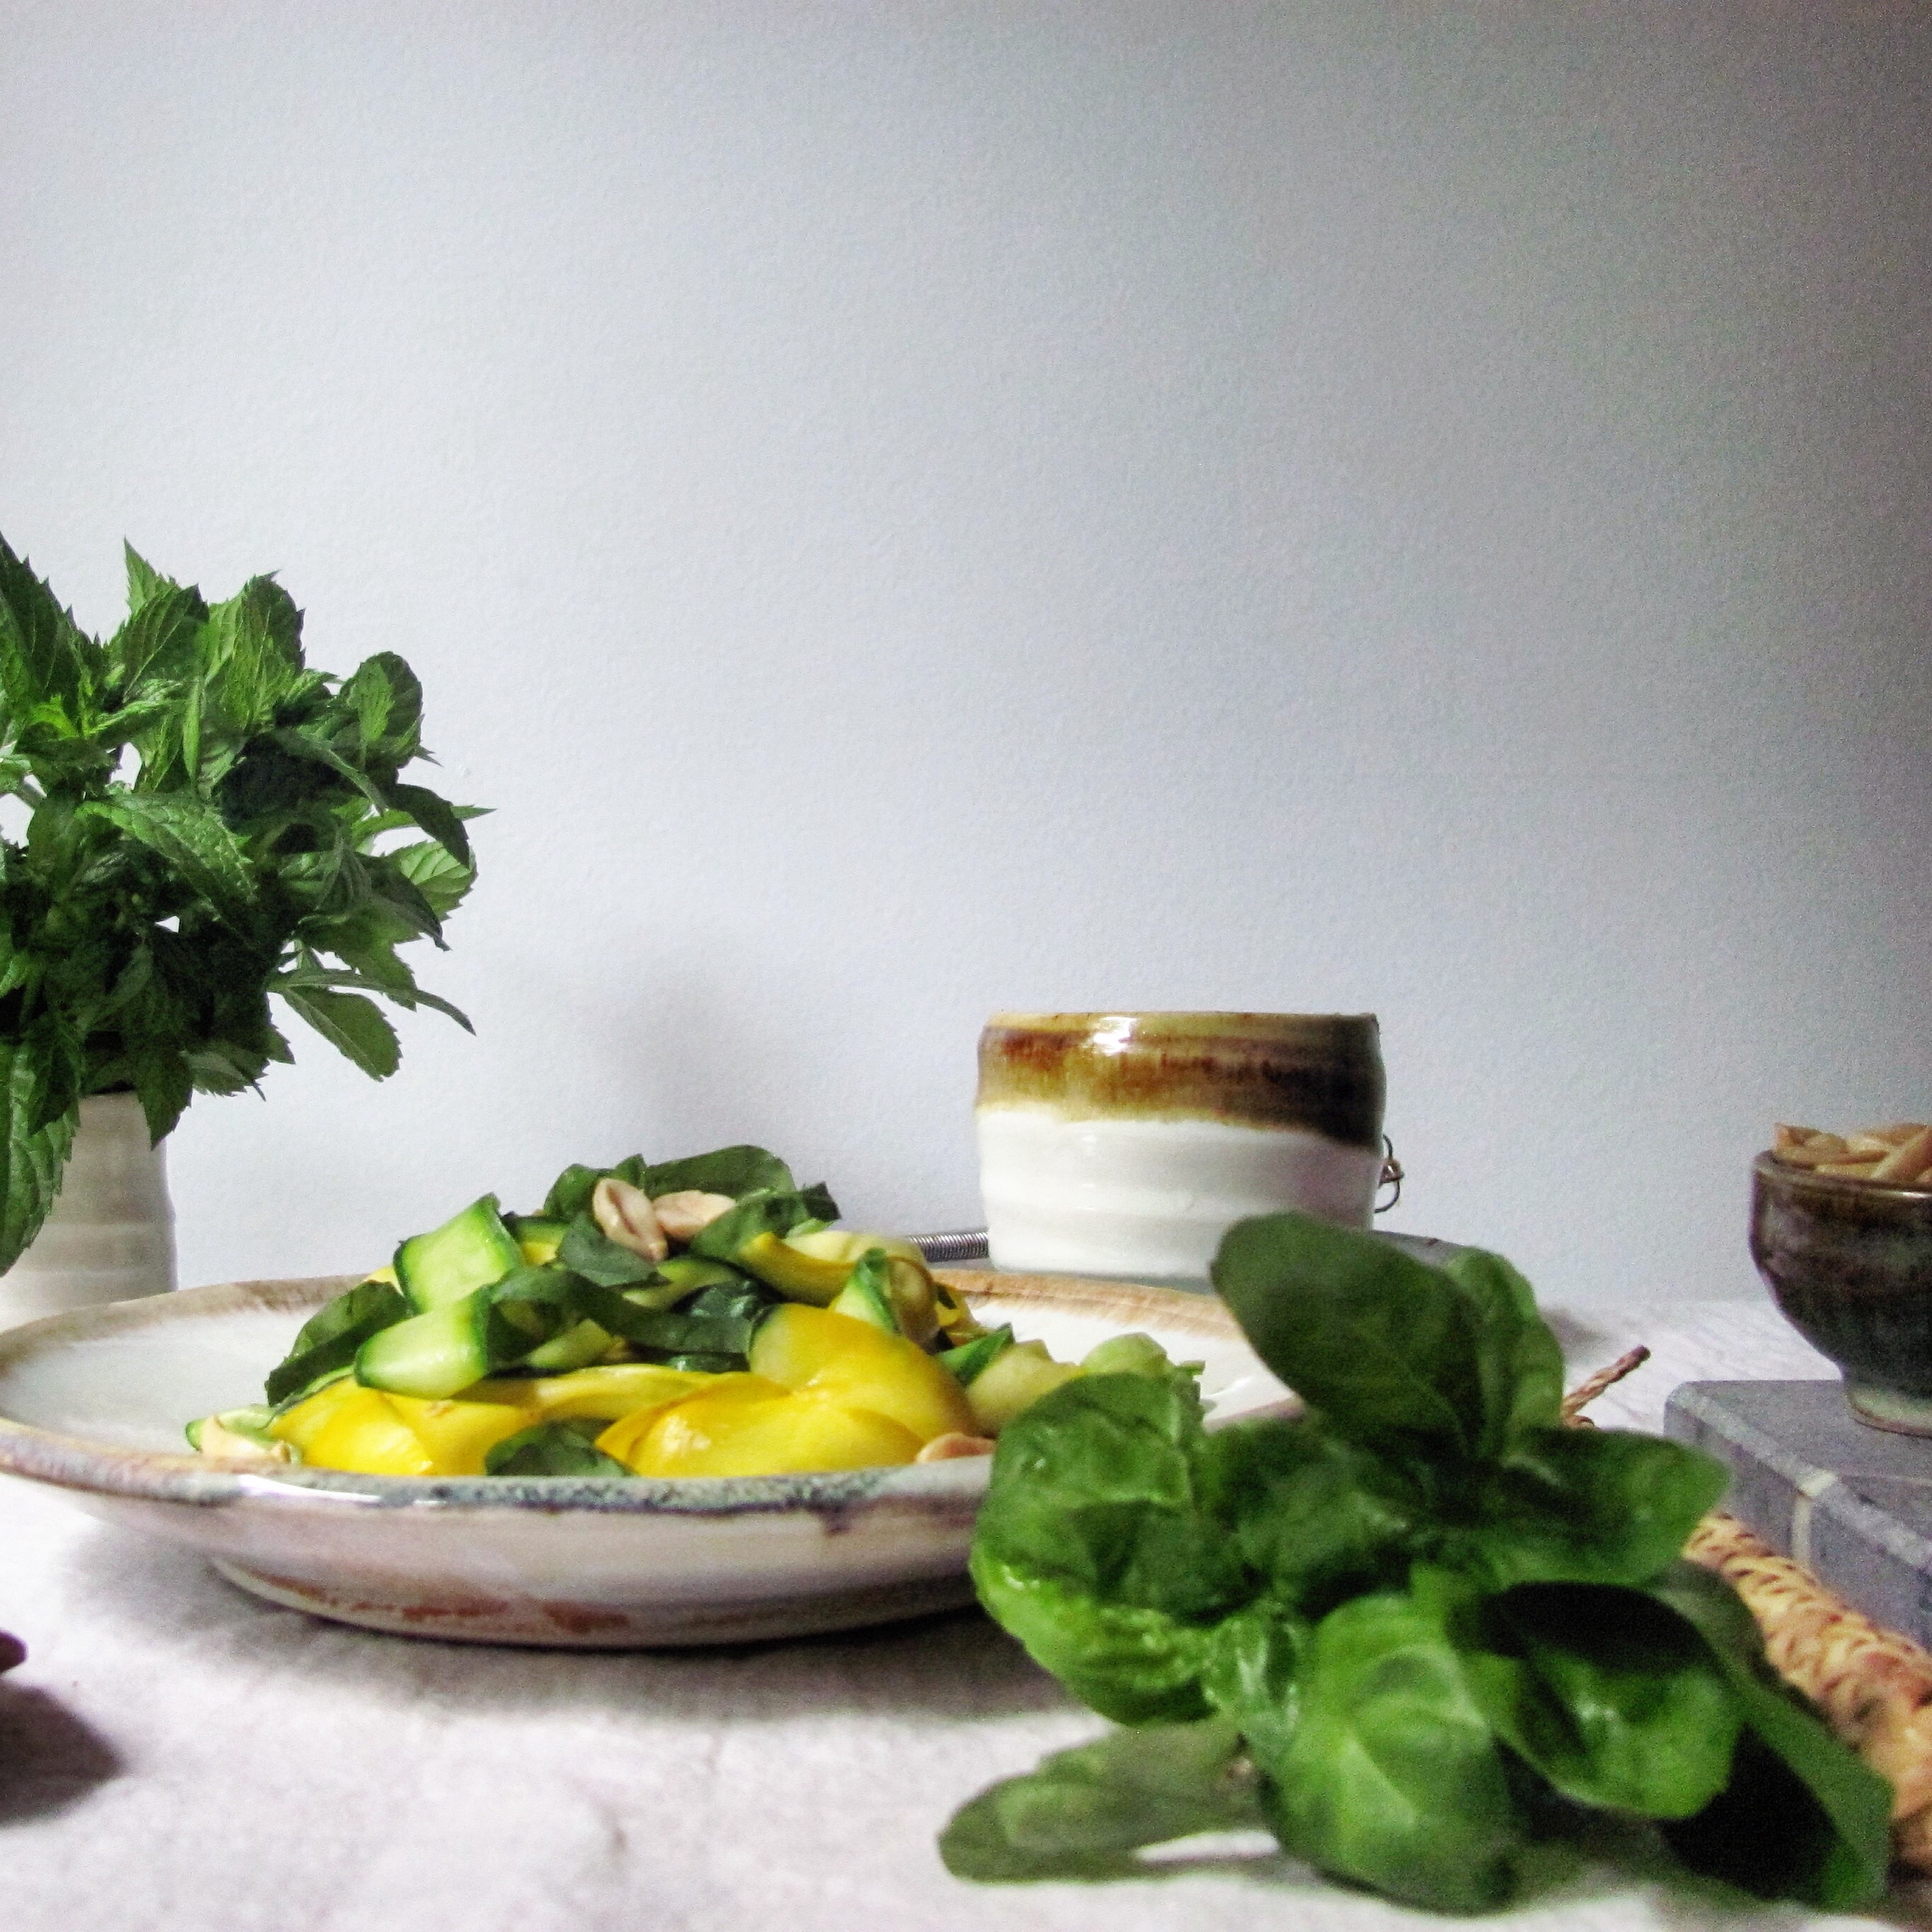
It’s easy to practice mindfulness, to be fully present and aware, when we are in nature or beautiful places, doing things we really love to do. It is much more difficult when we are in the flow of busy life or when we are stressed, sick, grieving, or unhappy.

And yet…most of us don’t really want our lives to pass by unnoticed. We are all dismayed and alarmed when we arrive at the office and don’t remember the things we passed as we drove familiar roads. We aspire to be awake to our lives, but it’s so easy to slip into semi-conscious routine.

That tendency, by the way, is hard wired. It takes a lot of neural energy to be fully engaged in awareness, and human brains have evolved to be efficient. If we don’t commit ourselves to awareness, we easily fall into a sort of mental “auto pilot,” which saves energy for novelty and reduces focus on the ordinary.

But, I want to experience the ordinary fully, too, don’t you? The practice of mindfulness, of deliberately focusing our attention in the present moment, is a way to approach this sort of “awakening.” We all have a perfect “anchor” for mindfulness at the ready: our breathing. Using the breath as a focus of awareness is known as mindfulness meditation and is a wonderful way to help our minds to be healthier and more nimble.

Even without formal meditation, simply reminding ourselves to focus attention on the present moment is important to a satisfying life. Make a mental note to drive when you are driving, to shower when you are showering, and to walk when walking. I like to practice mindful eating. Paying attention to the experience of nourishing ourselves is a good idea for many reasons. It enhances the enjoyment of food, allows us to notice feelings of satisfaction and fullness, and can prevent overeating. And, it’s fun!

closeupmuffin

foomuffin

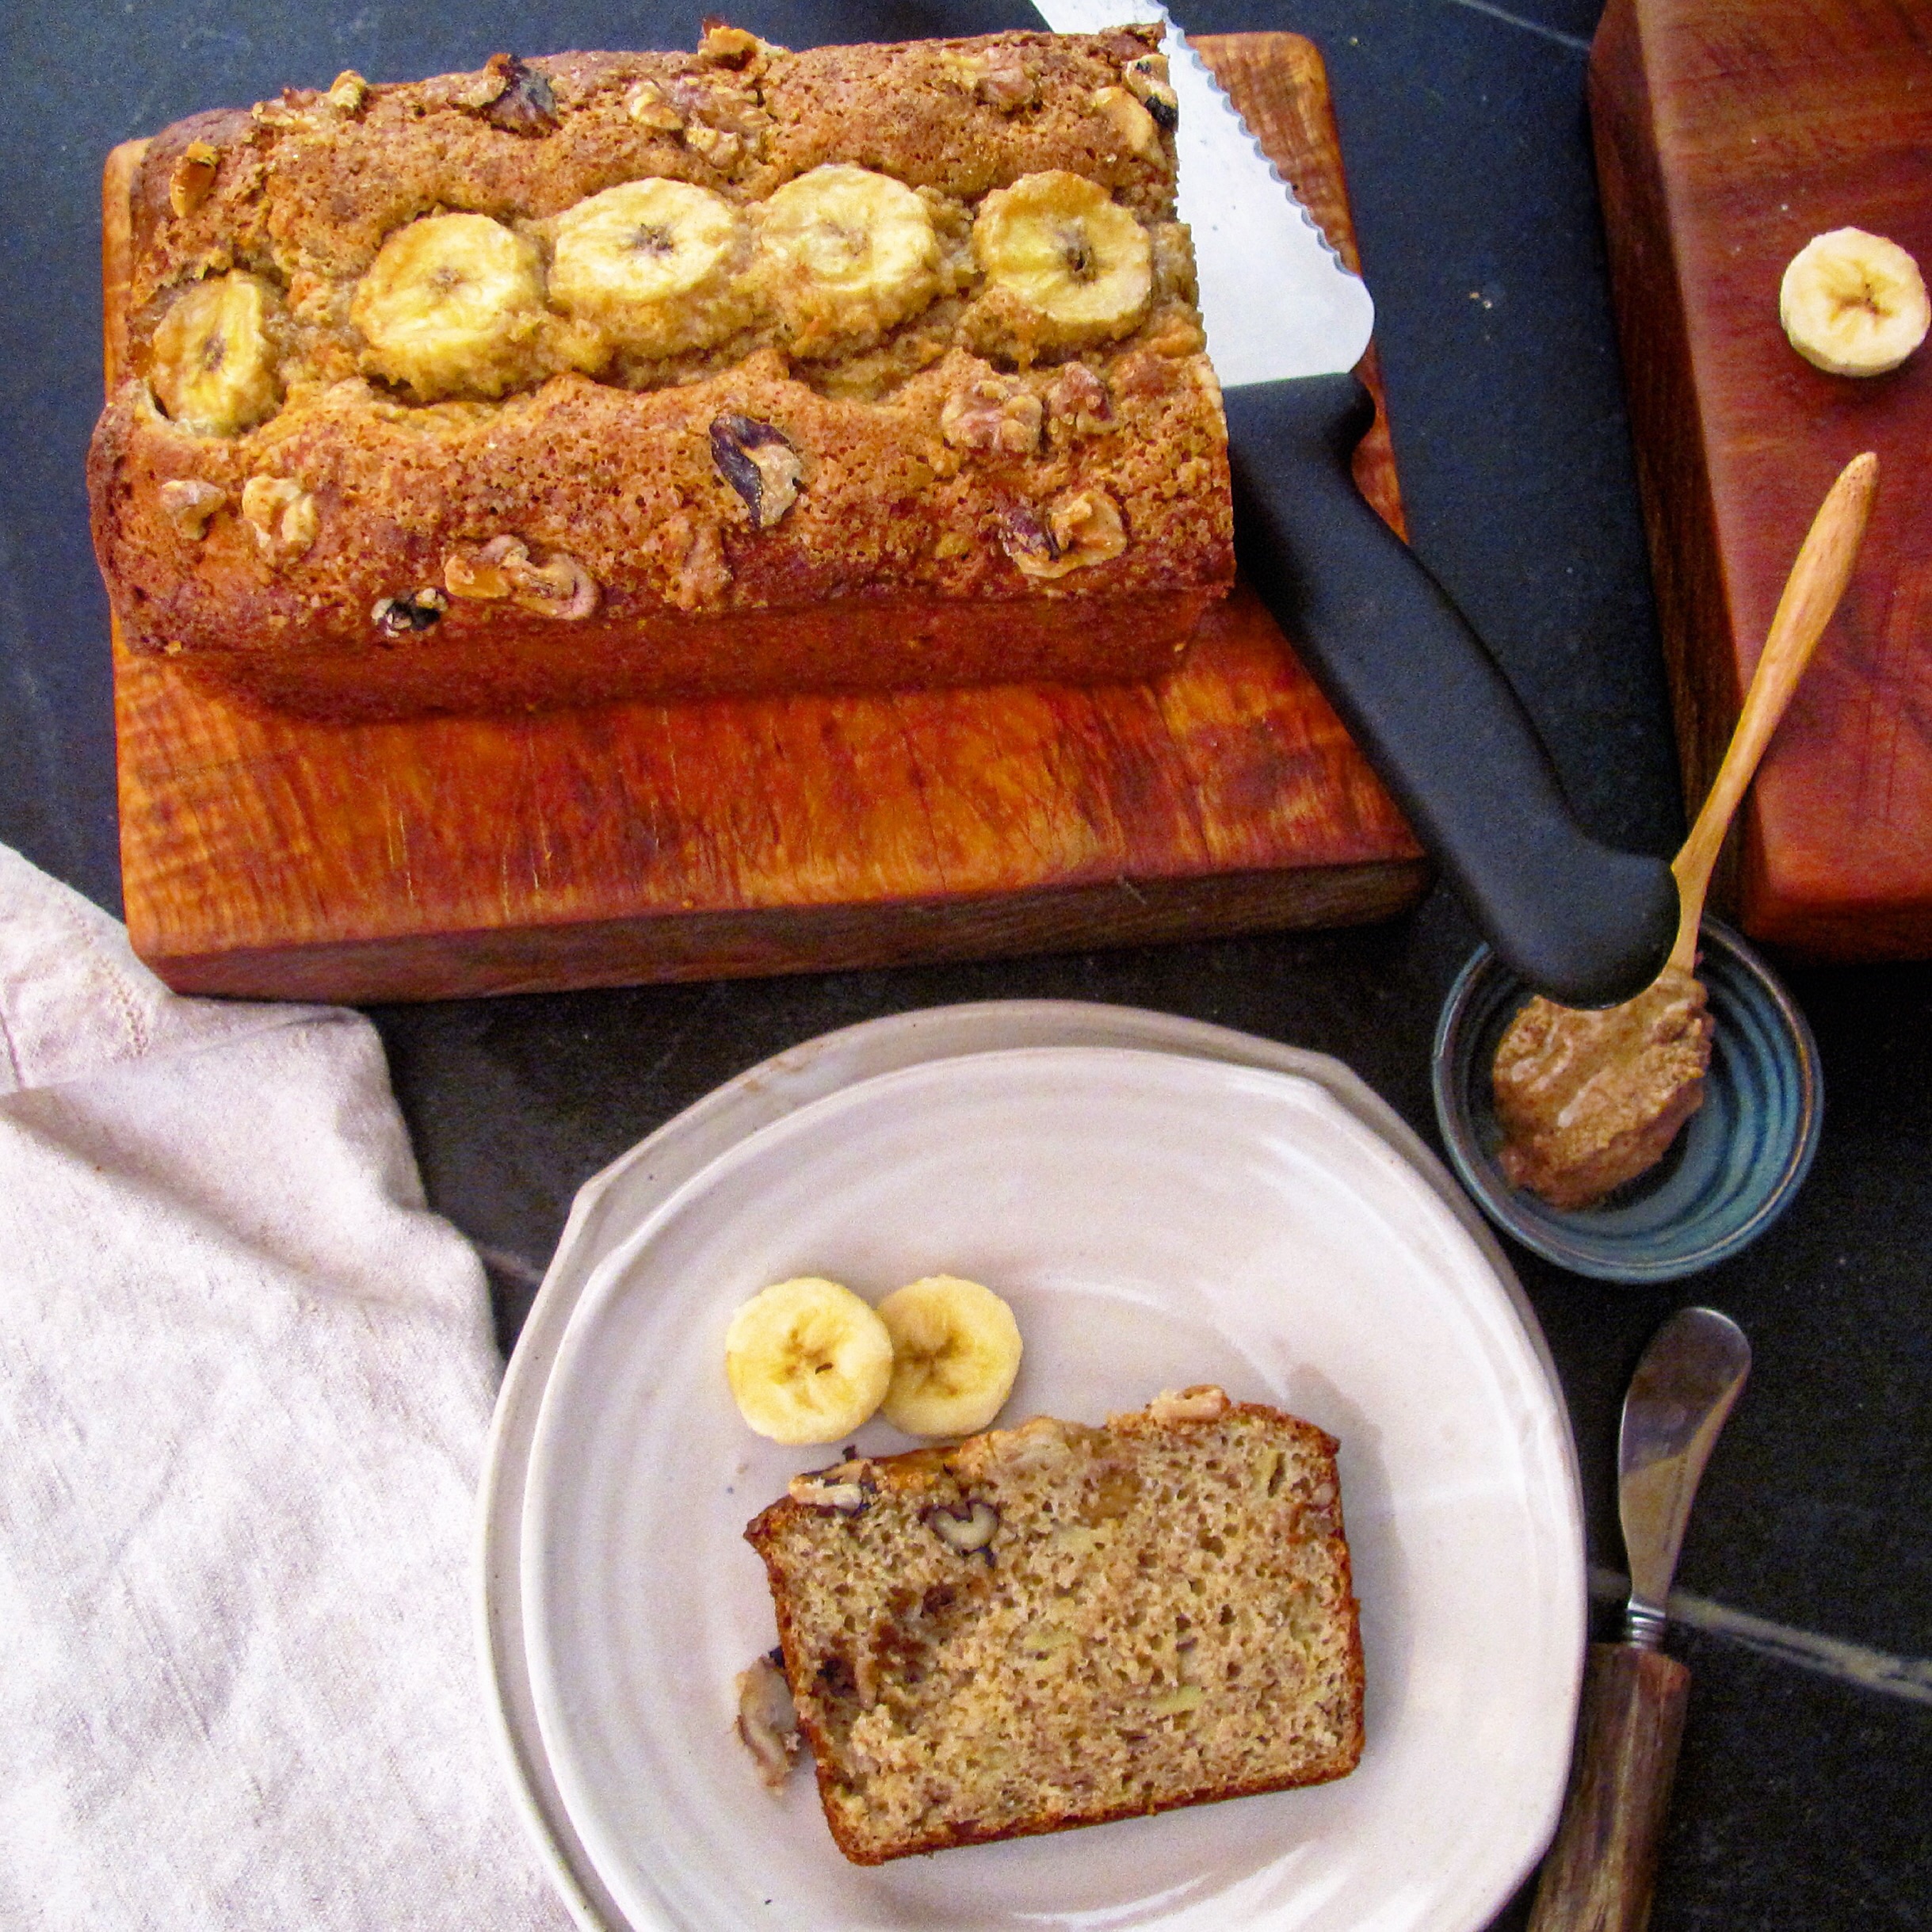
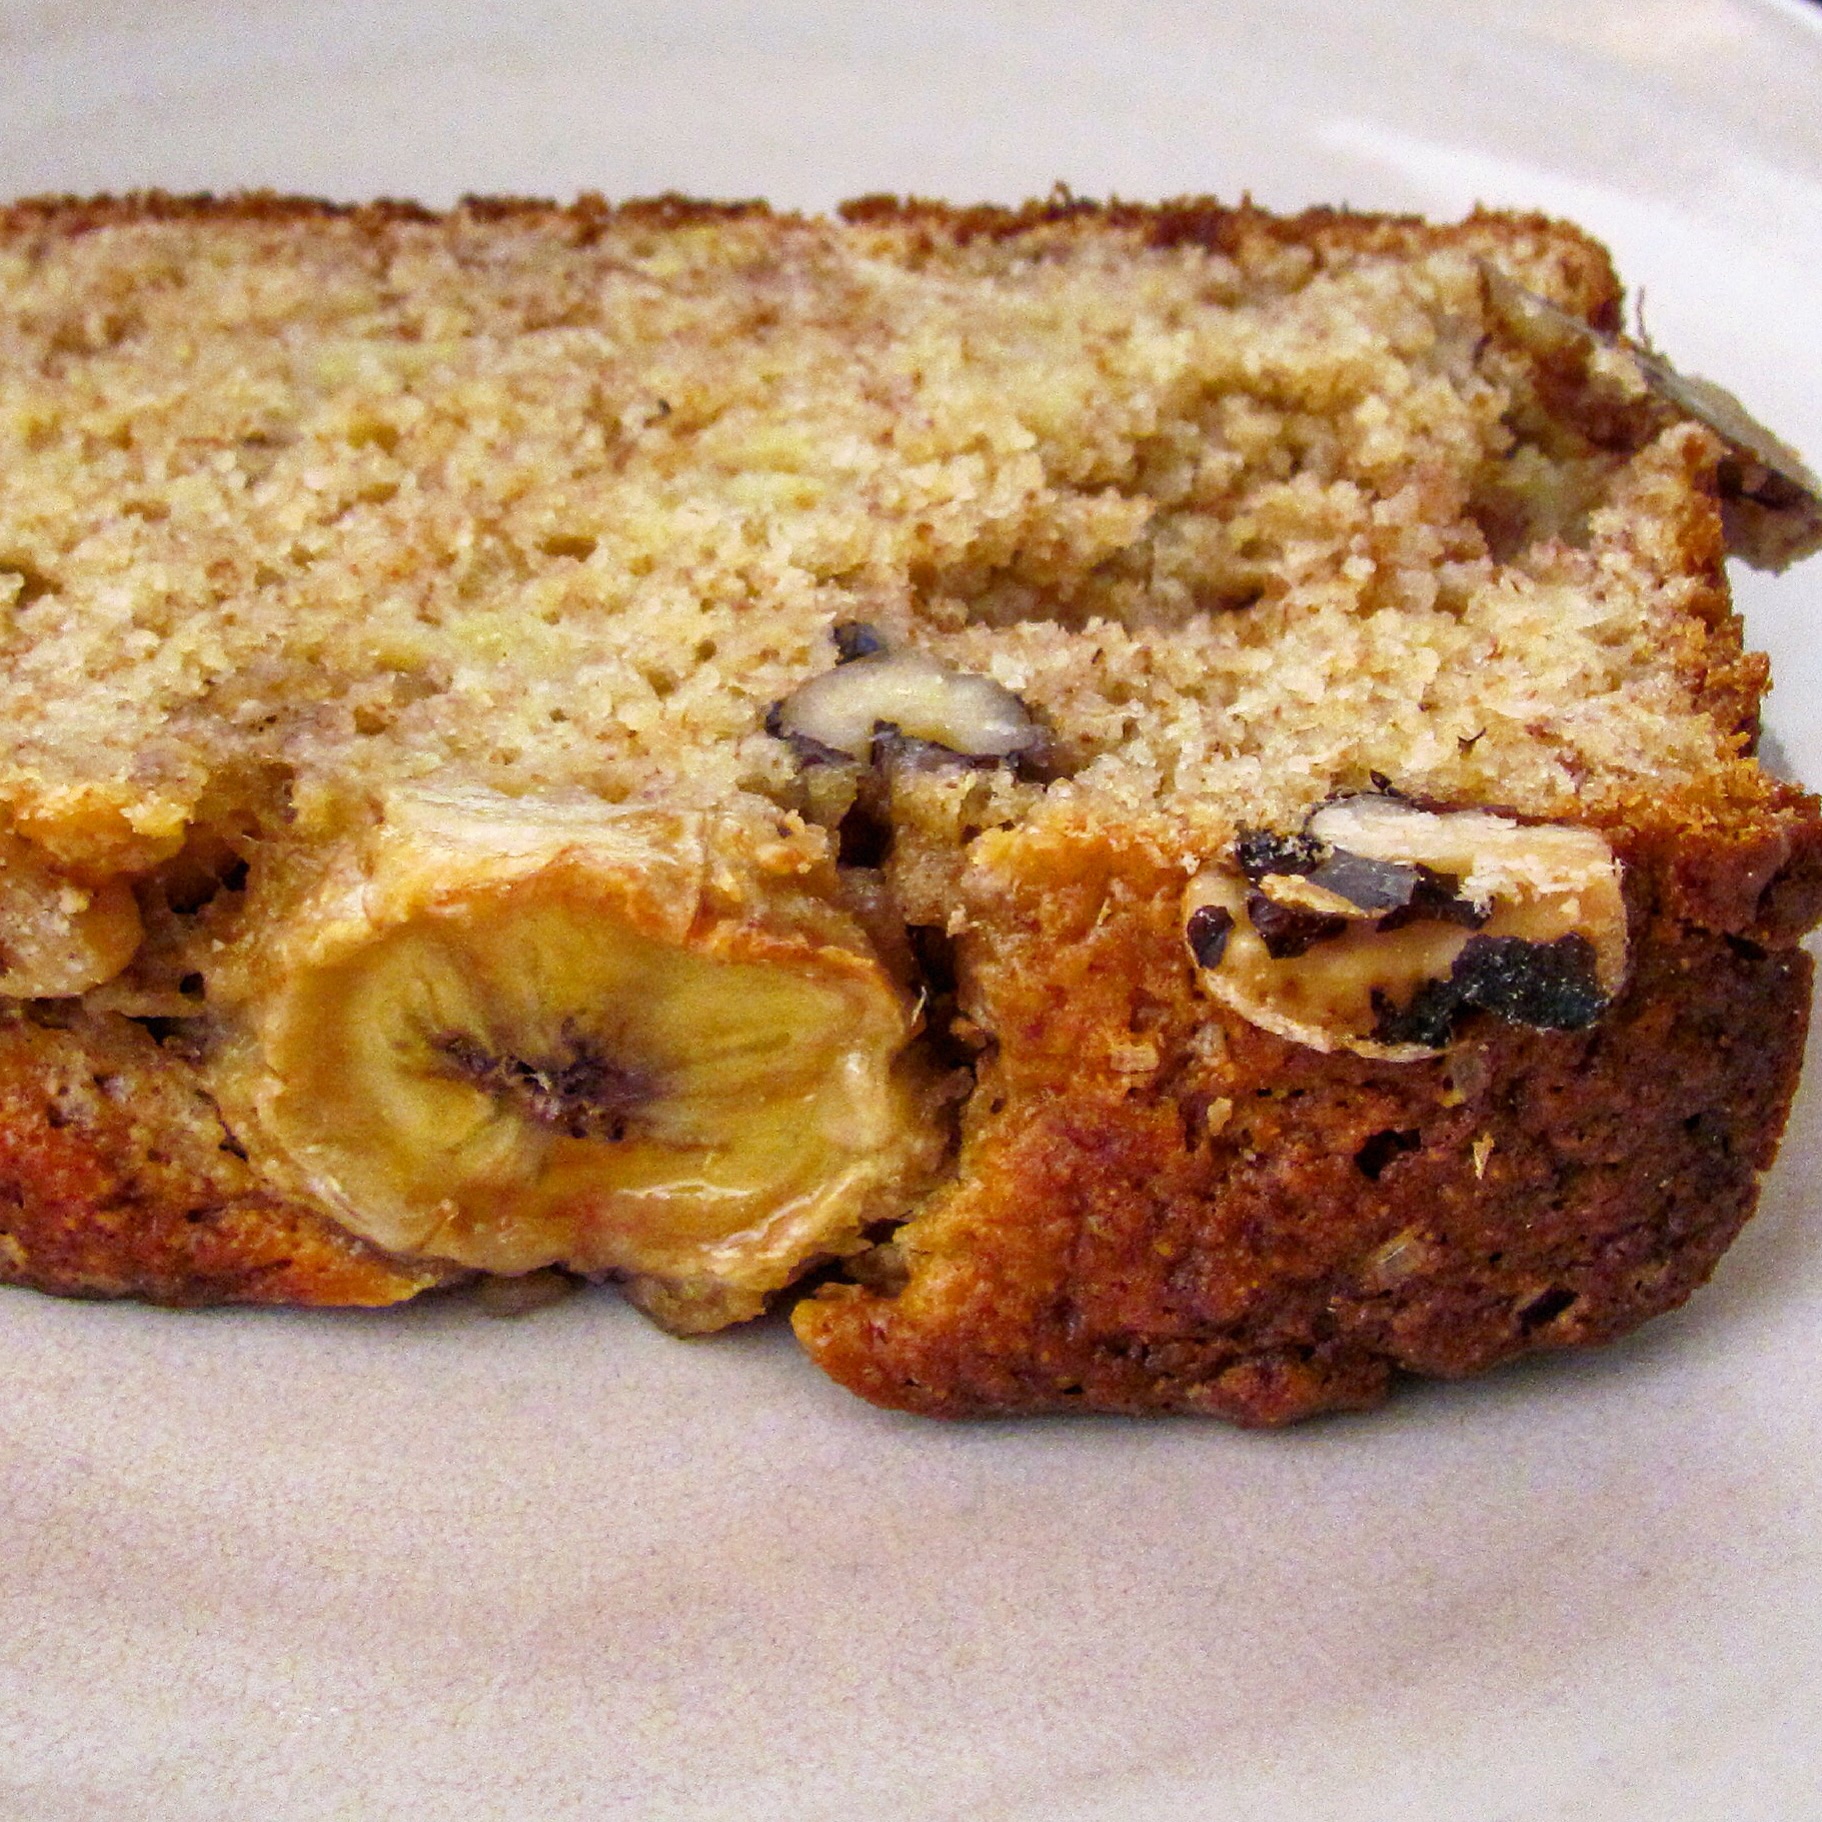
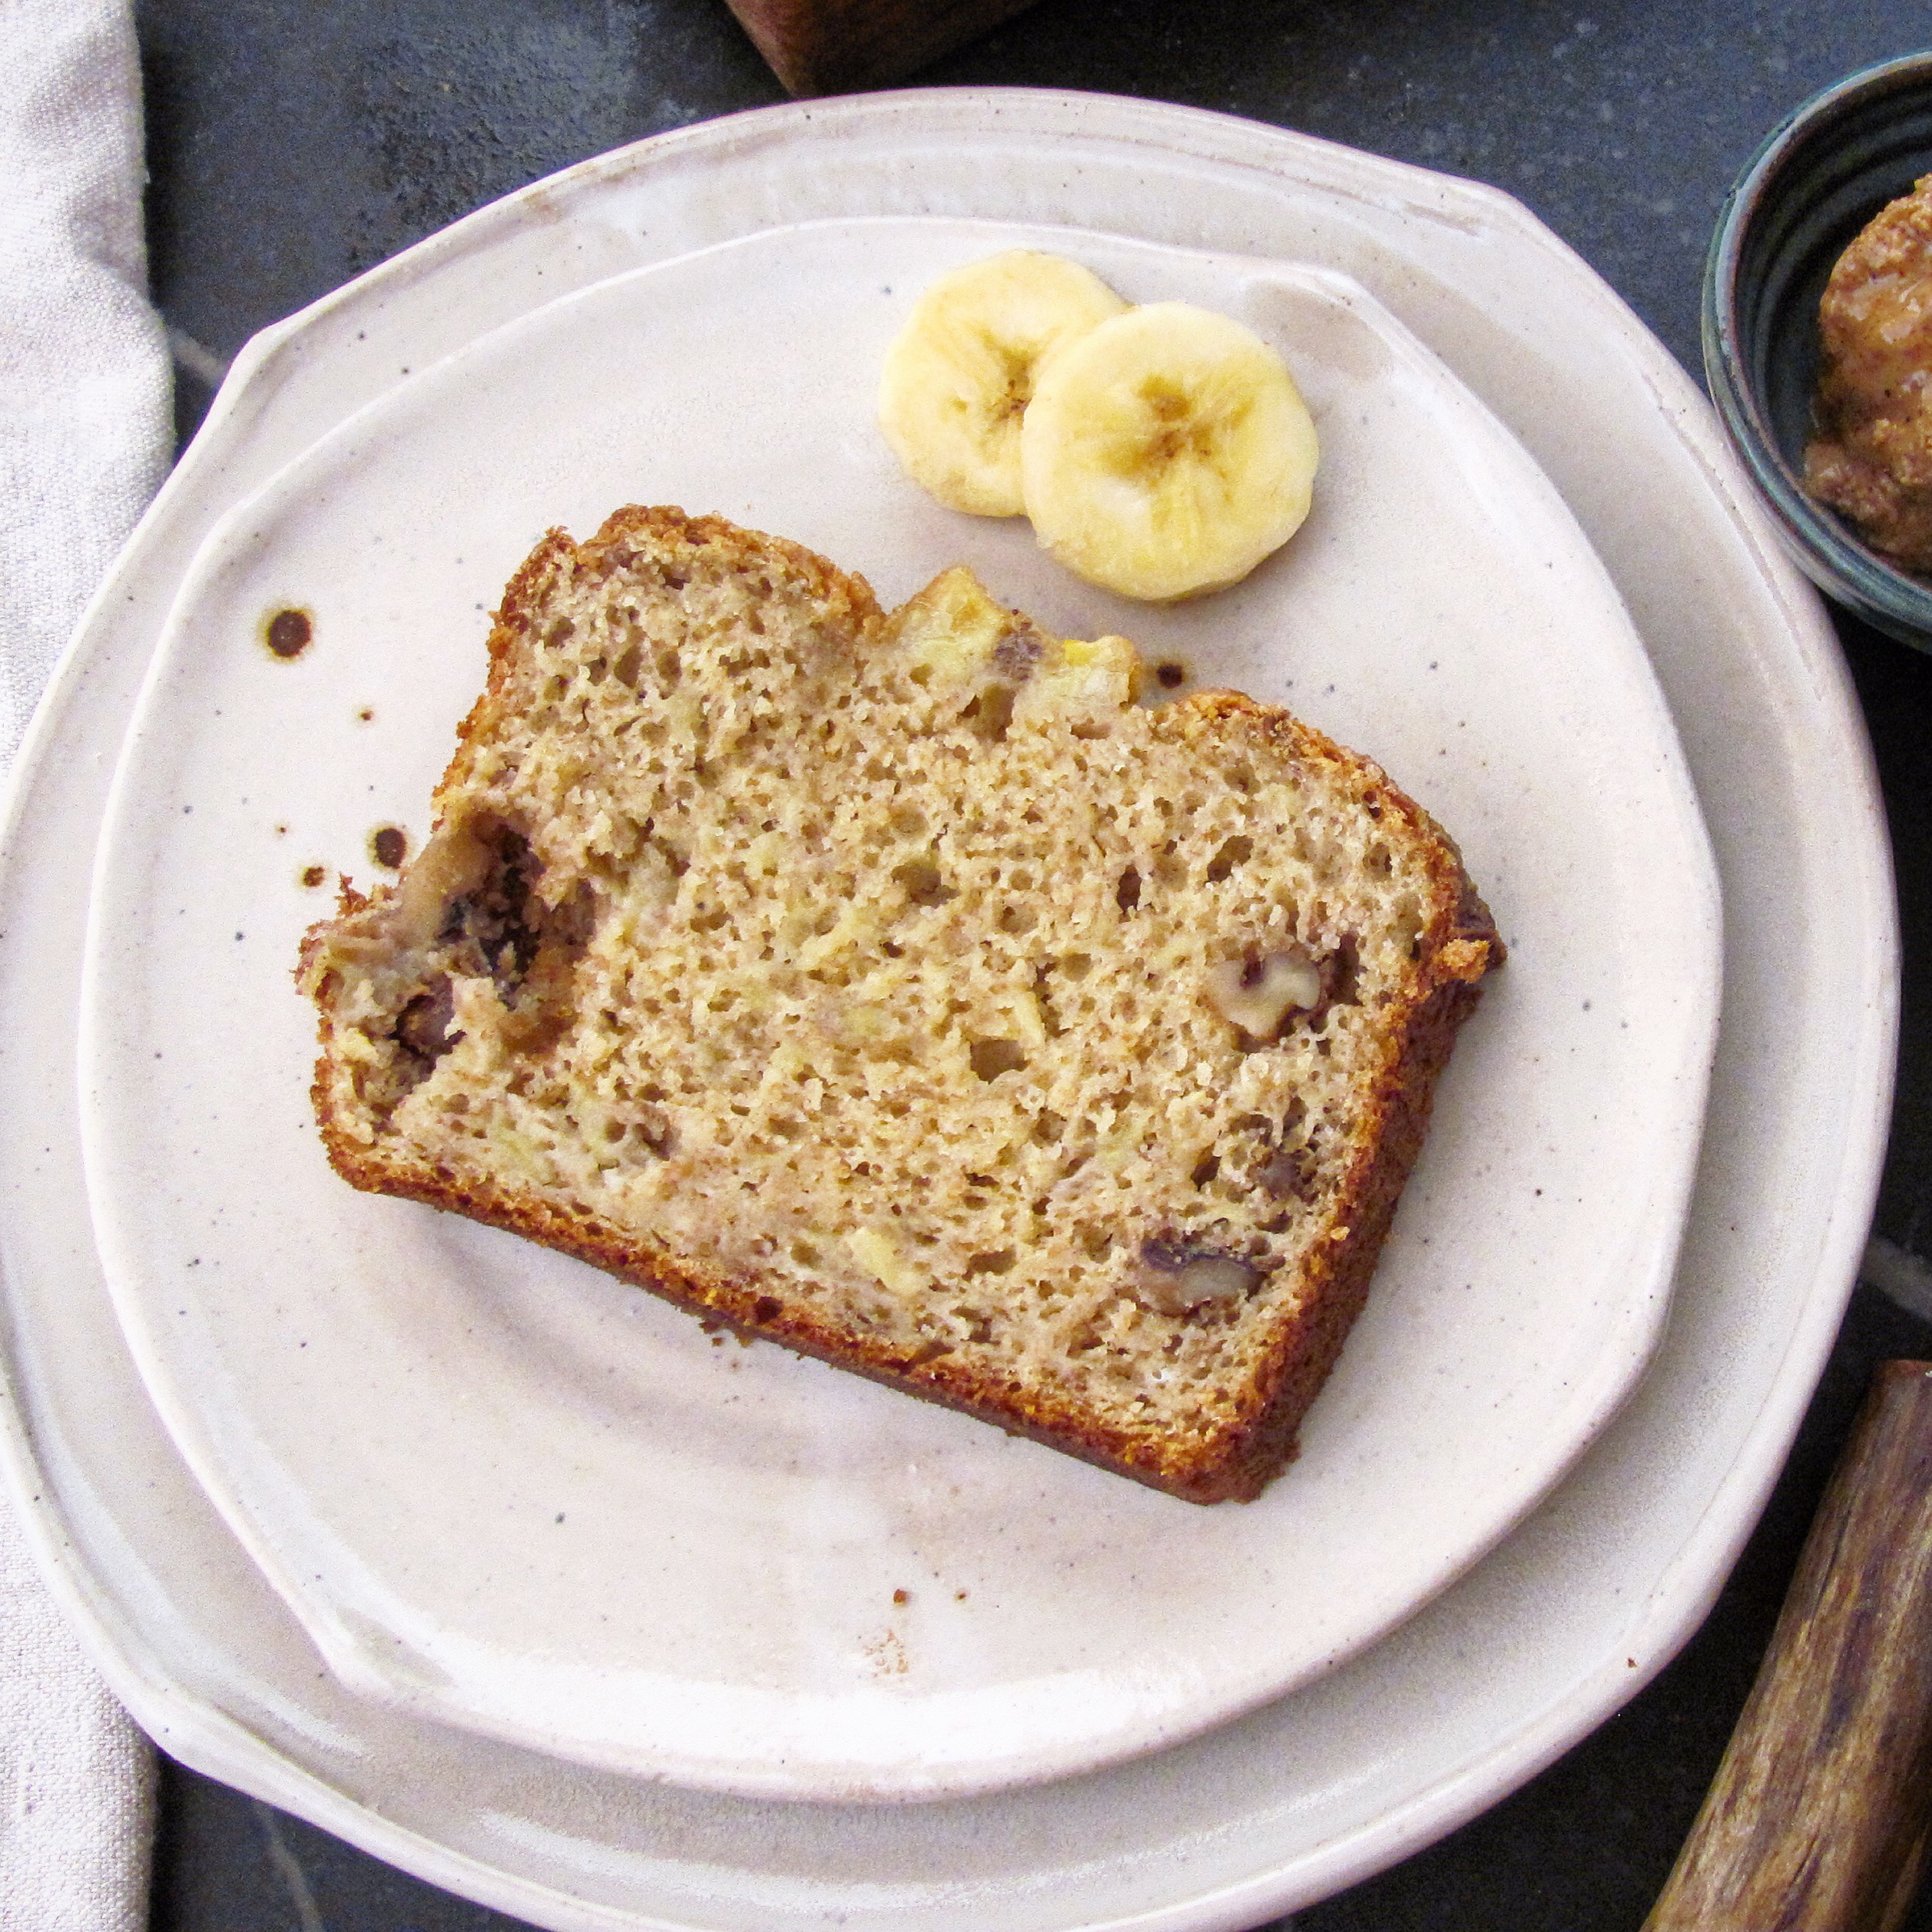
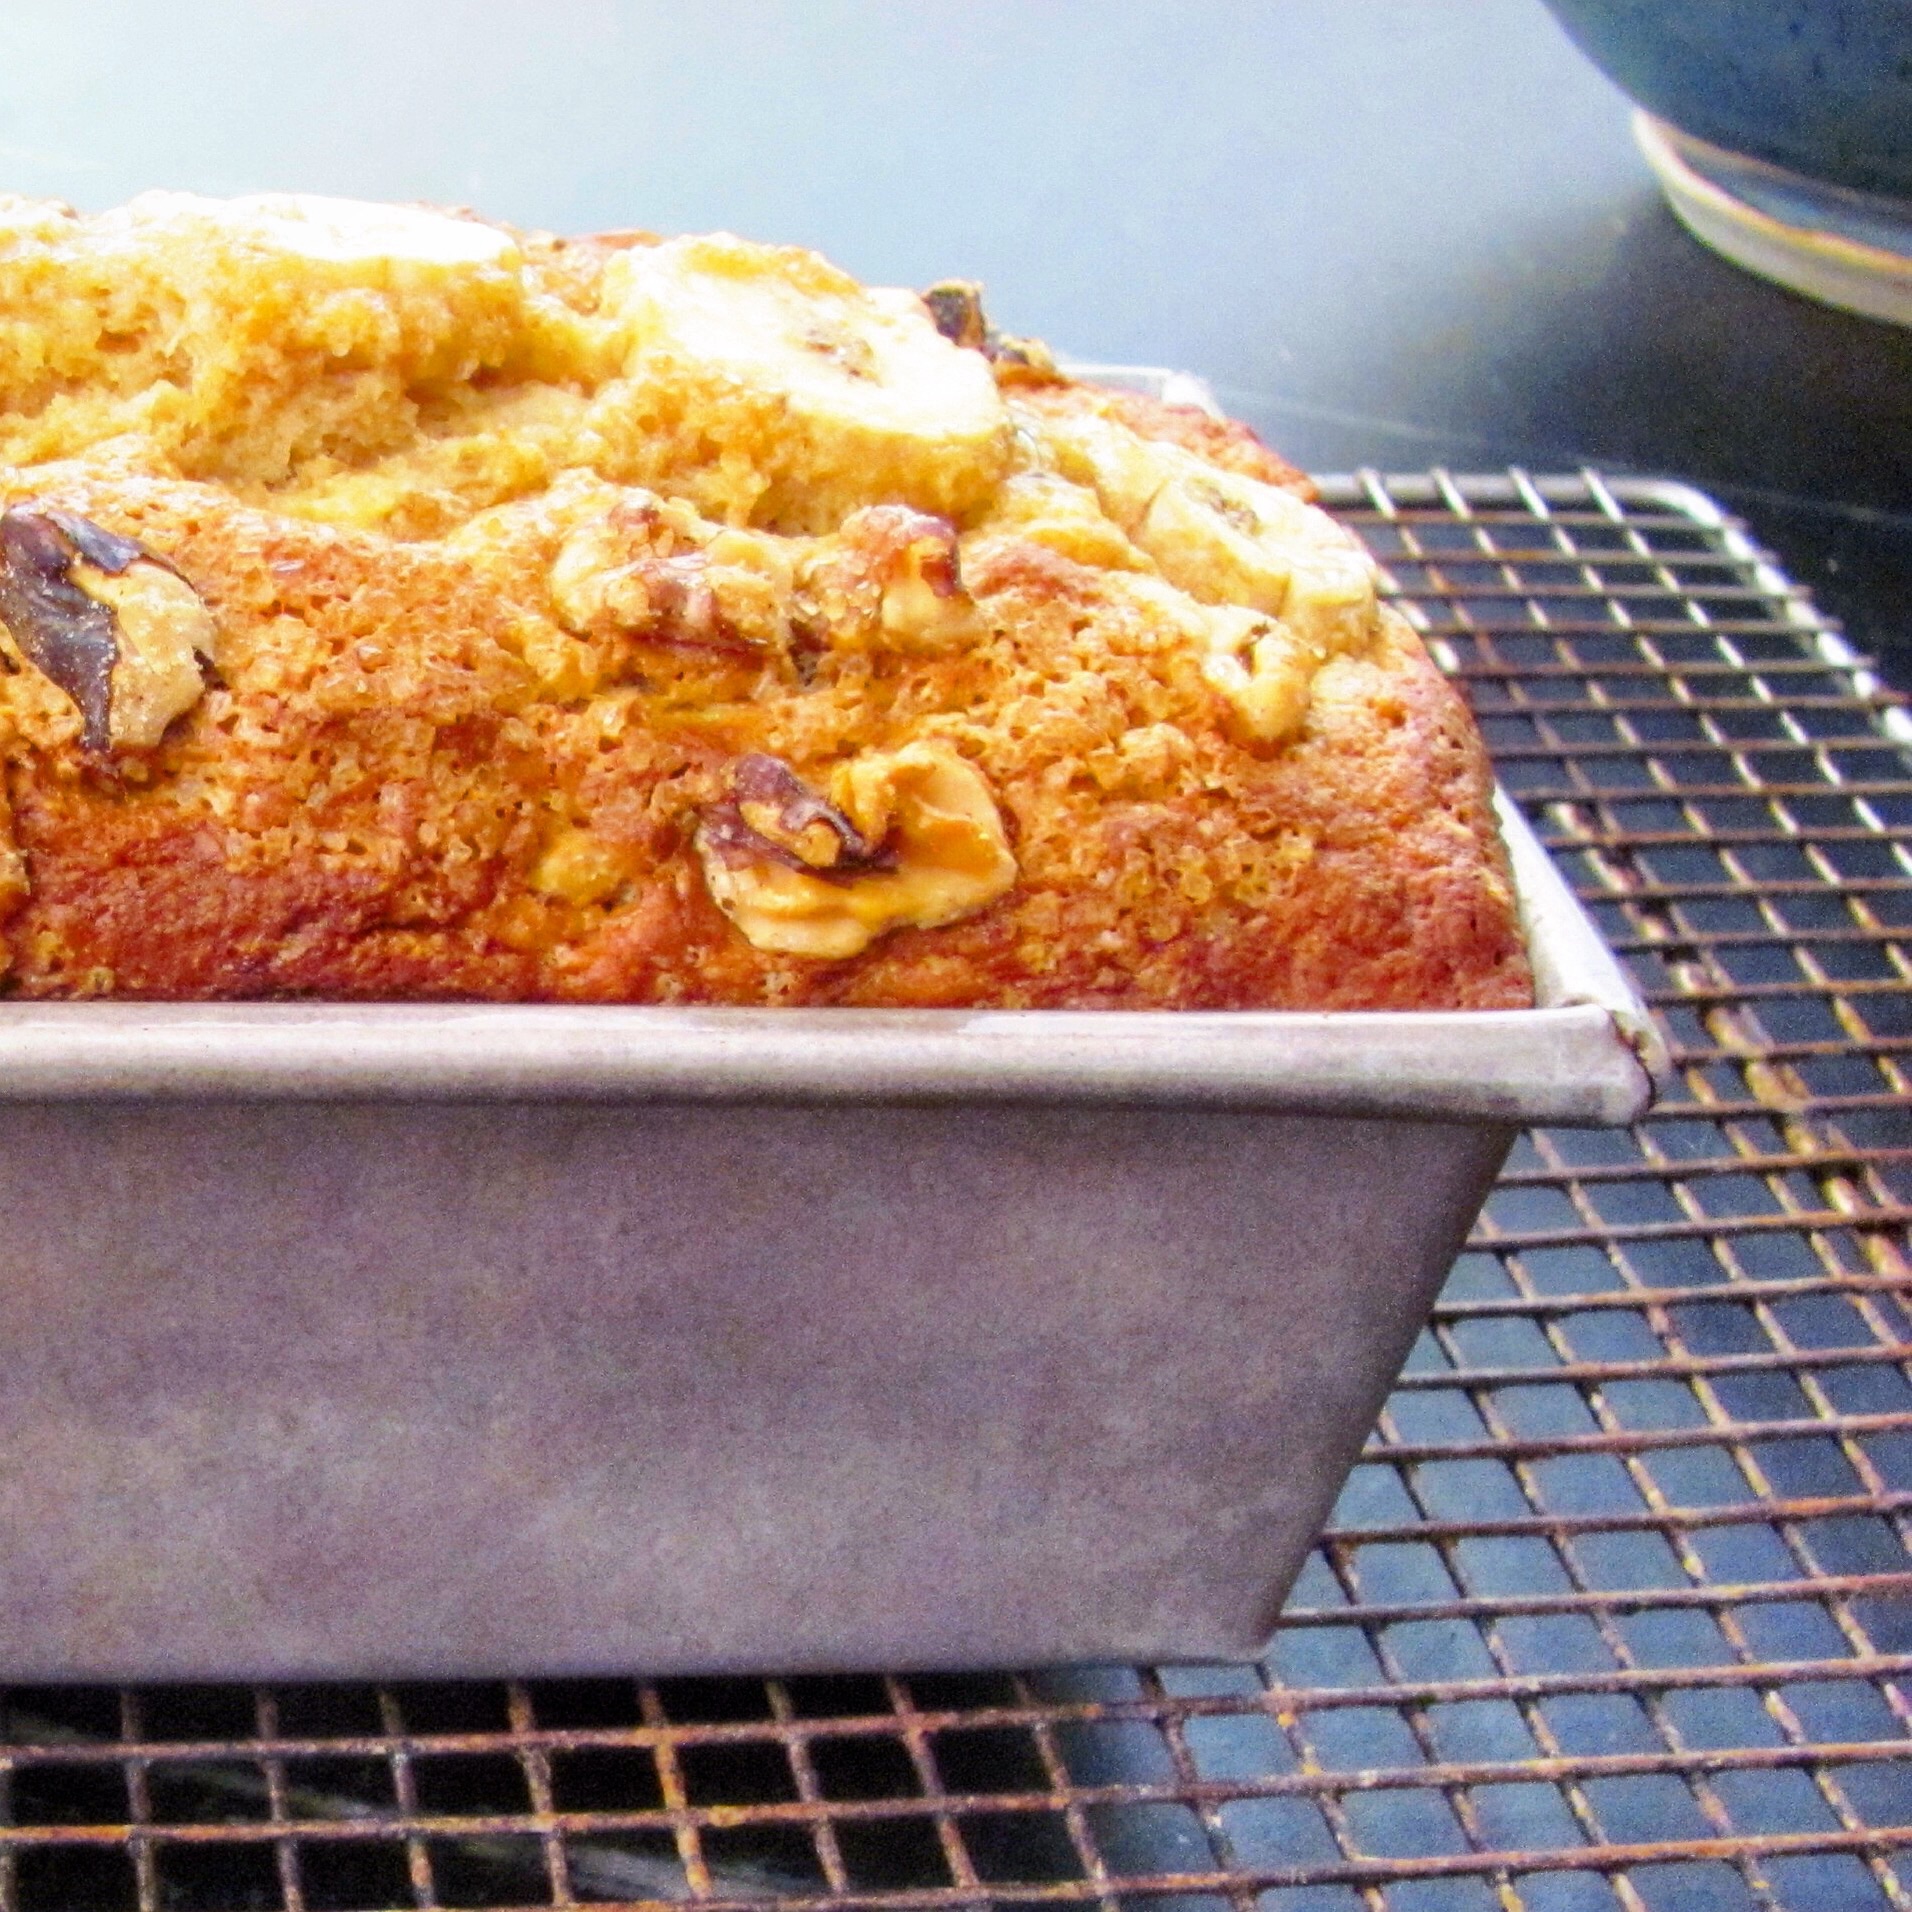
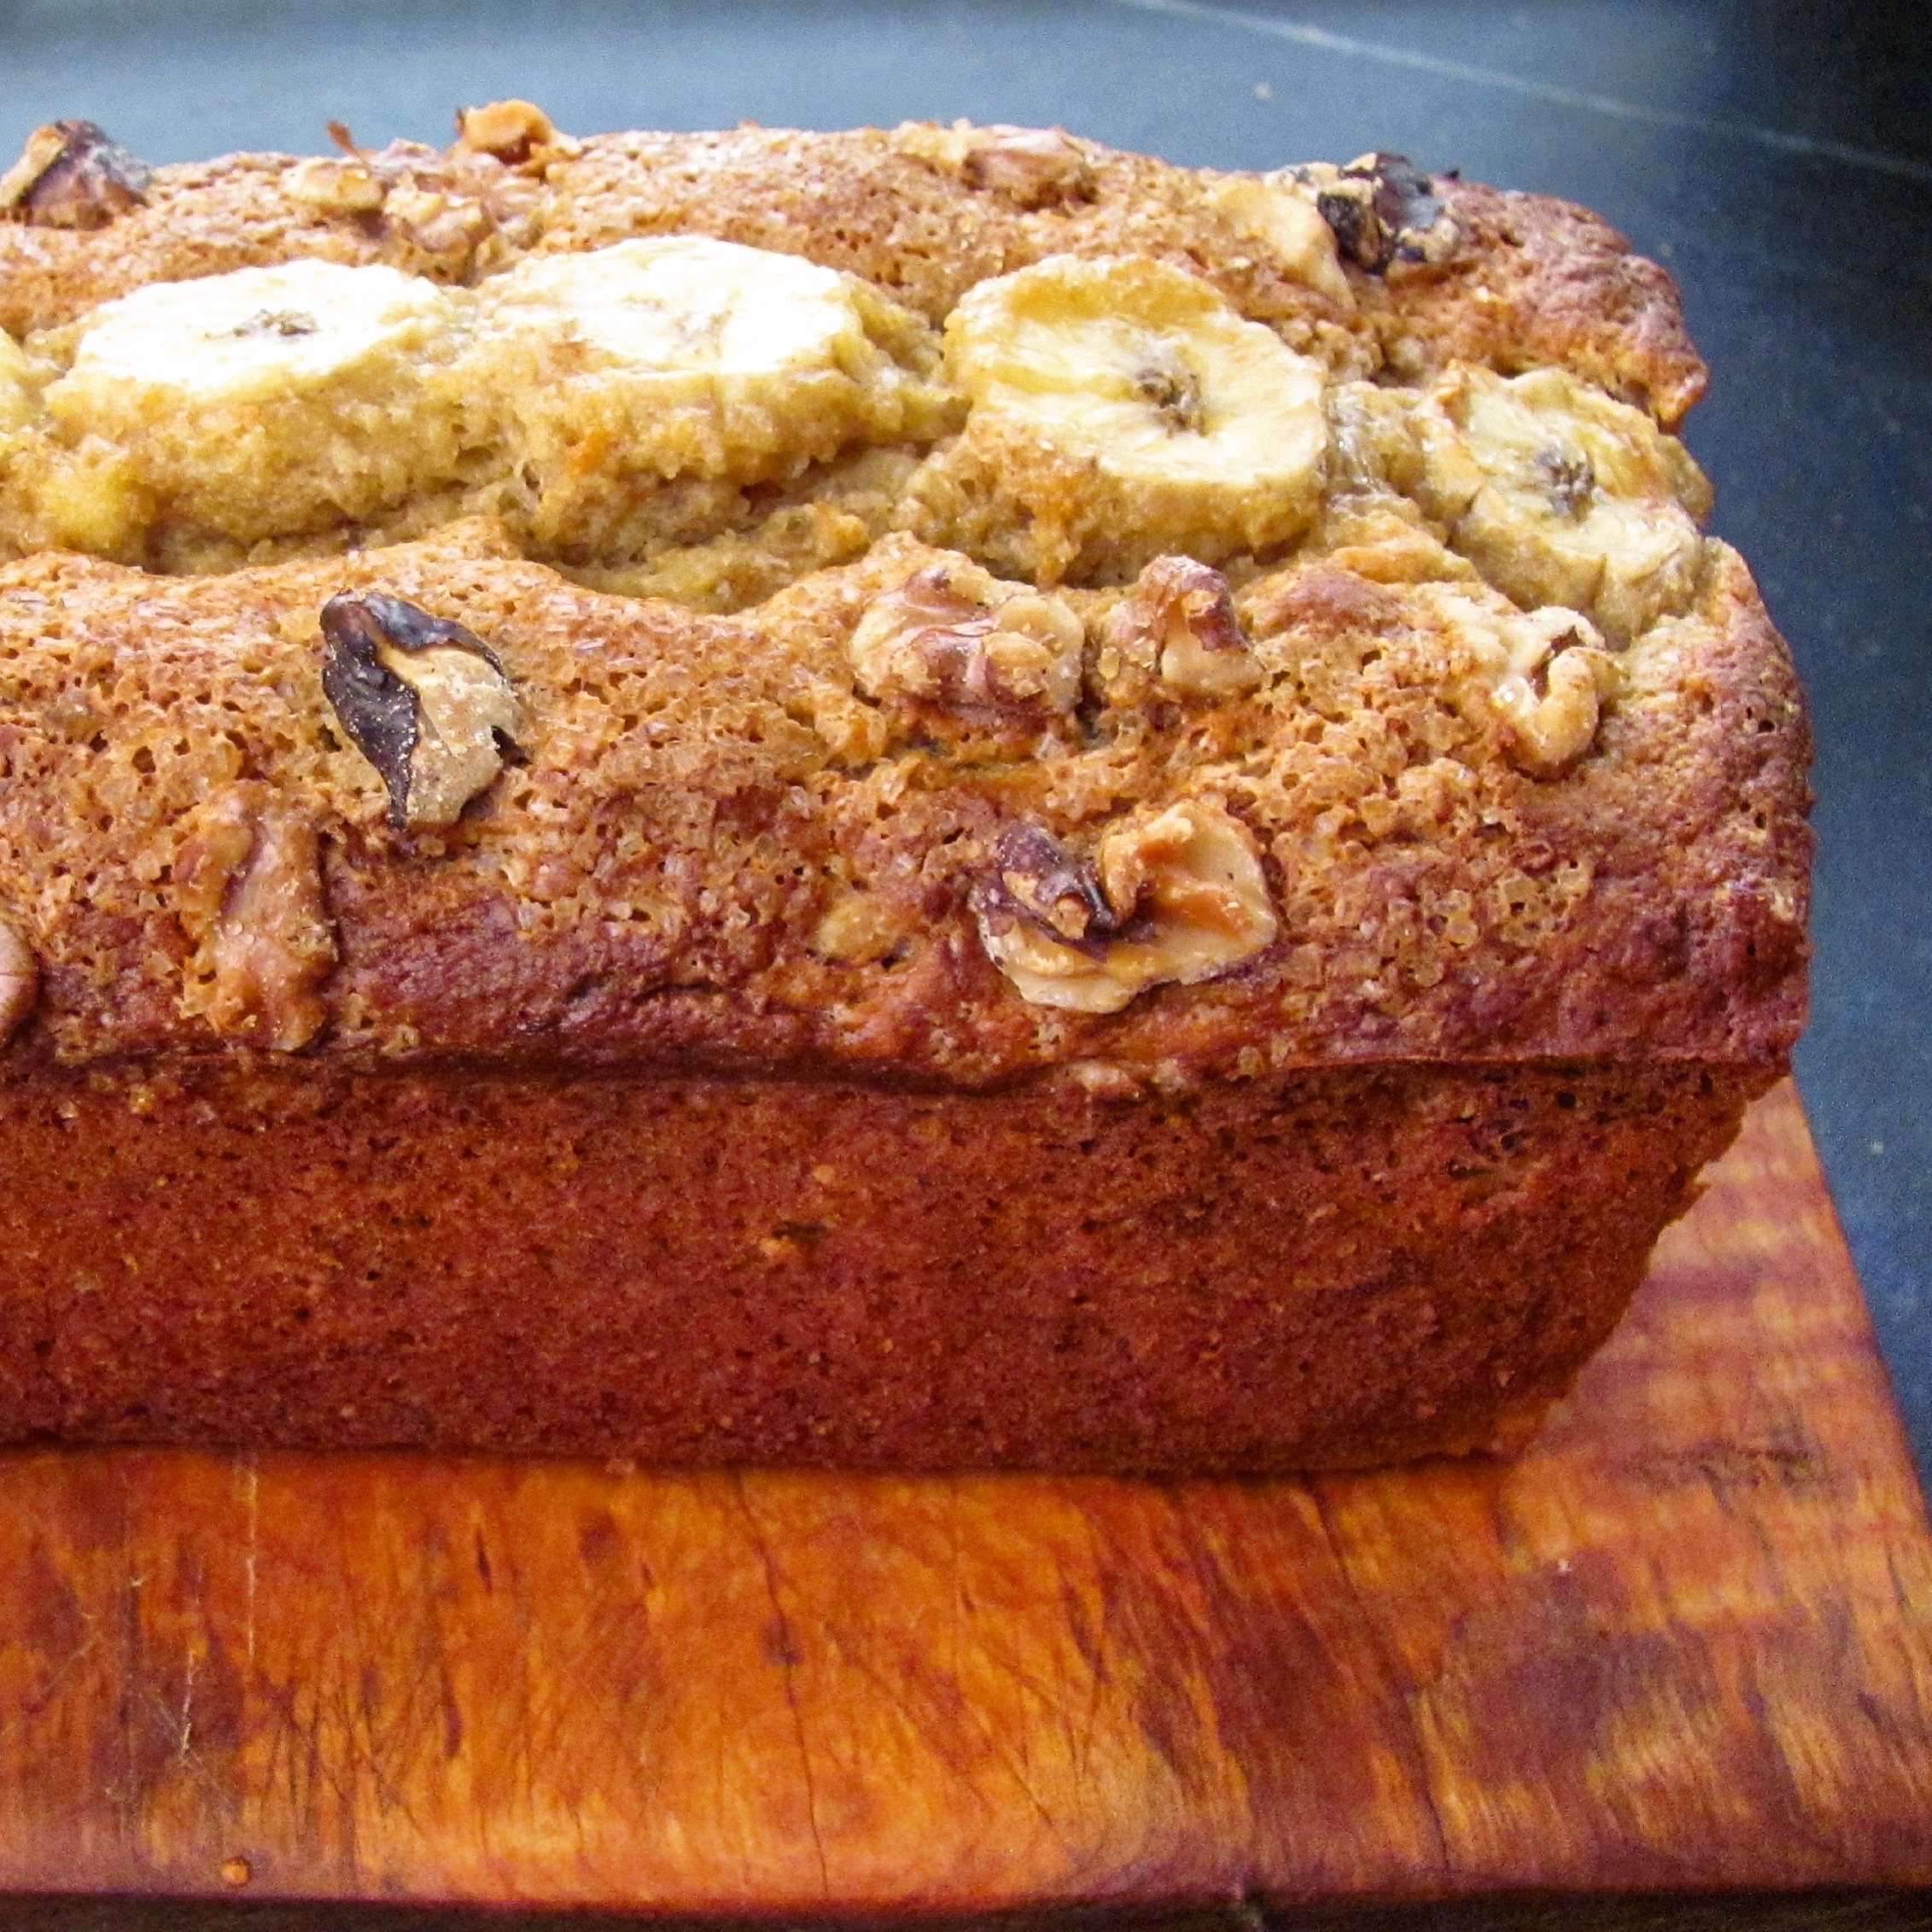
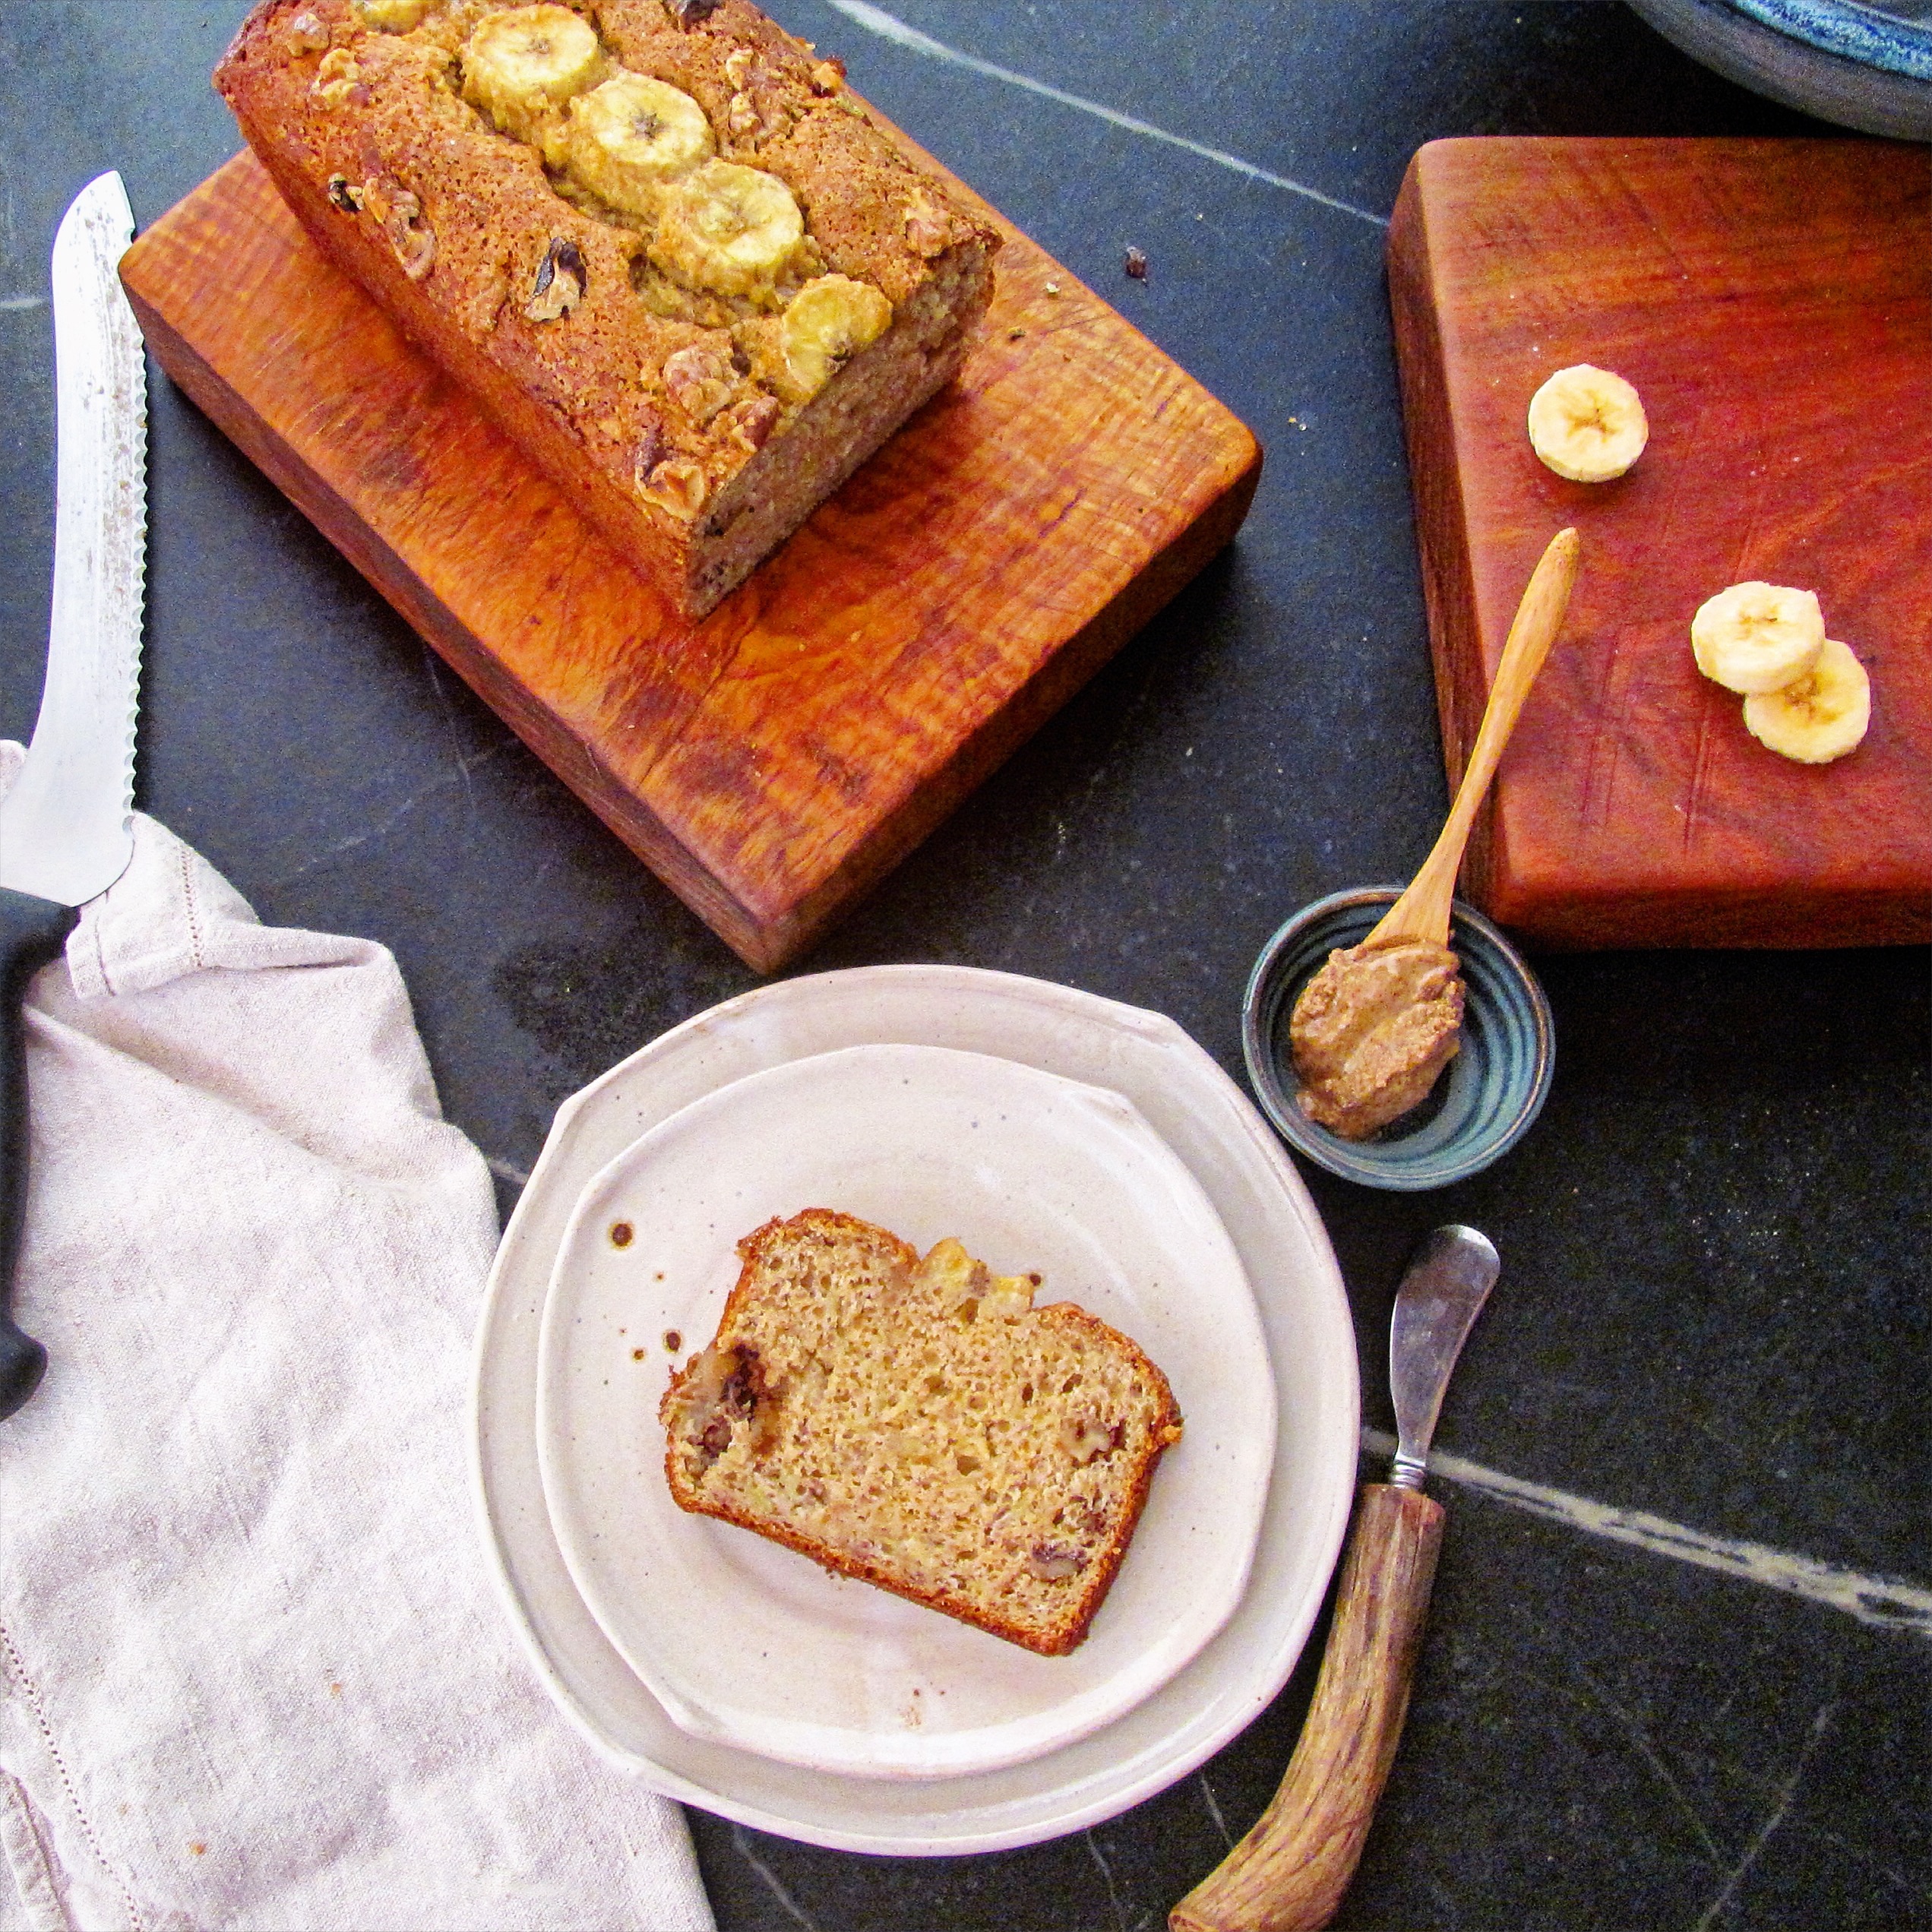
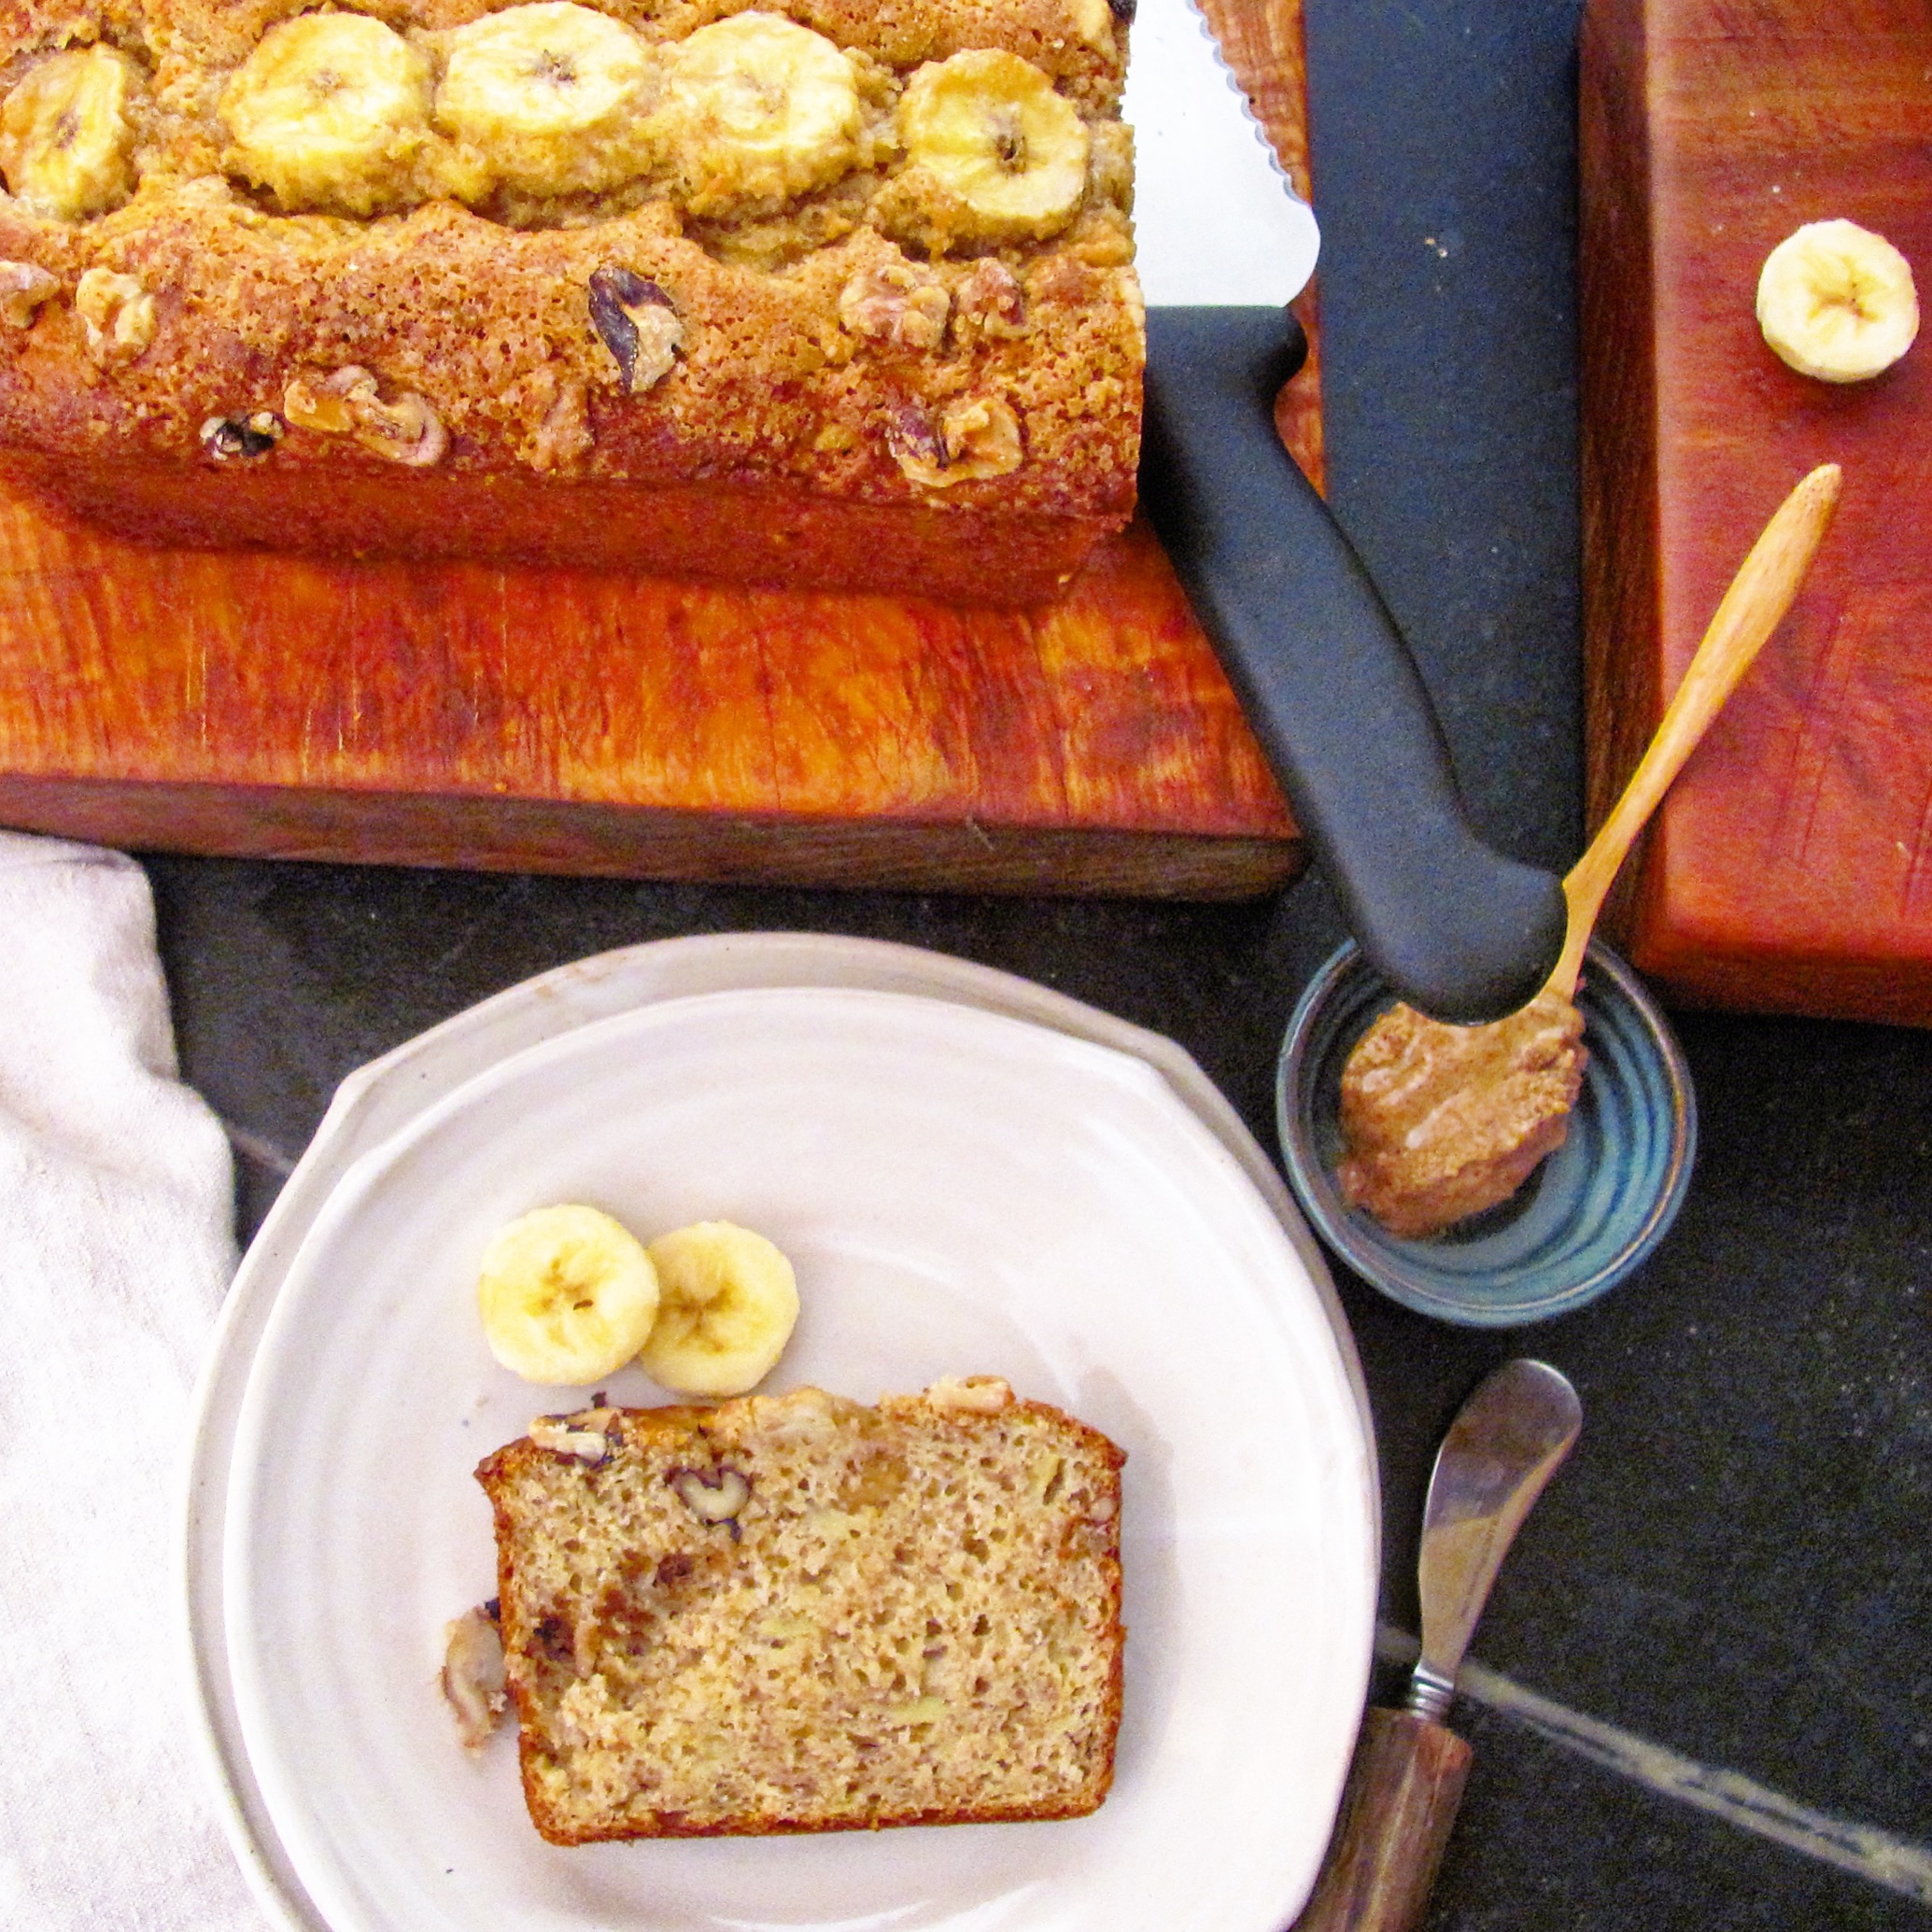
Last fall, I posted a recipe for a delicious whole grain bread I call Mindfulness Bread. The recipe was based (with permission) on the Life Changing Loaf of Bread by Sarah Britton. The recipe I am sharing with you here today is a riff on that bread. I think a good, healthy, homemade breakfast, eaten mindfully, is the best way to start the day.

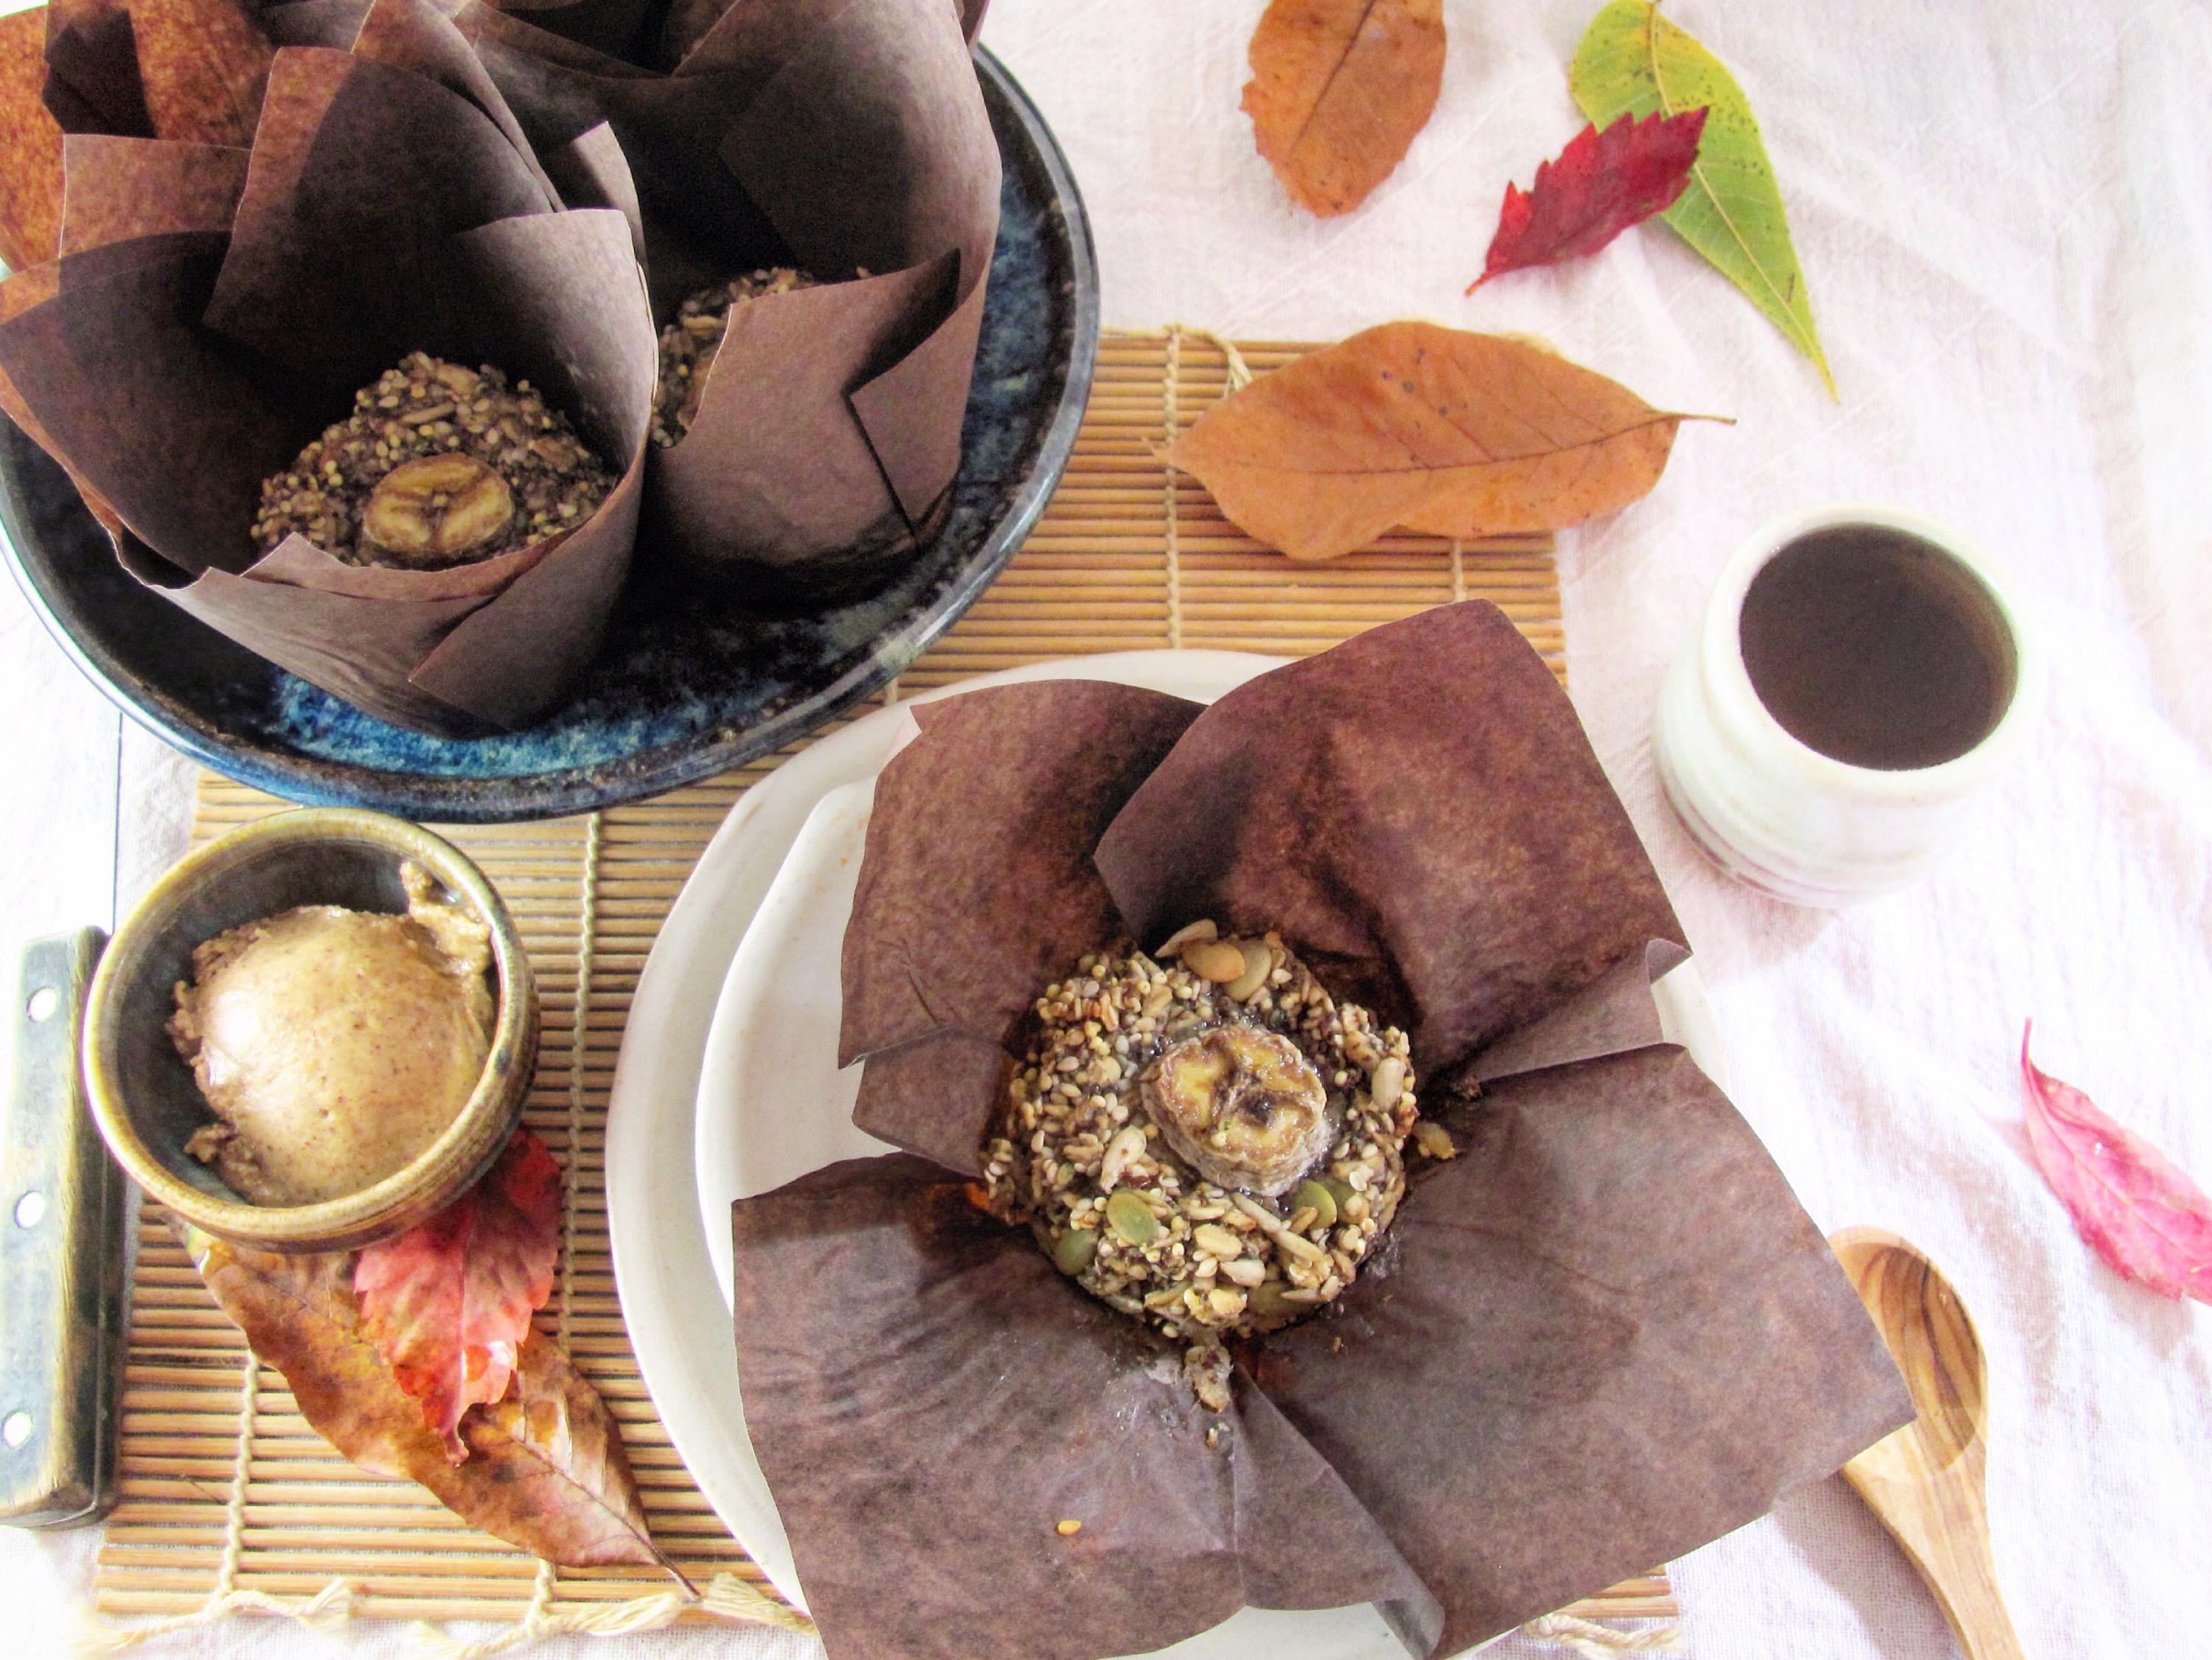
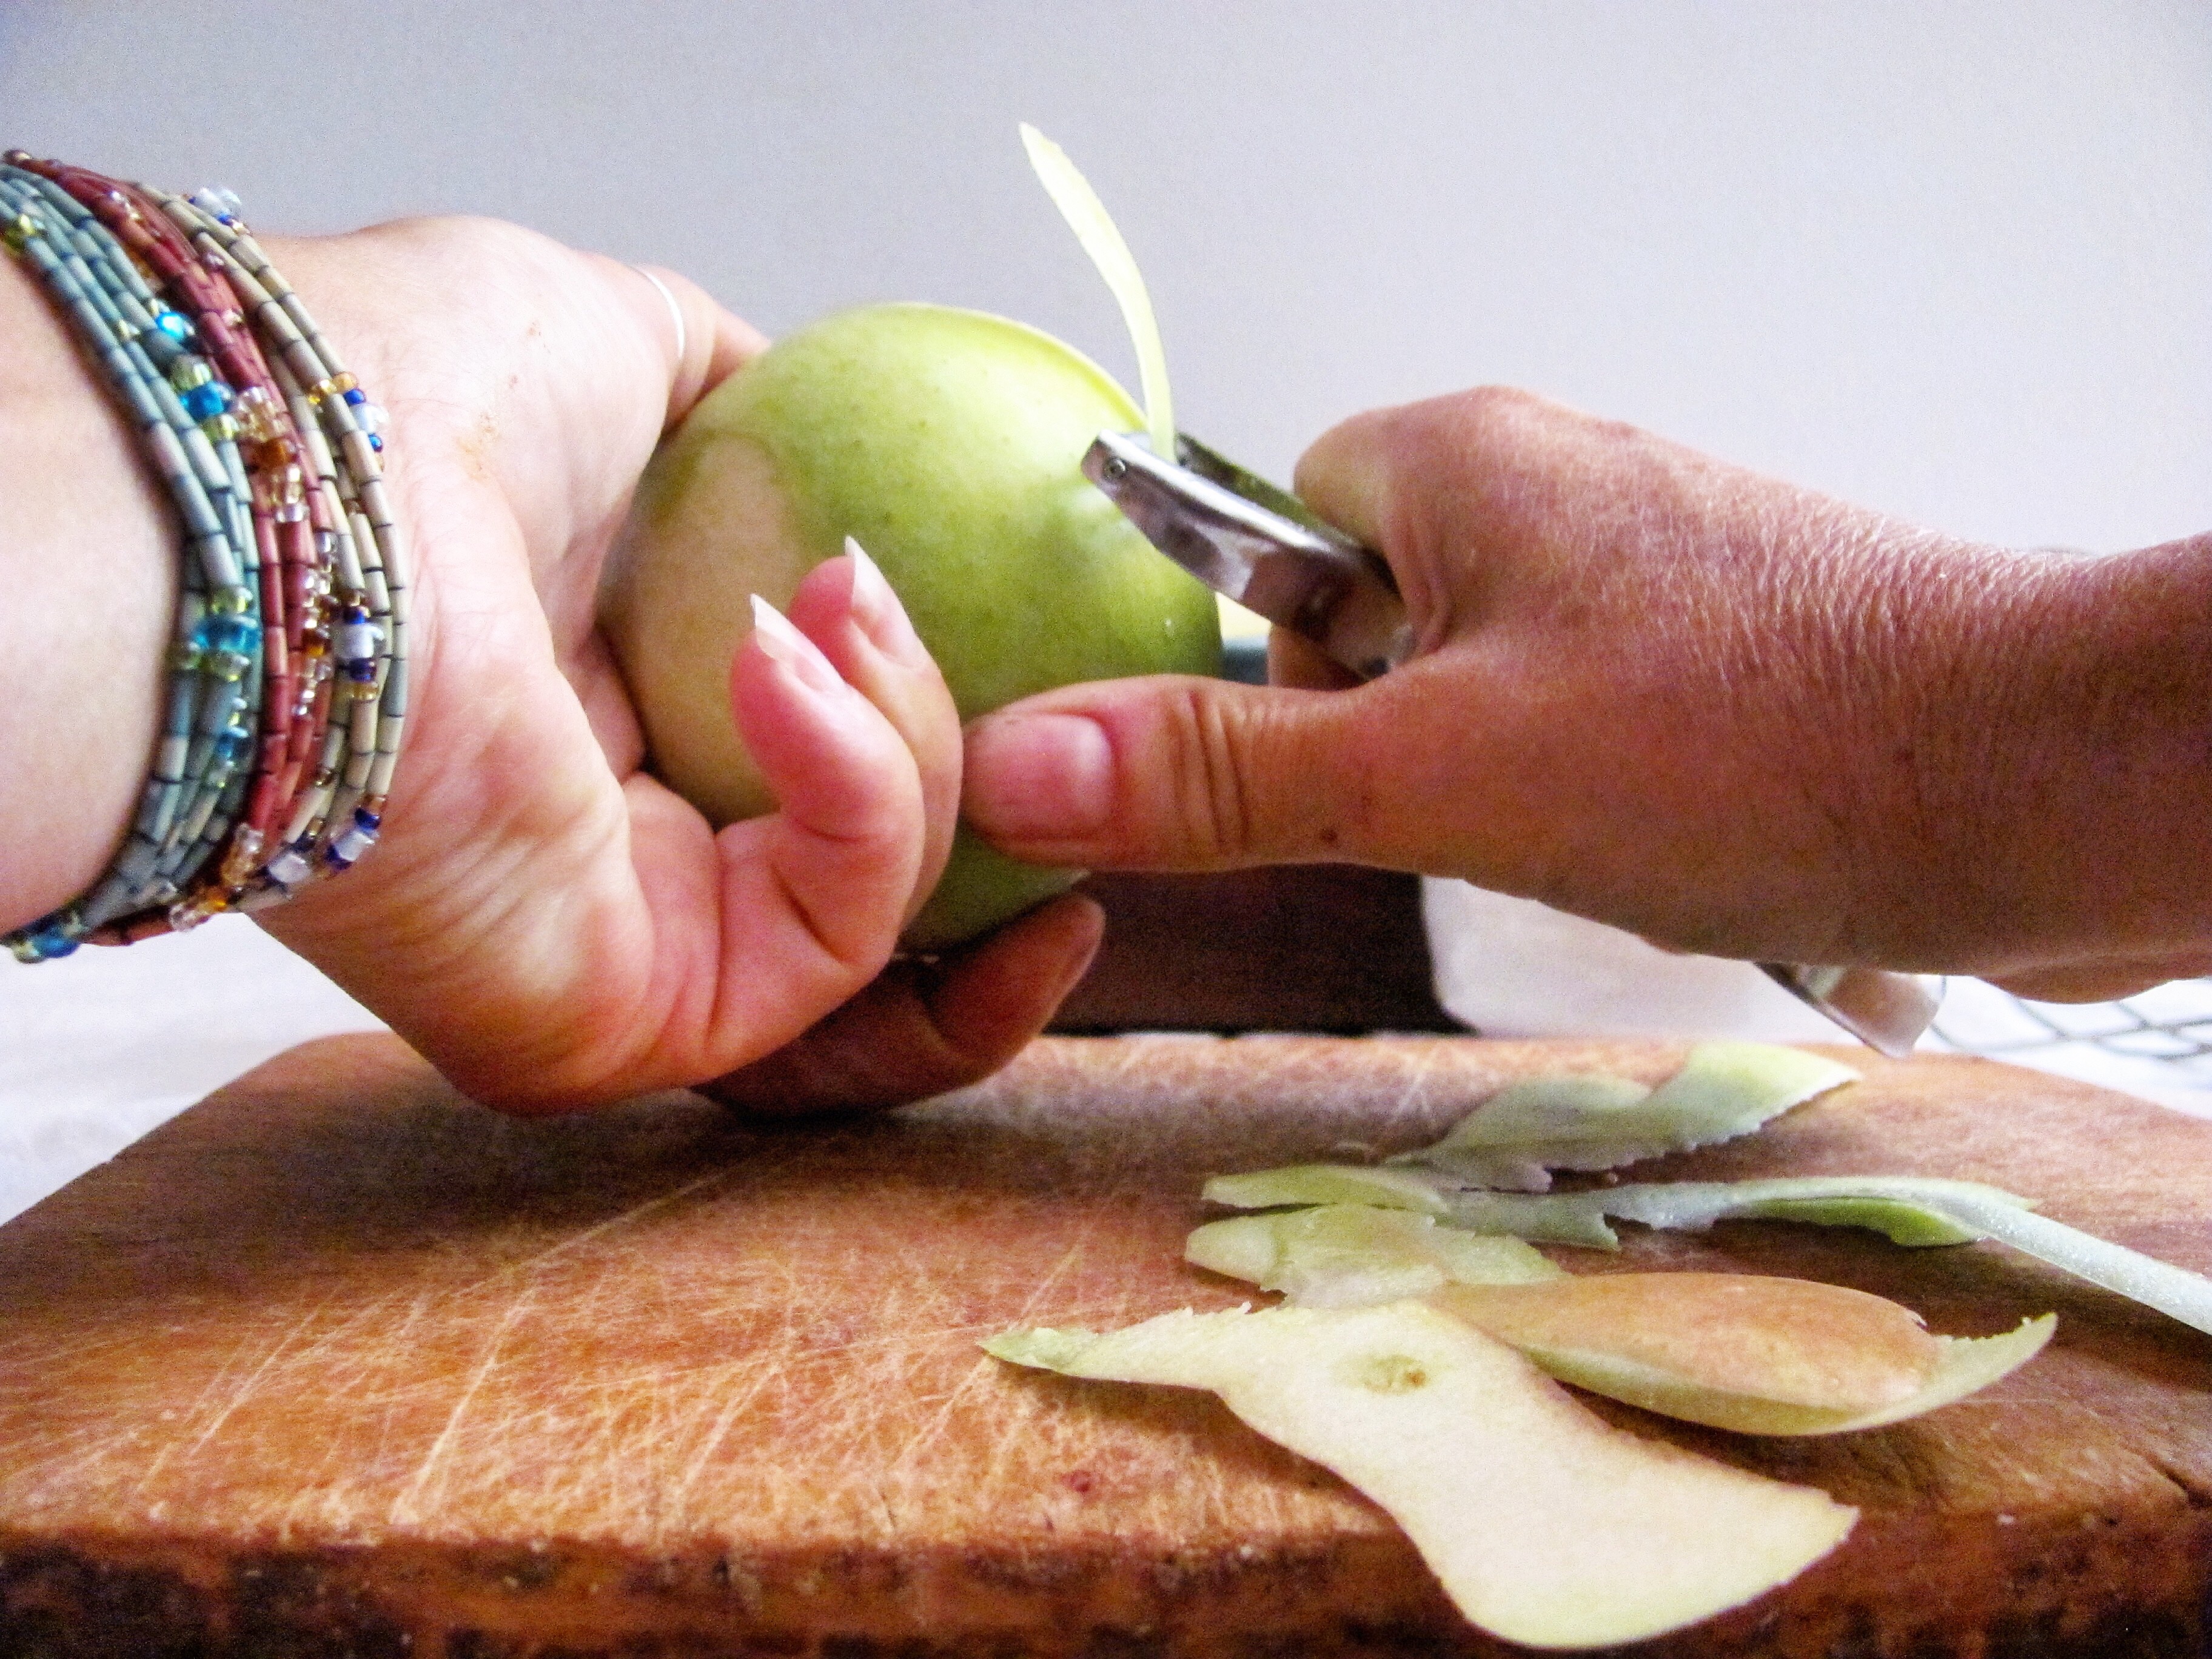
Why not practice mindful preparation of this recipe and then cultivate awareness when you eat it? Take time to notice the appearance, smell, and feel of the grains, nuts and fruits. Use all your senses while you stir, portion, and bake the muffins. When you eat, notice aroma, flavor, texture, your body’s response to the nourishment. Enjoy, with my blessing! Namaste’.

IMG_6147

IMG_6149

IMG_6150

gawlermuffin

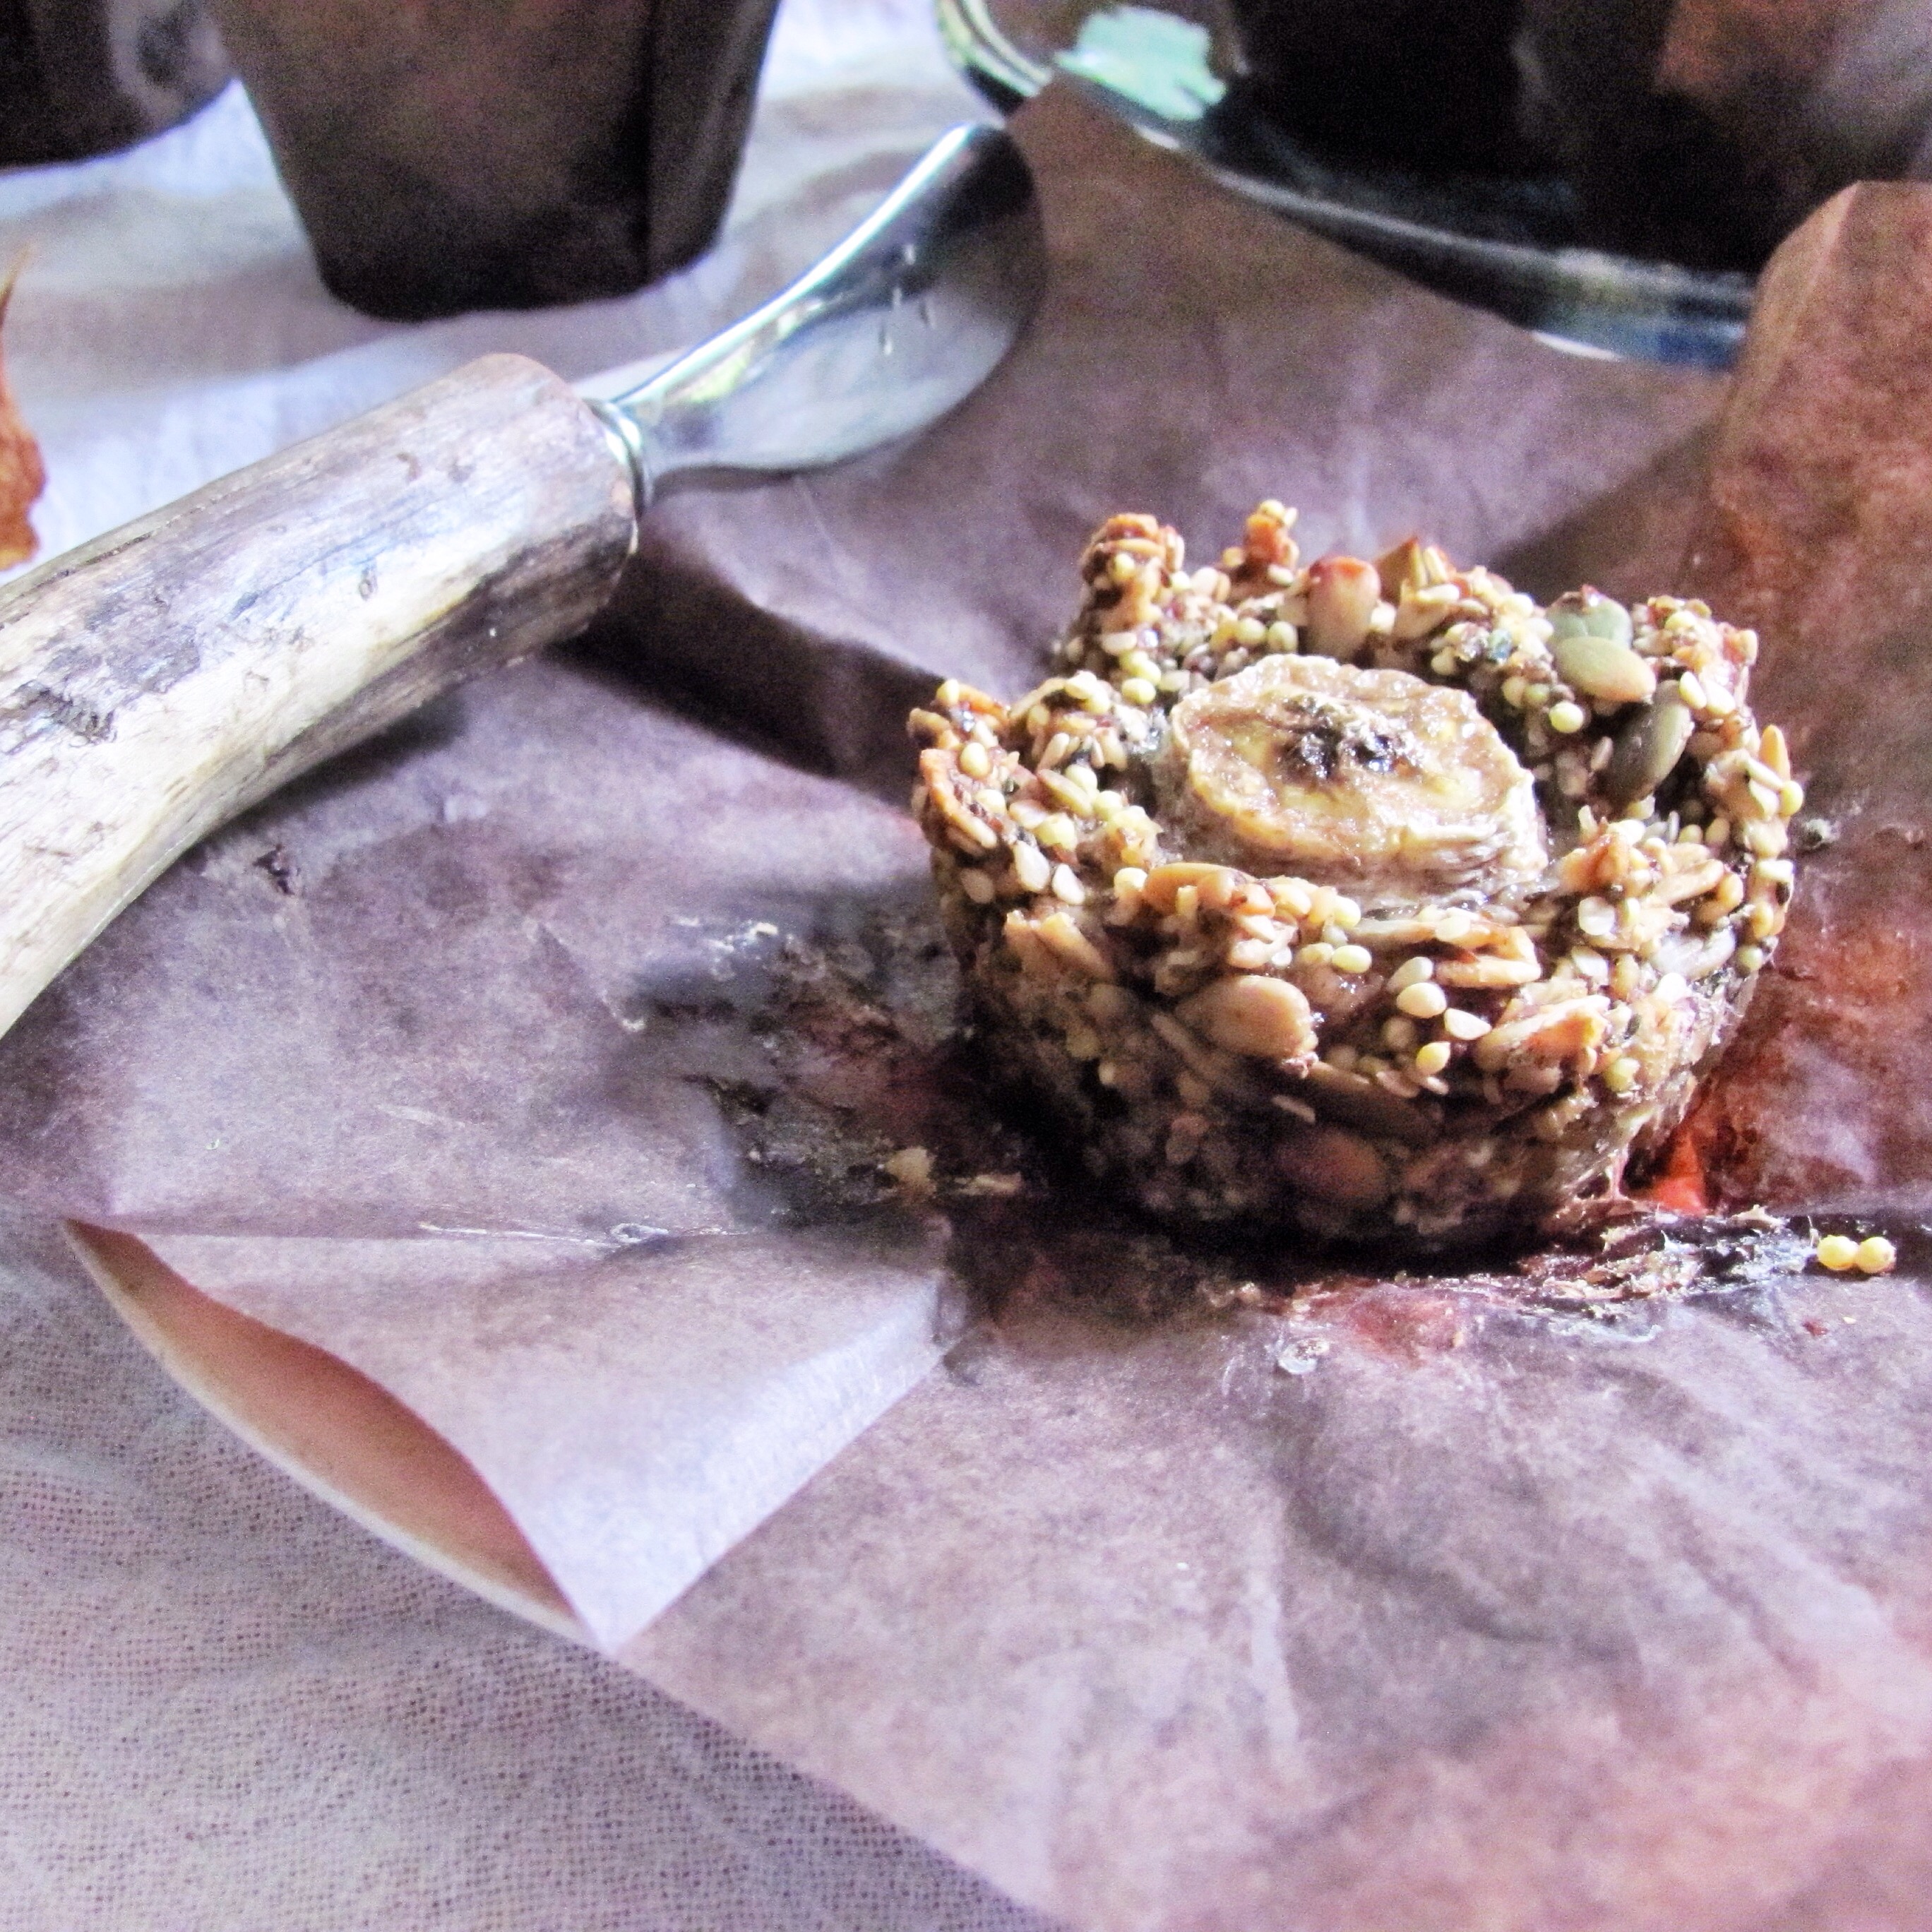
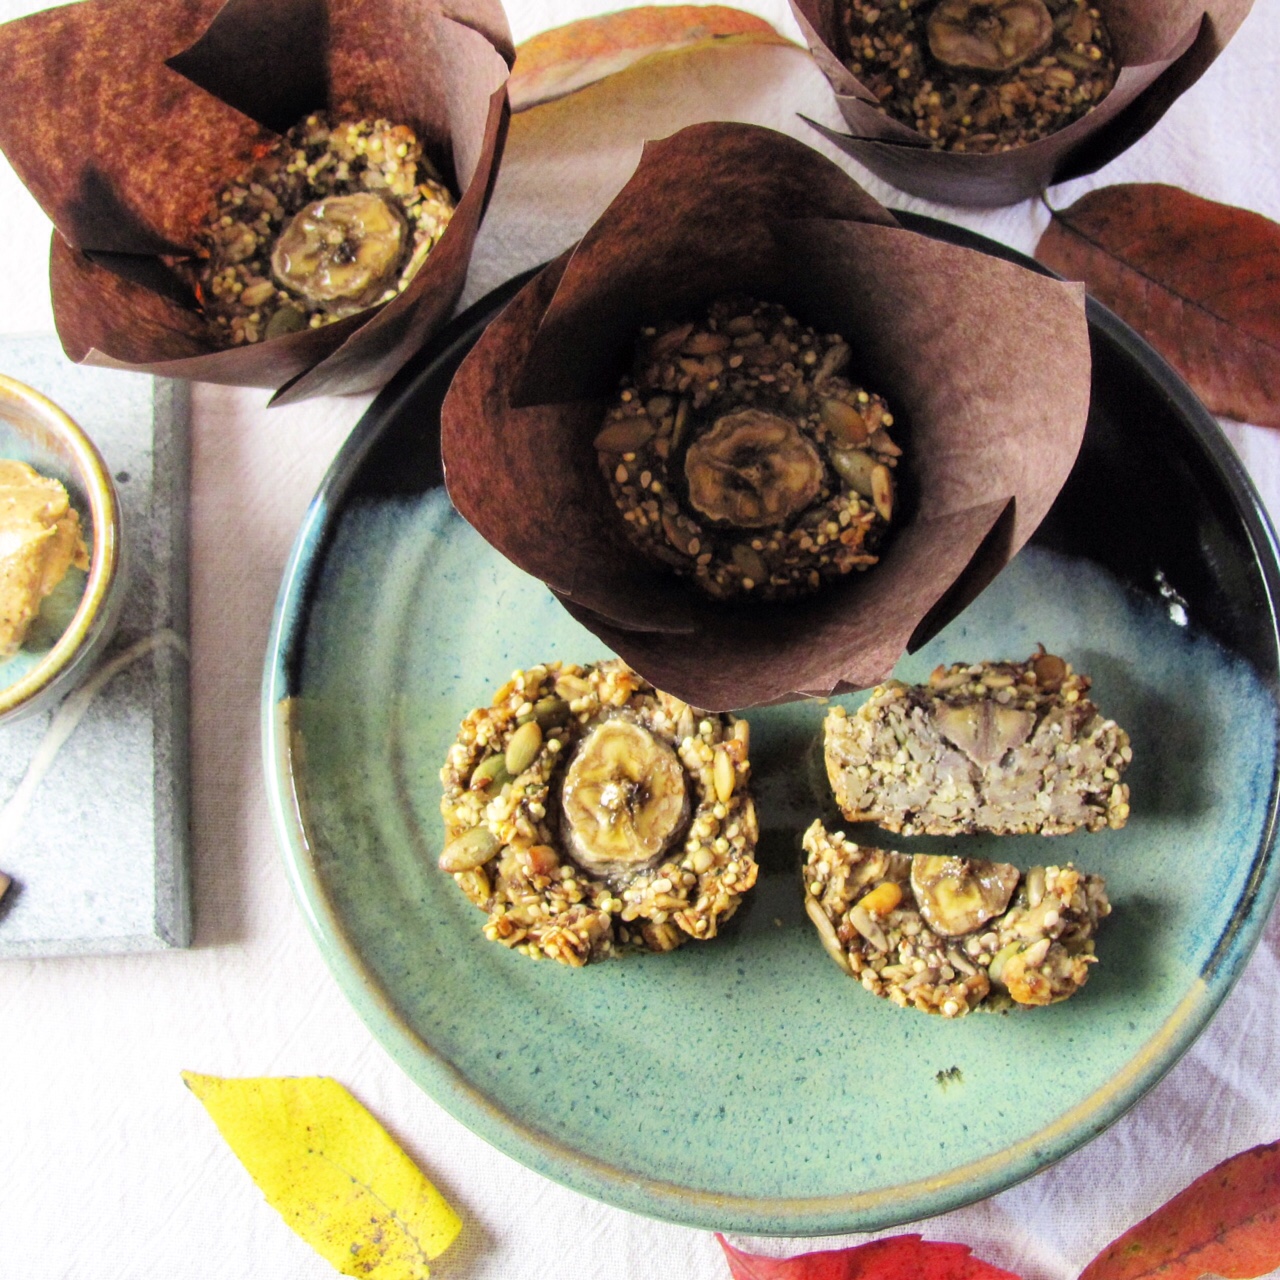
Overnight Oat Mindfulness Muffins

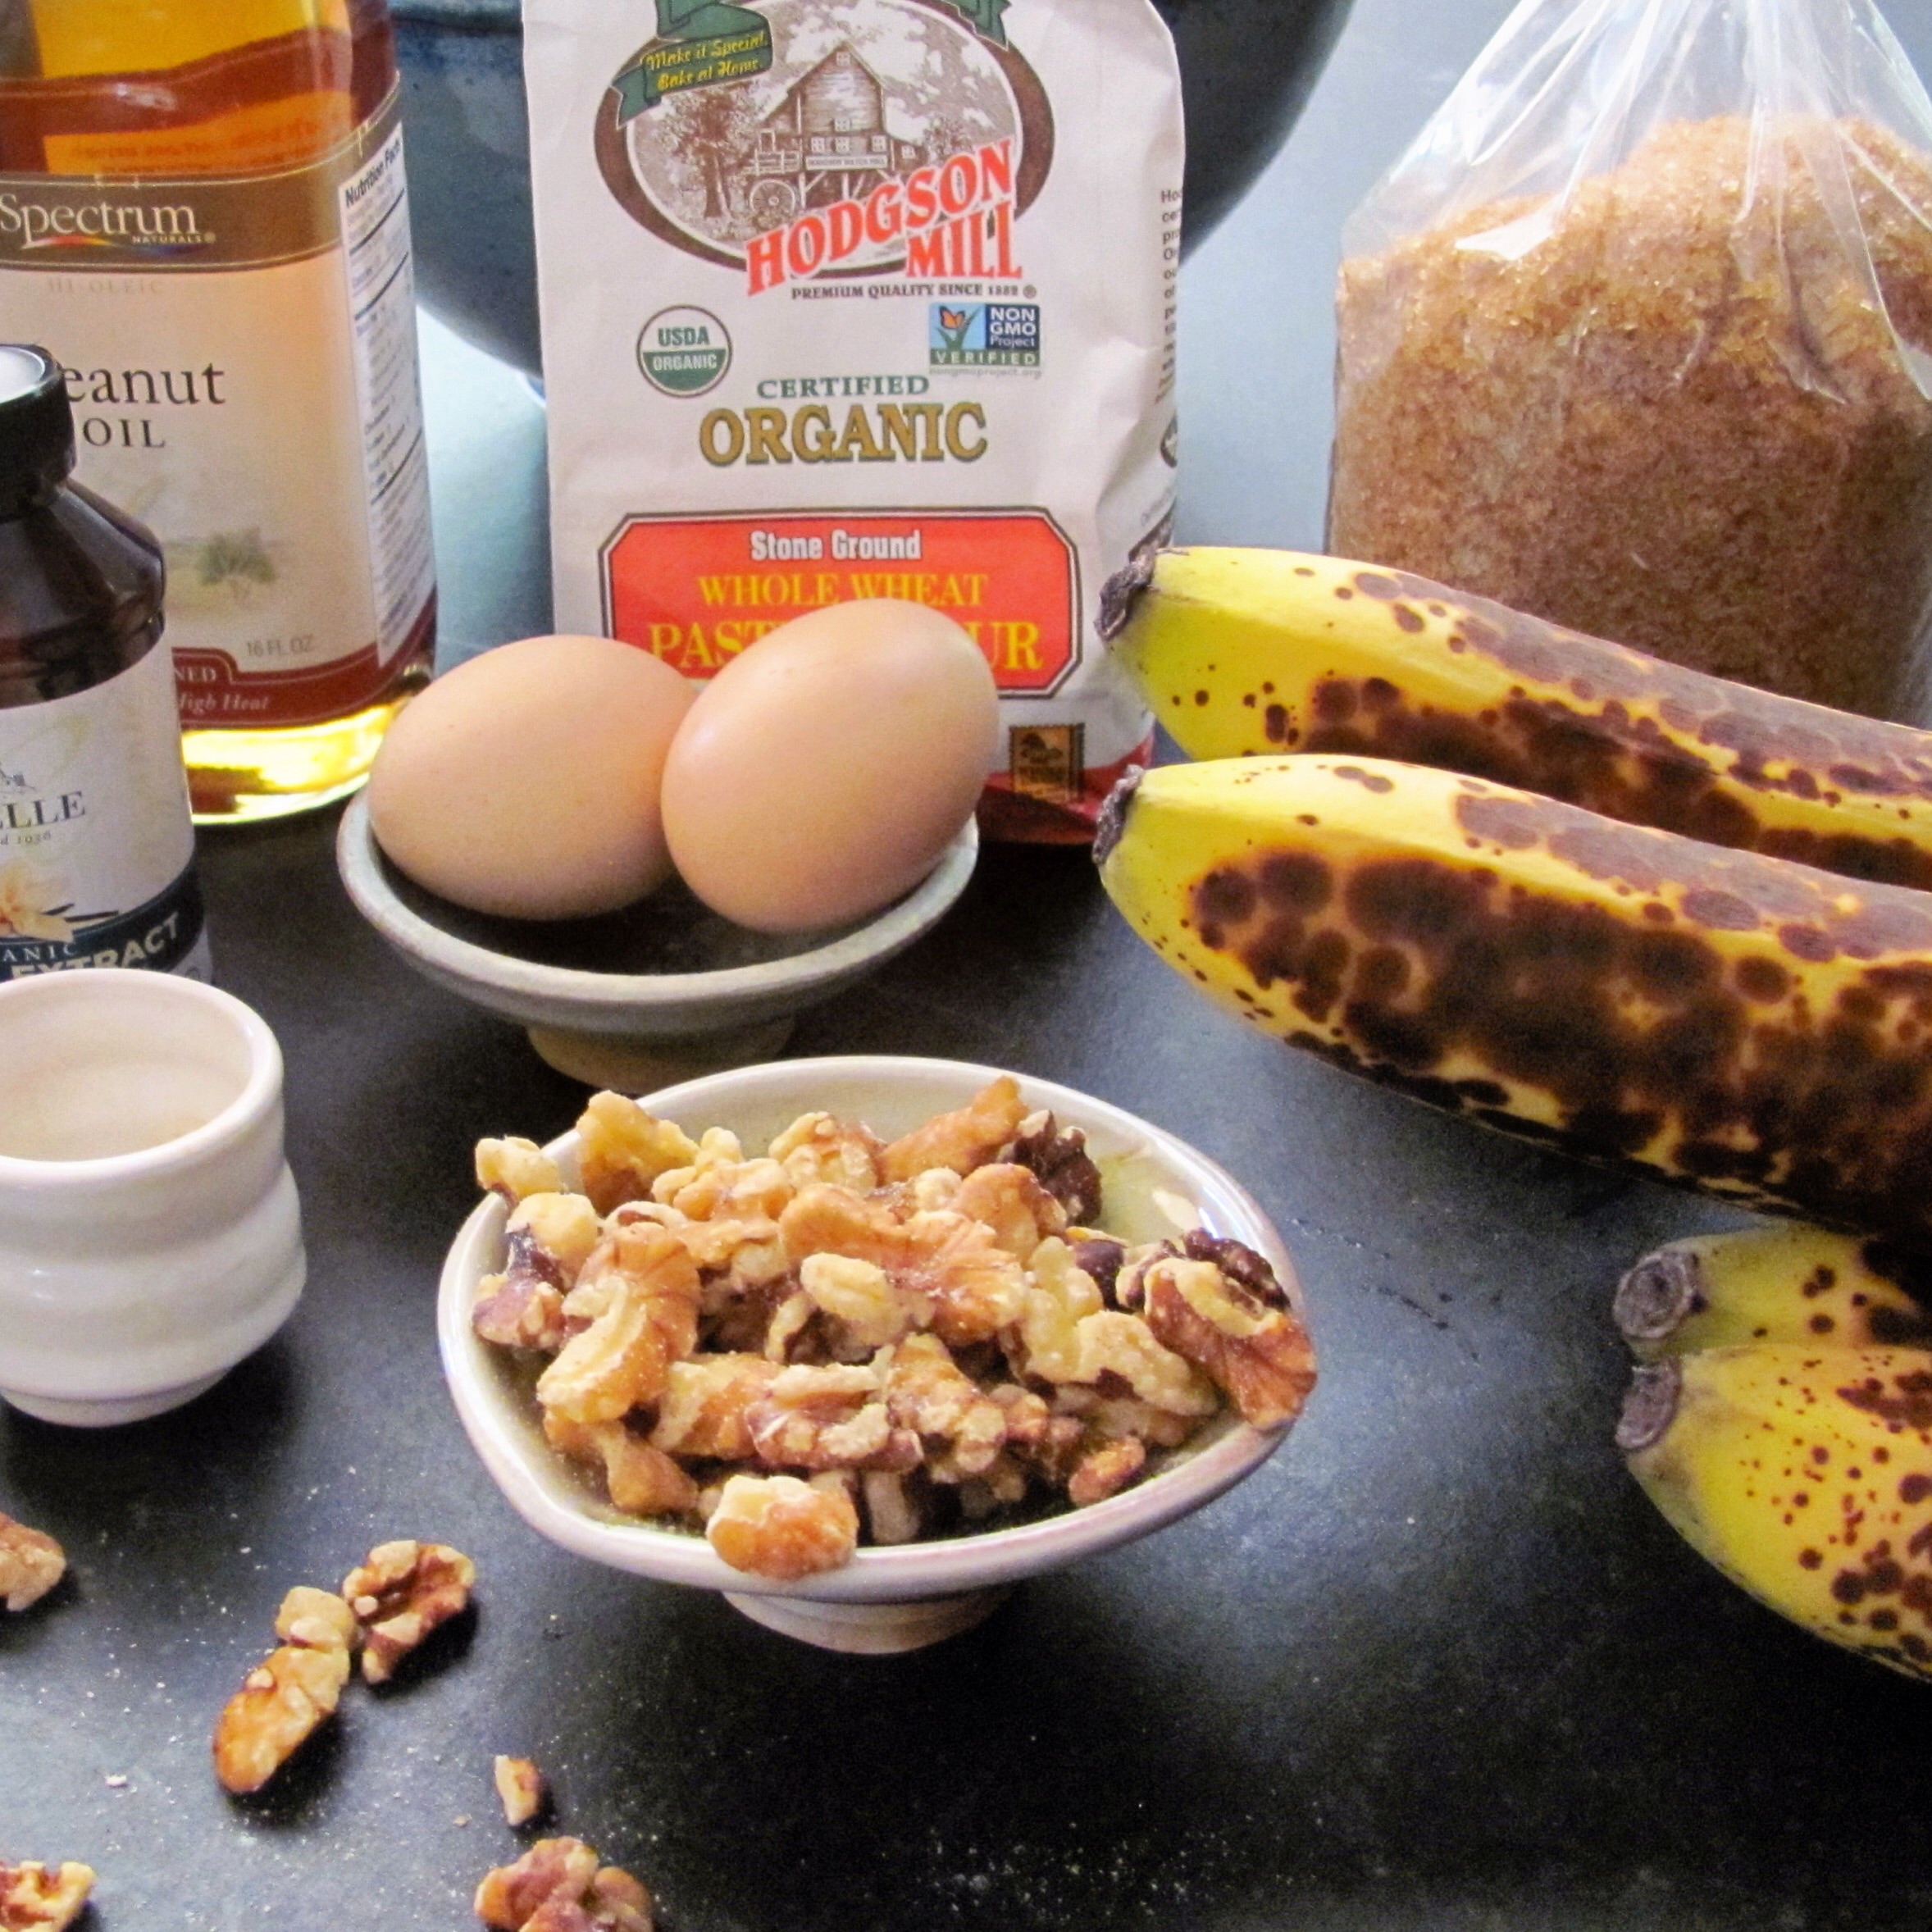
I use all organic ingredients. These are naturally vegan and gluten free.

Makes a dozen muffins.

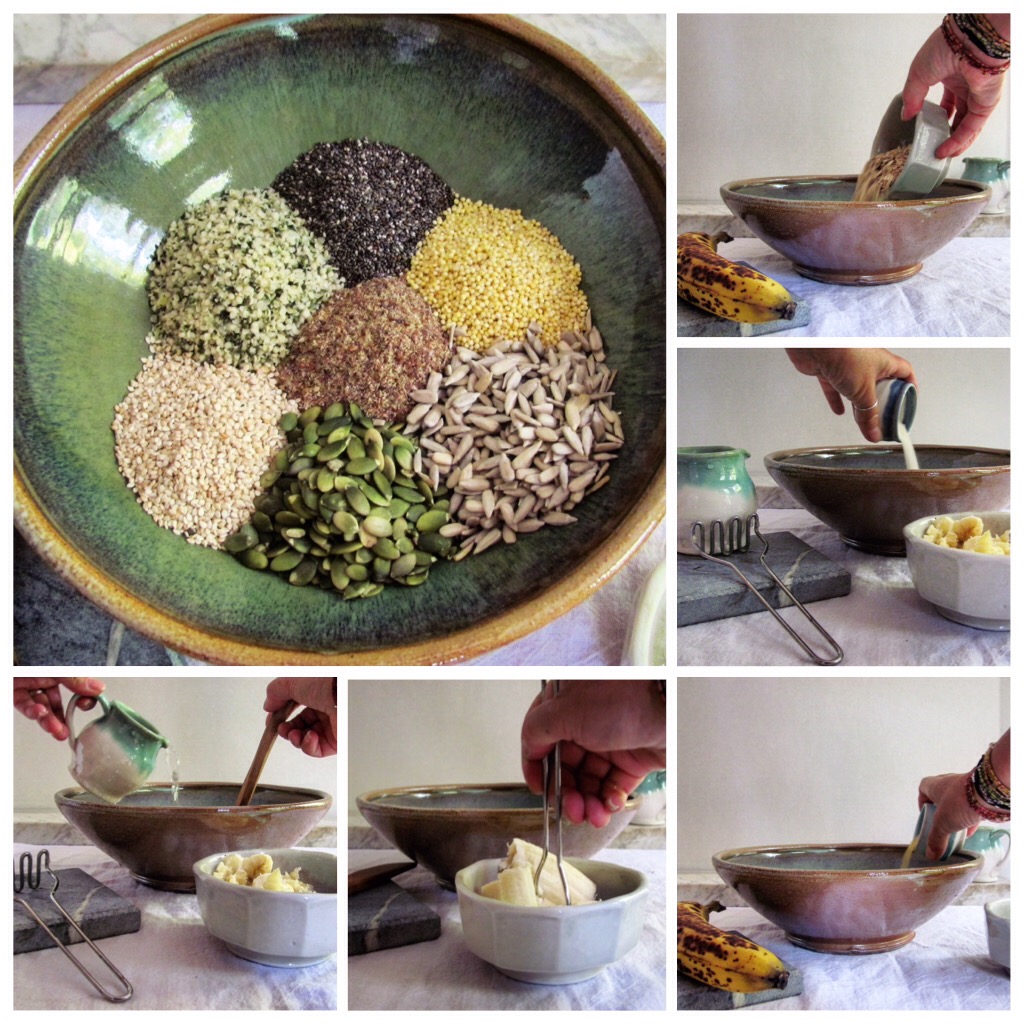
1 ¼ cups thick cut rolled oats
¼ cup each:
chia seeds
millet
flax meal
sesame seeds
pumpkin seeds (pepitas)
hemp seeds
sunflower seeds
walnut pieces

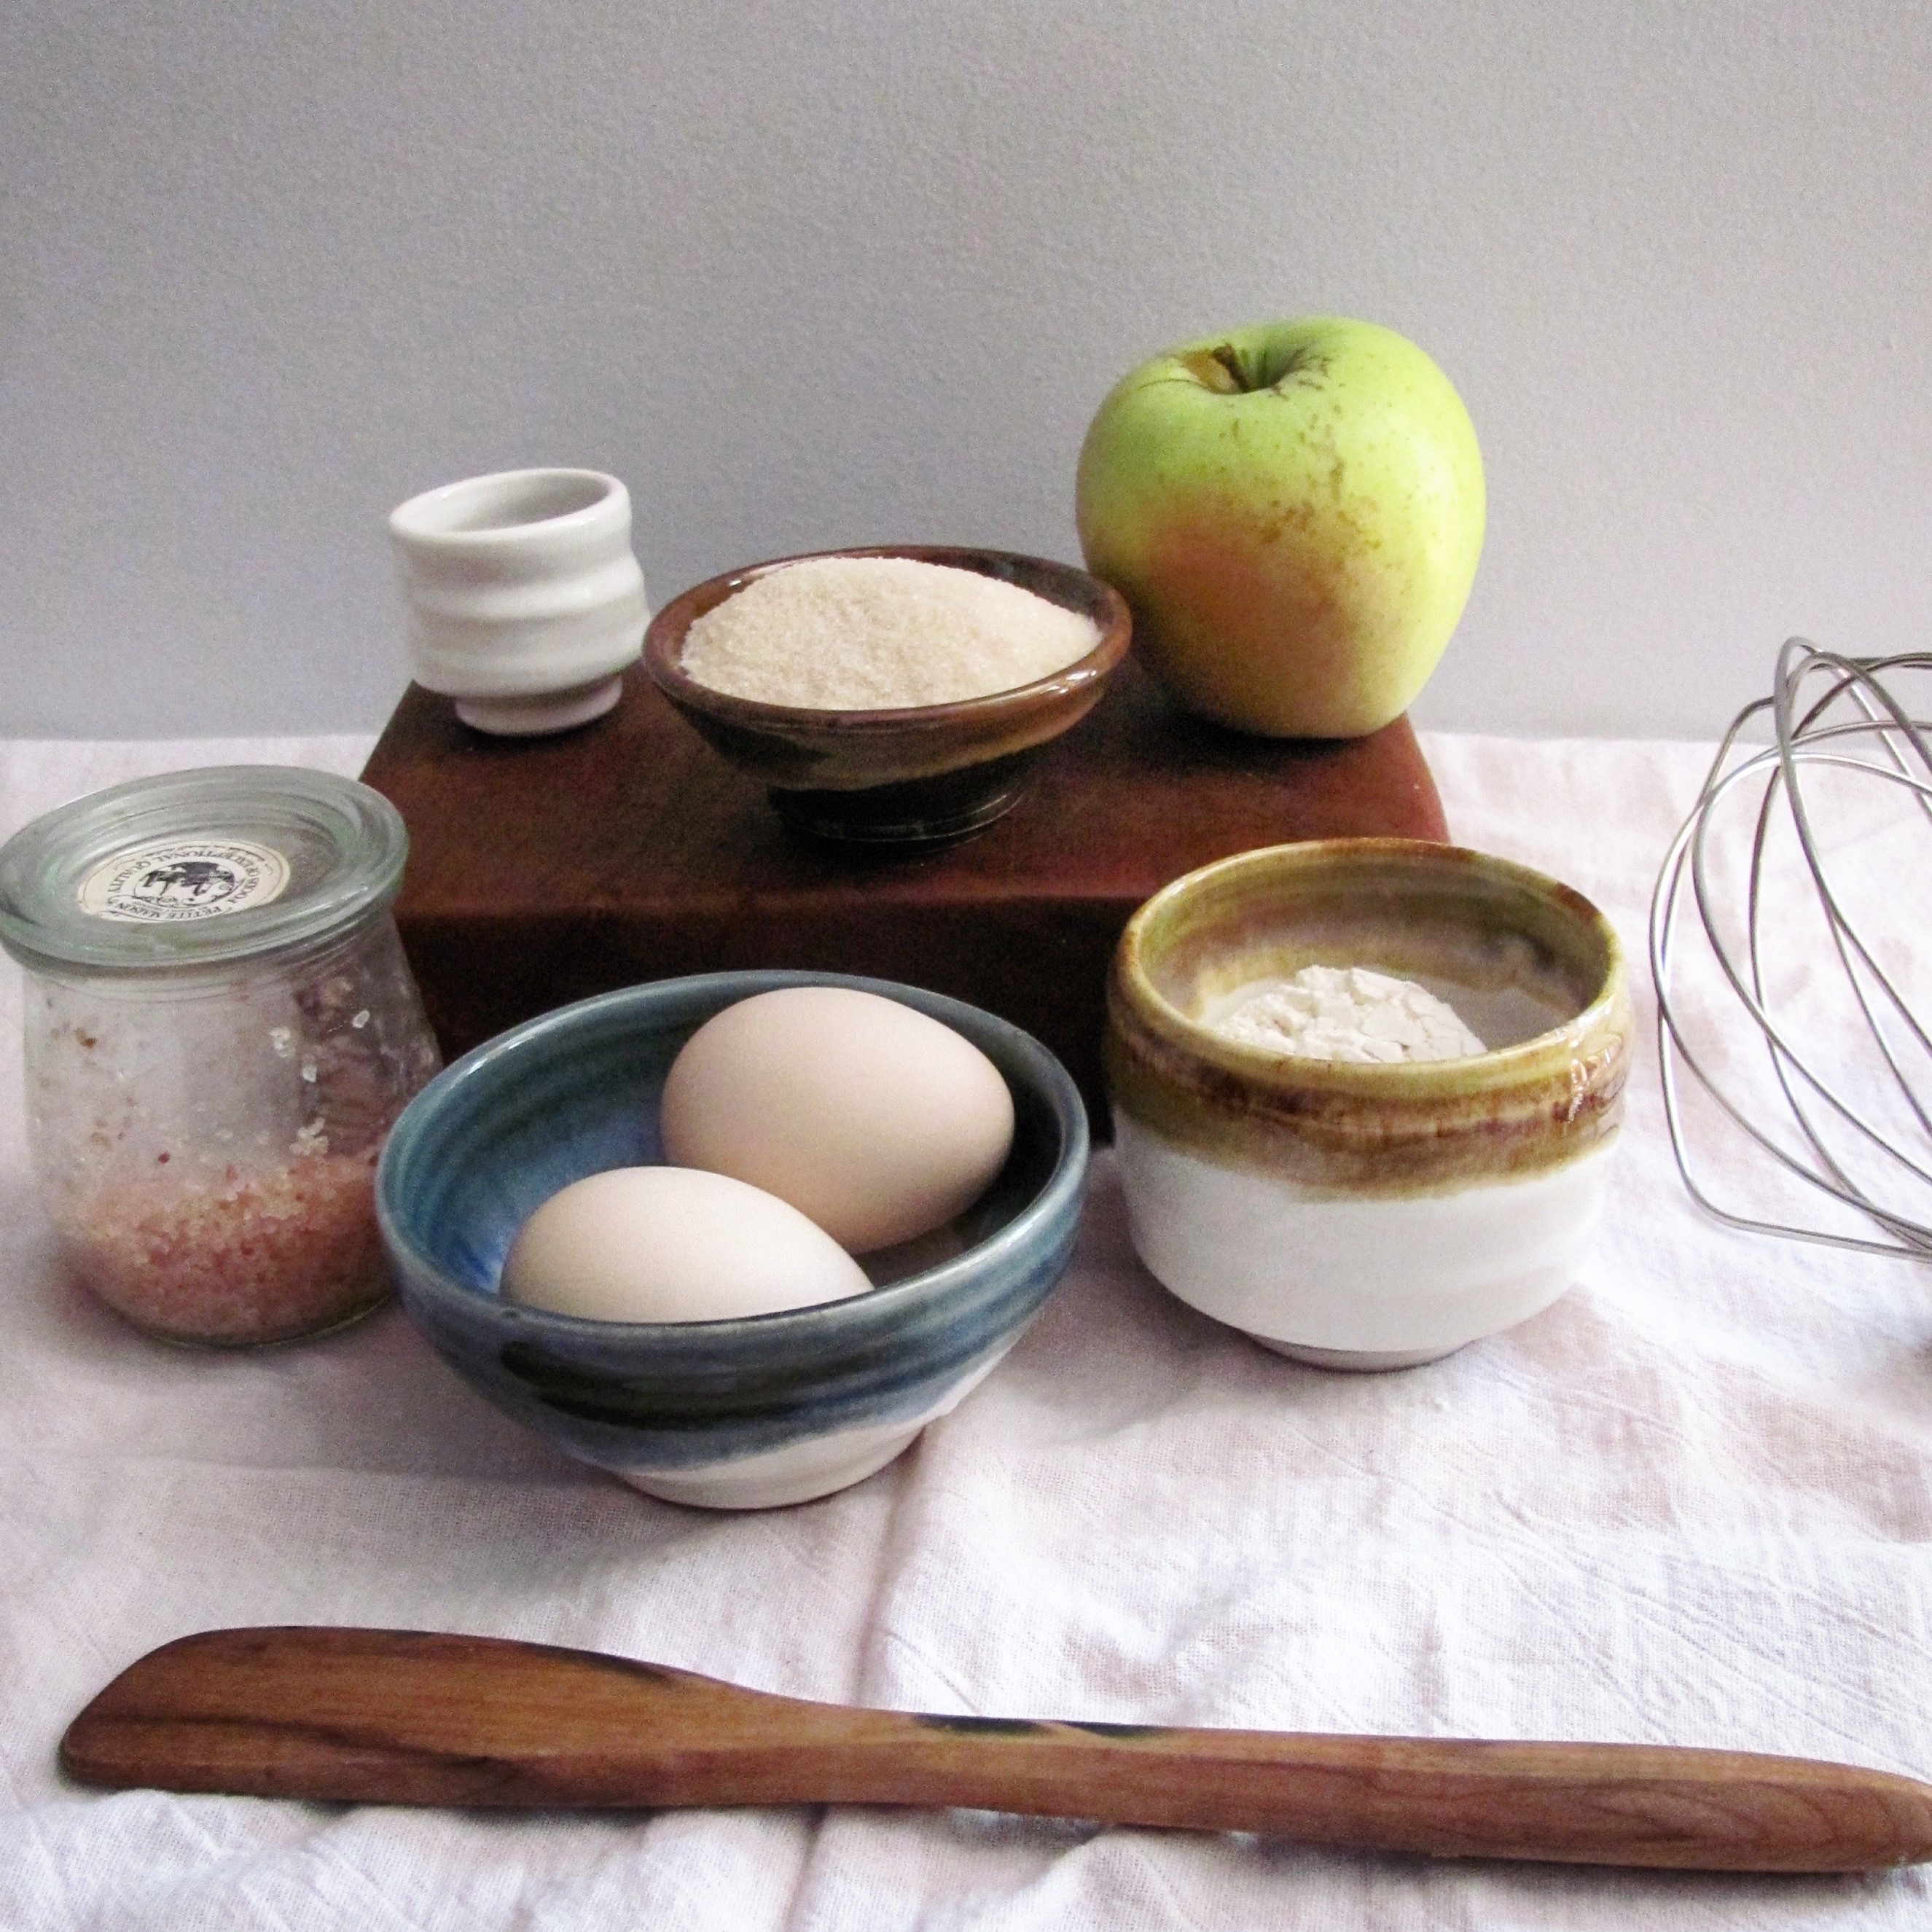
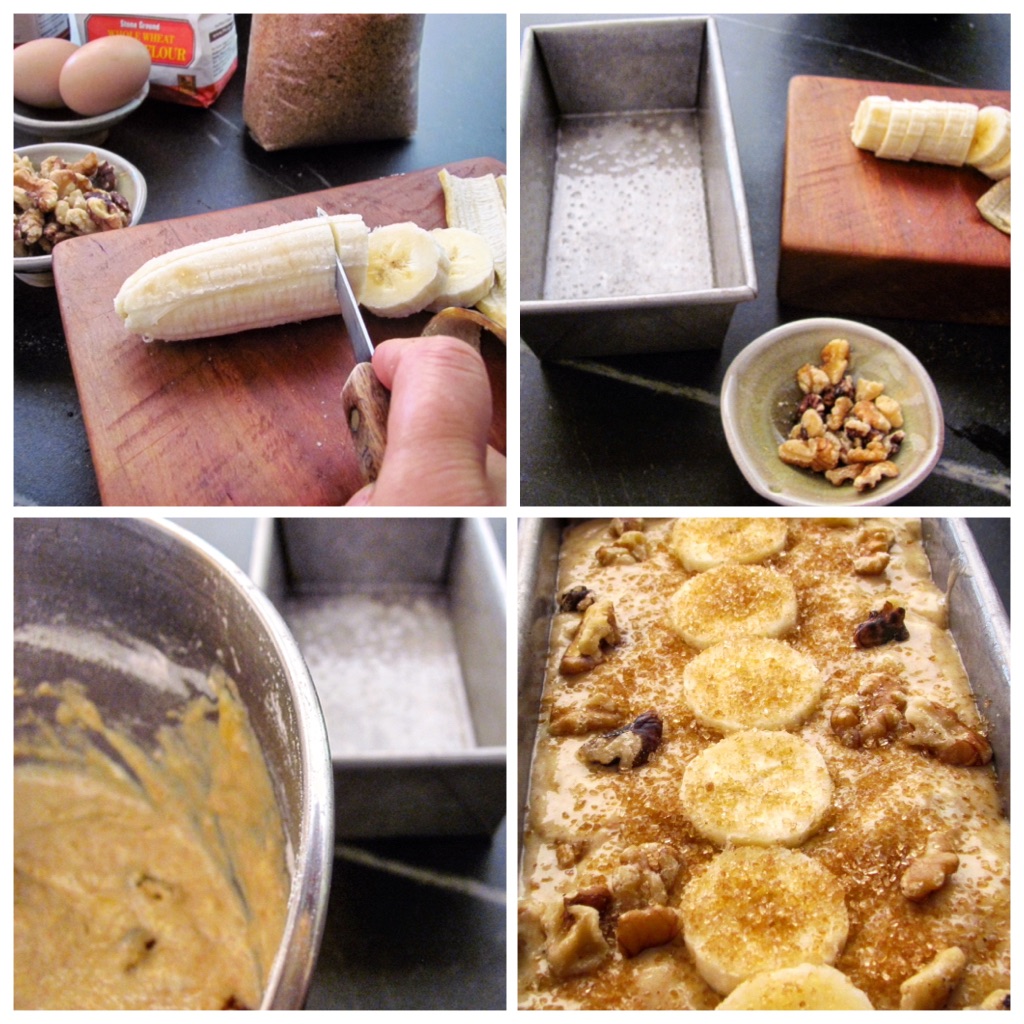
2 bananas, 1 mashed, 1 sliced into 12 pieces
1 tsp sea salt
1 cup water

Mix all ingredients. Taste the mixture. If you want it a little sweeter, add some honey or agave. You want everything evenly moistened with a bit of extra water in the bottom of the bowl. If the mixture seems dry, add an extra ¼ cup of water. Refrigerate overnight.

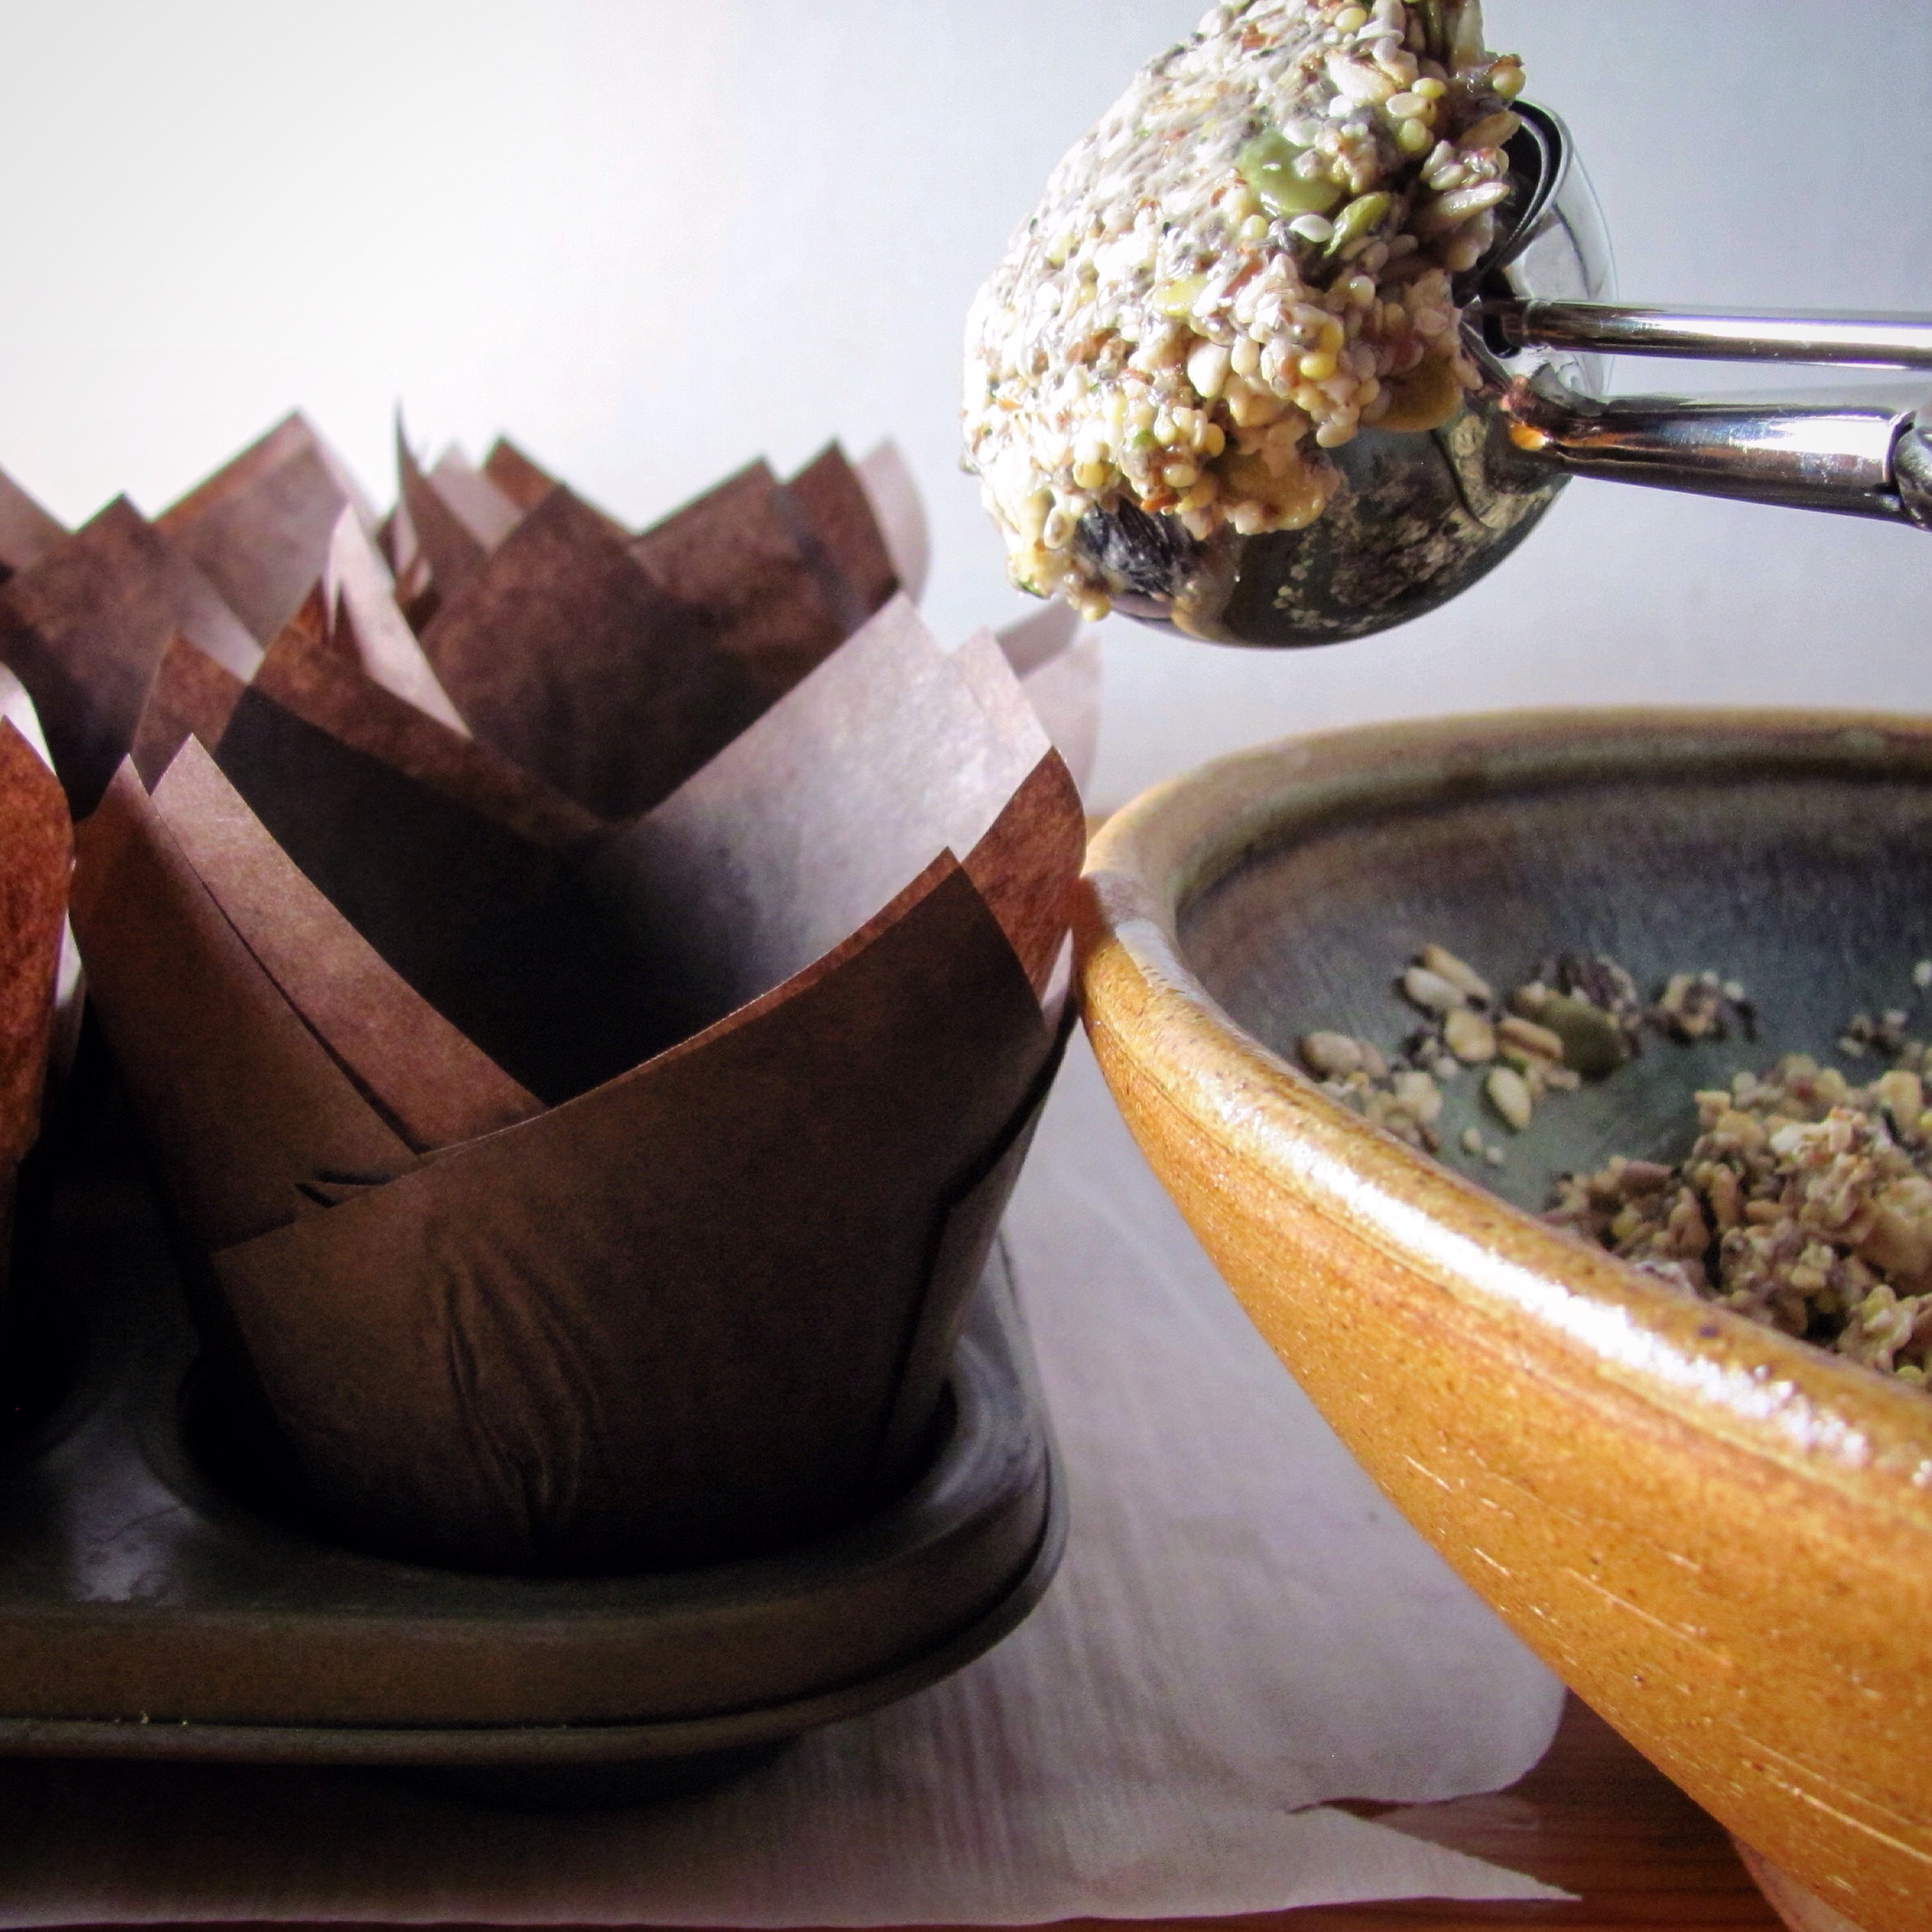
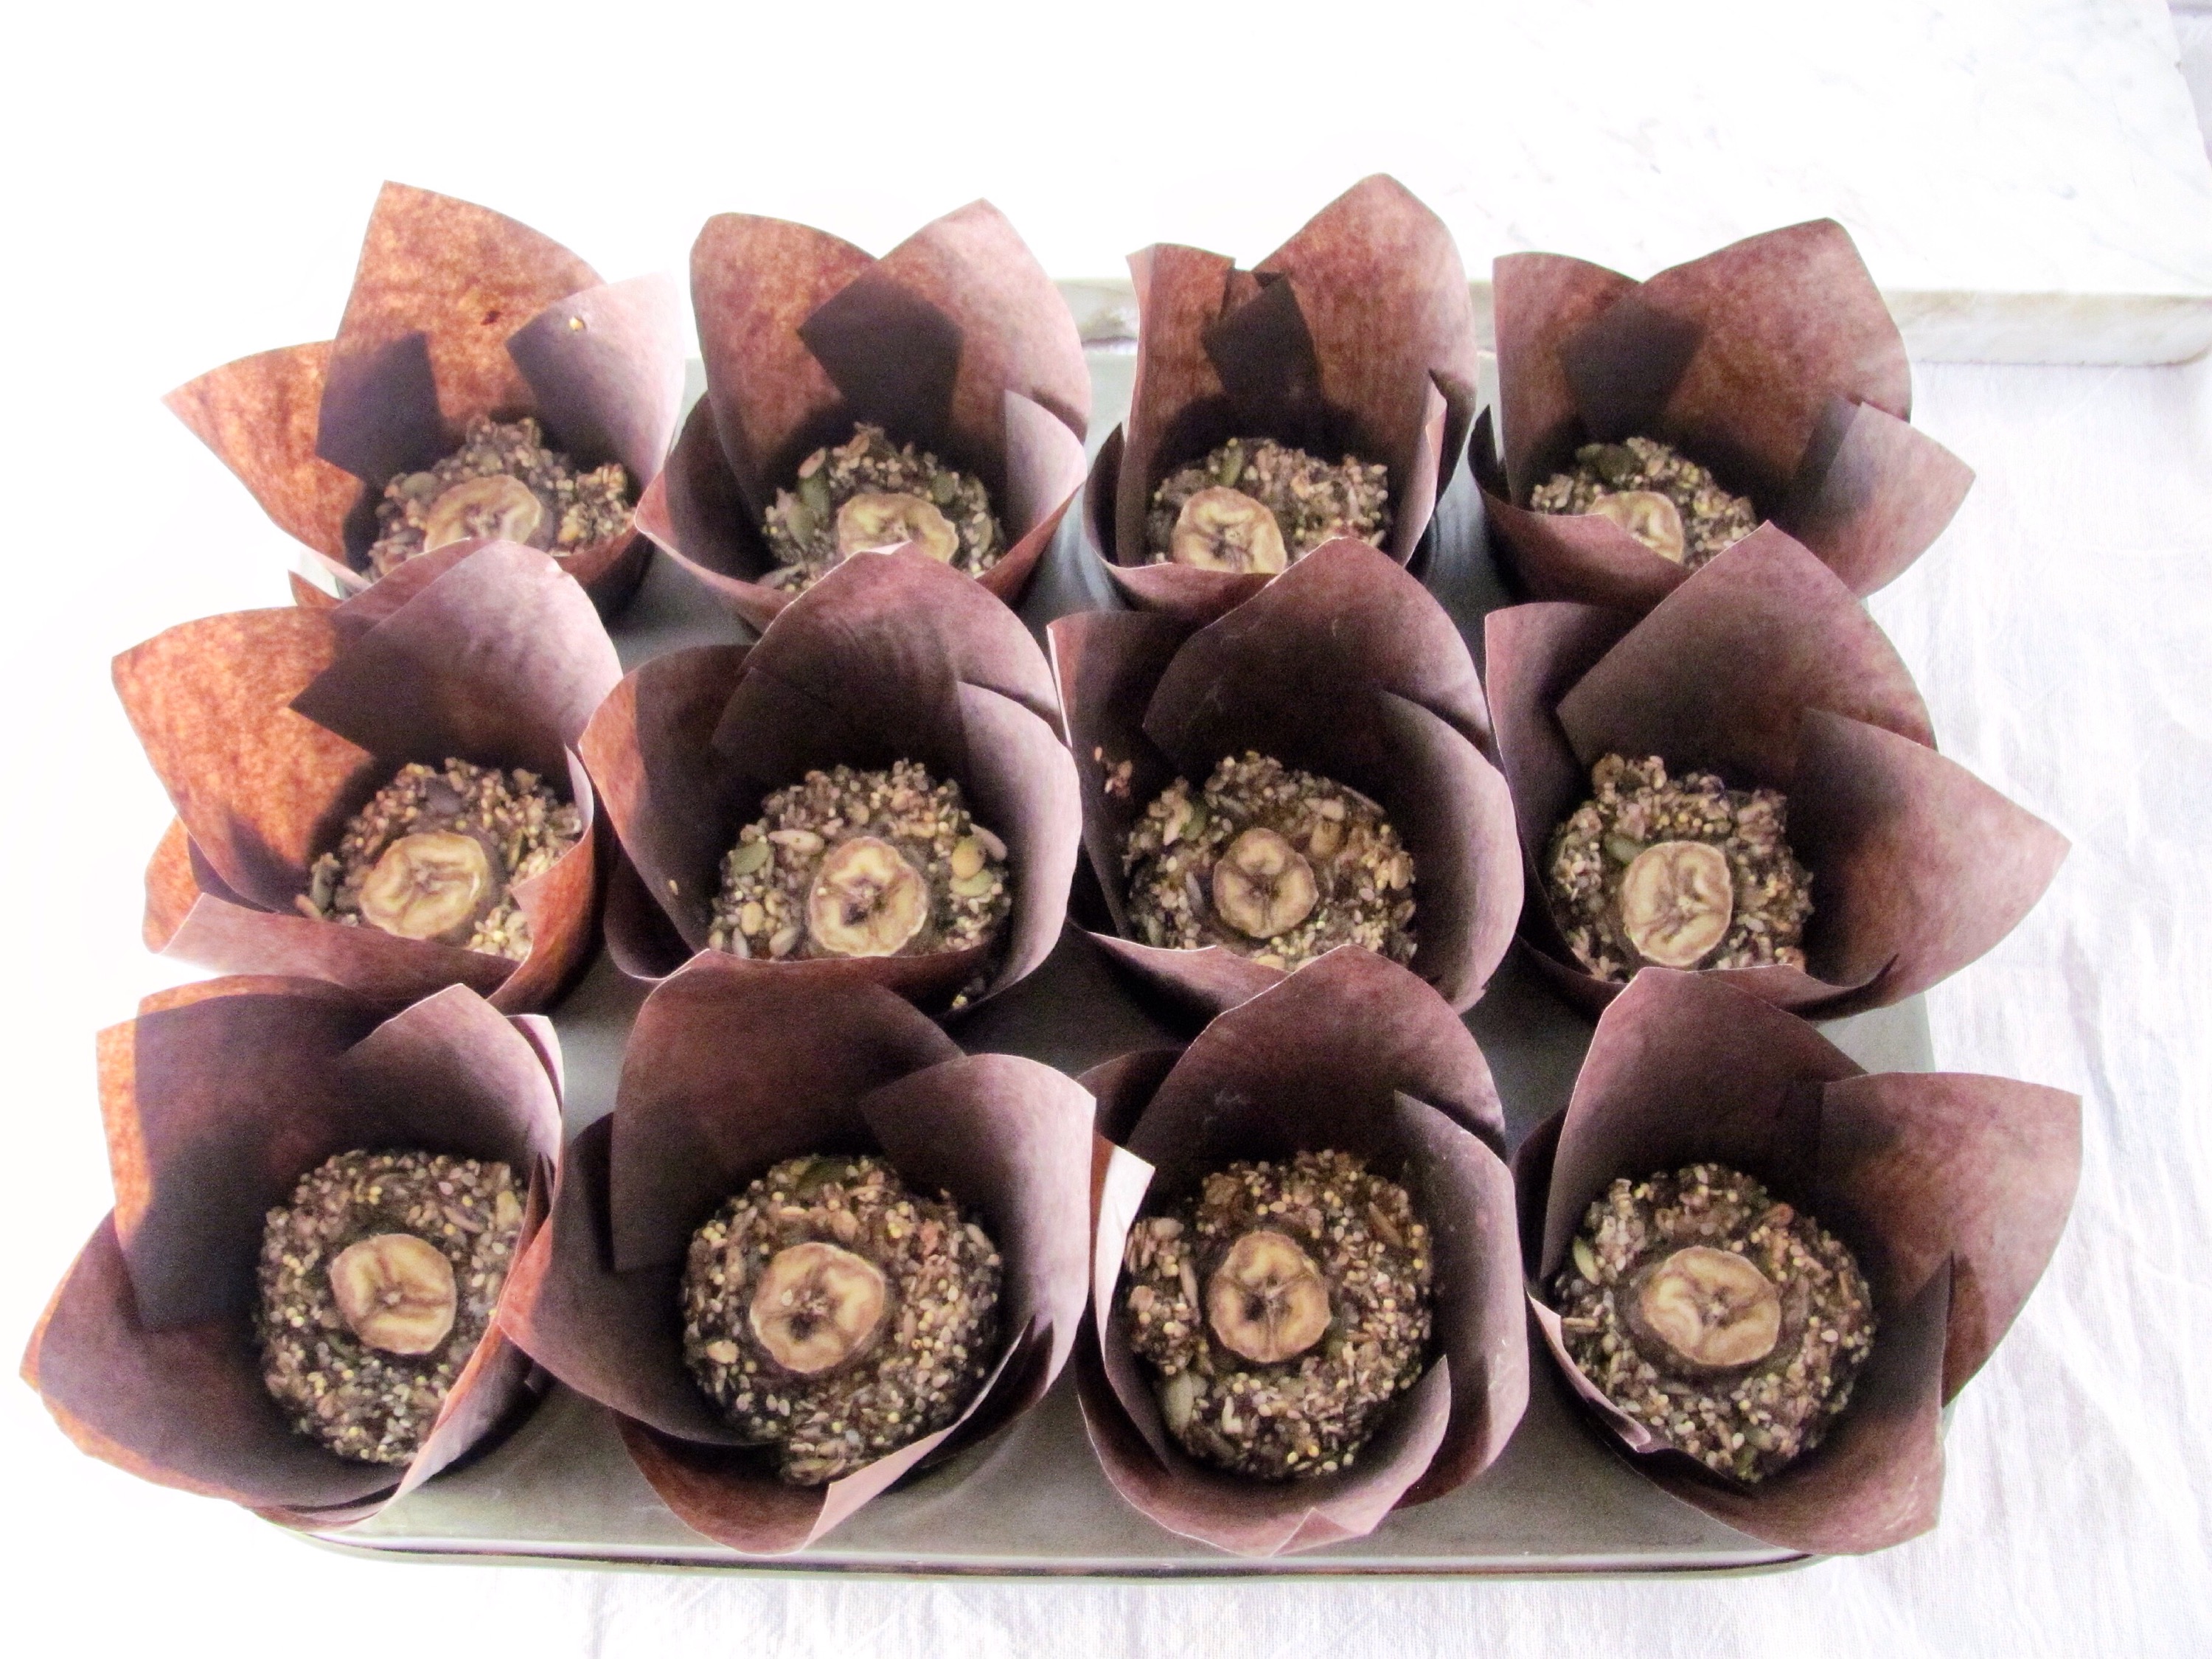
Preheat oven to 325°; line muffin cups with 12 paper liners. Stir the mixture well. Use a portion scoop to fill the cups and place a banana slice on each, pressing lightly.

Bake for 45 minutes, until the muffins are firm to touch and lightly browned.

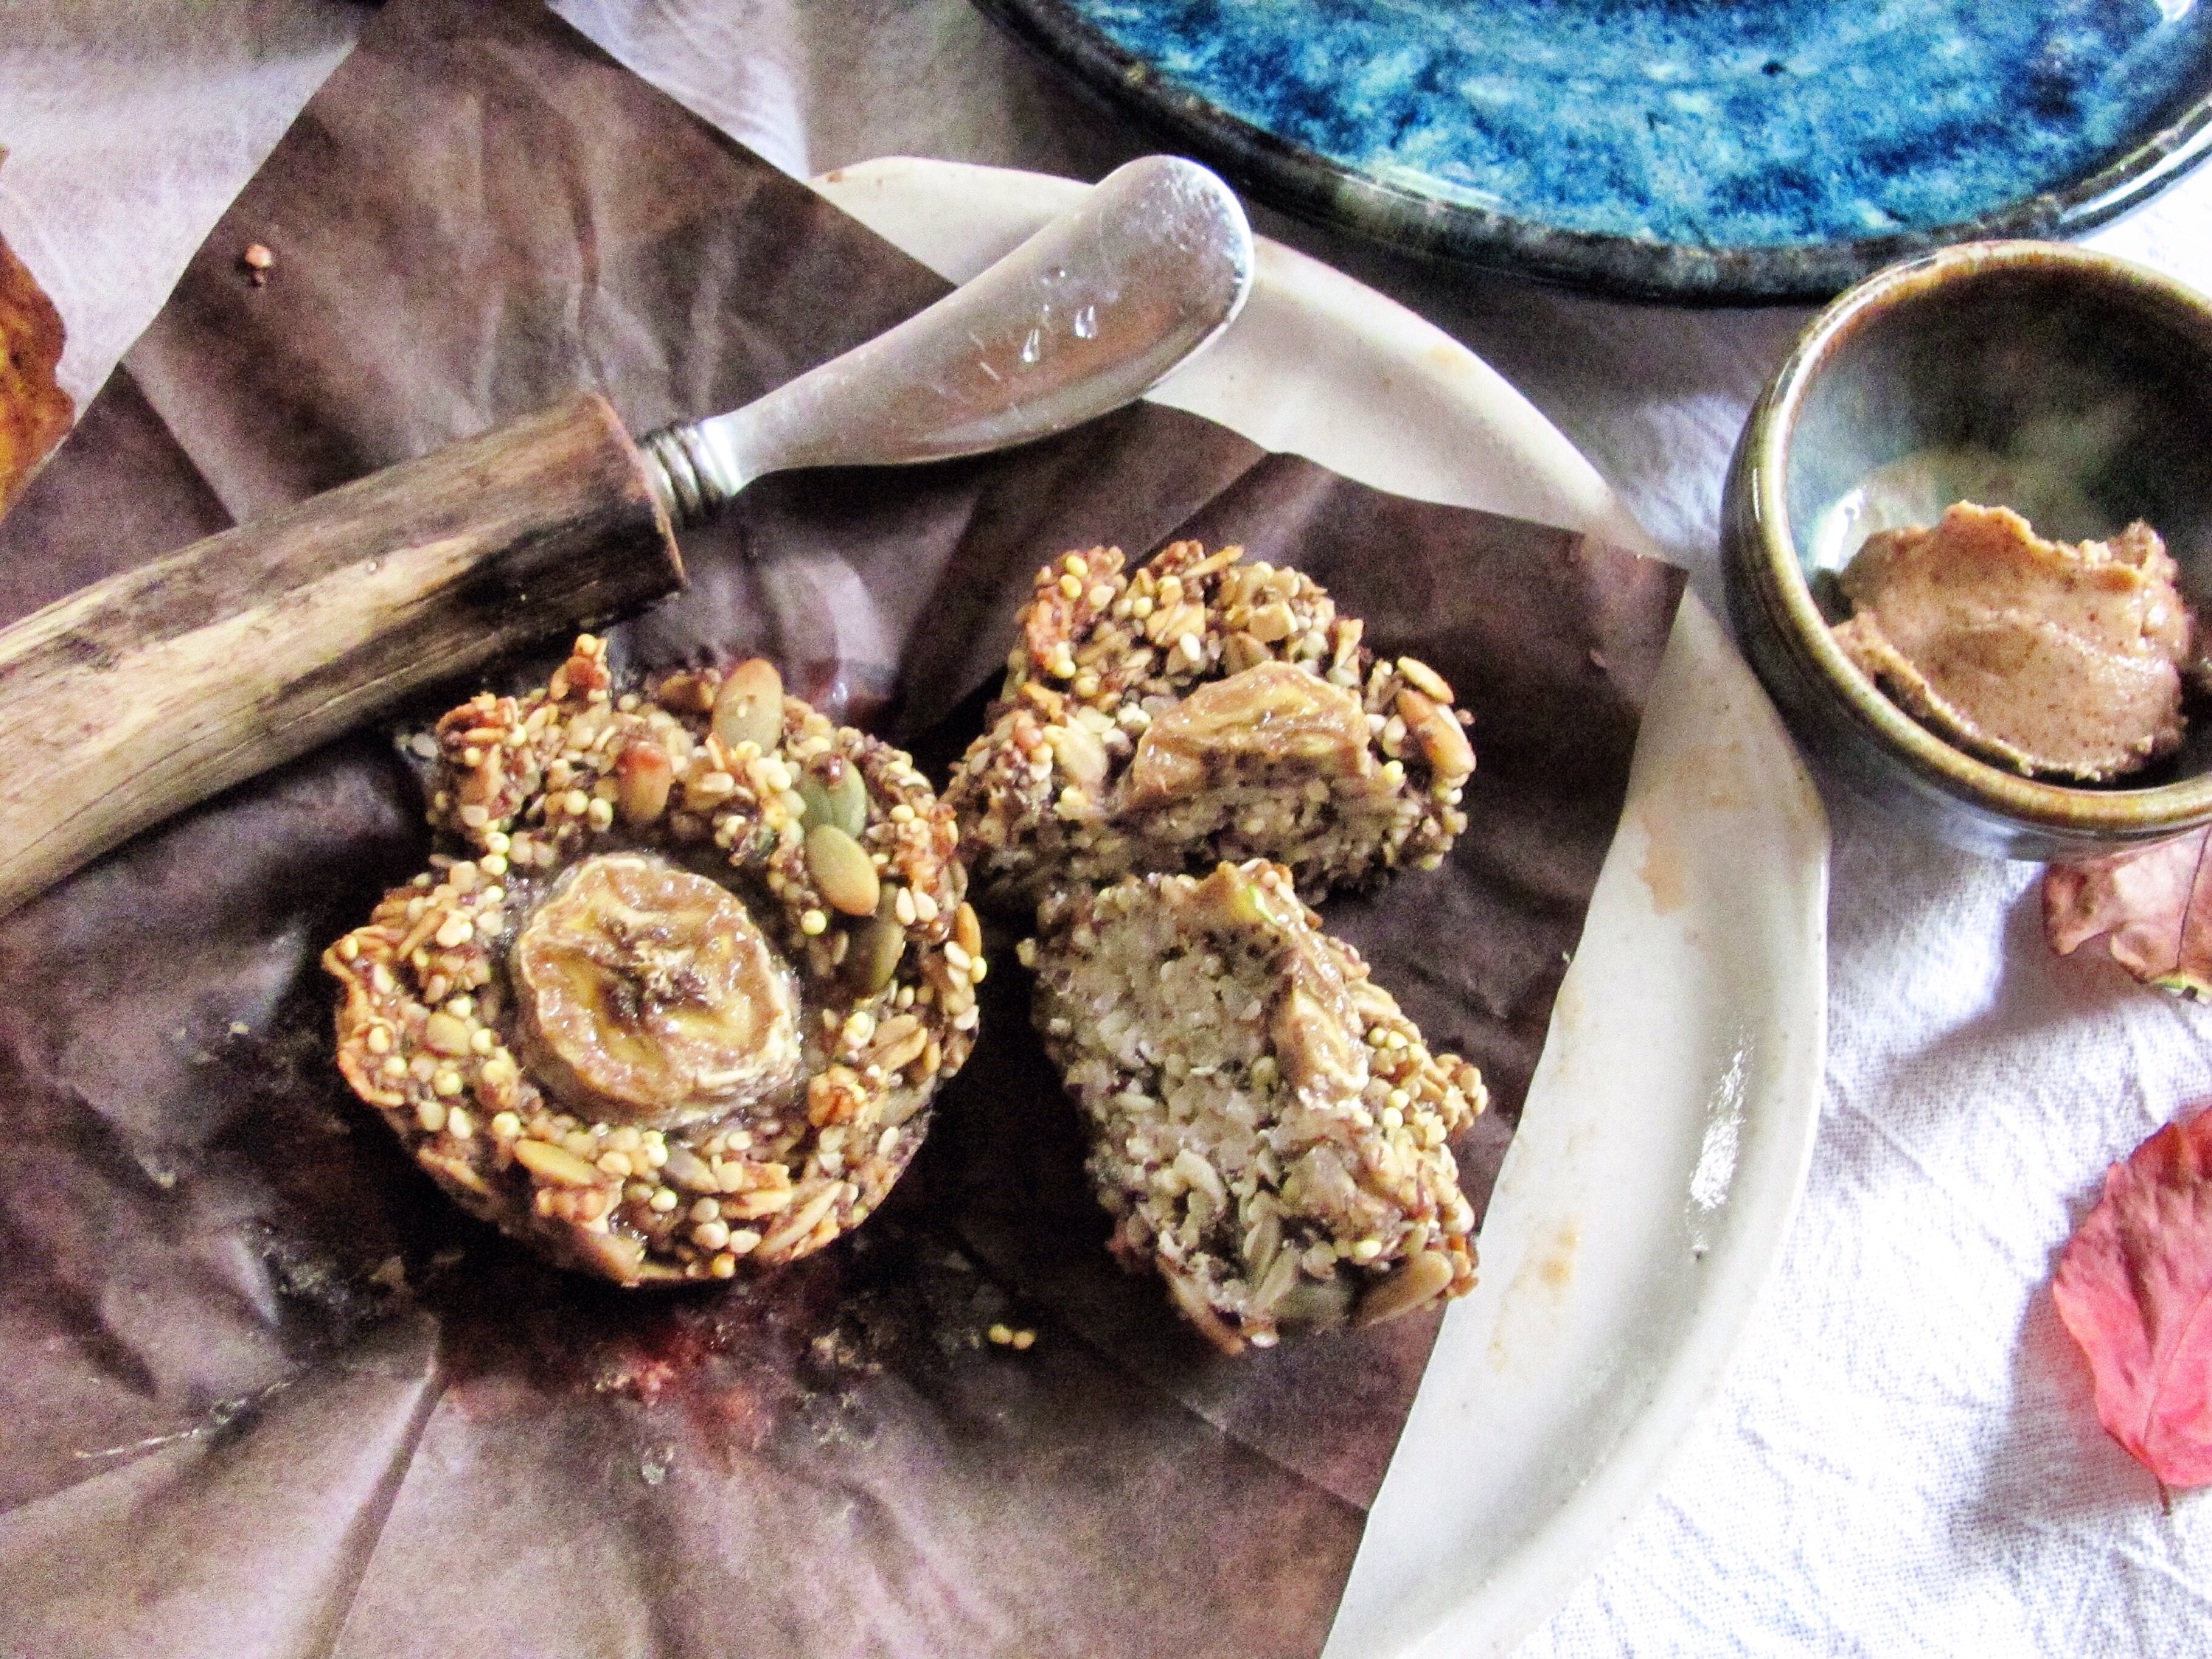
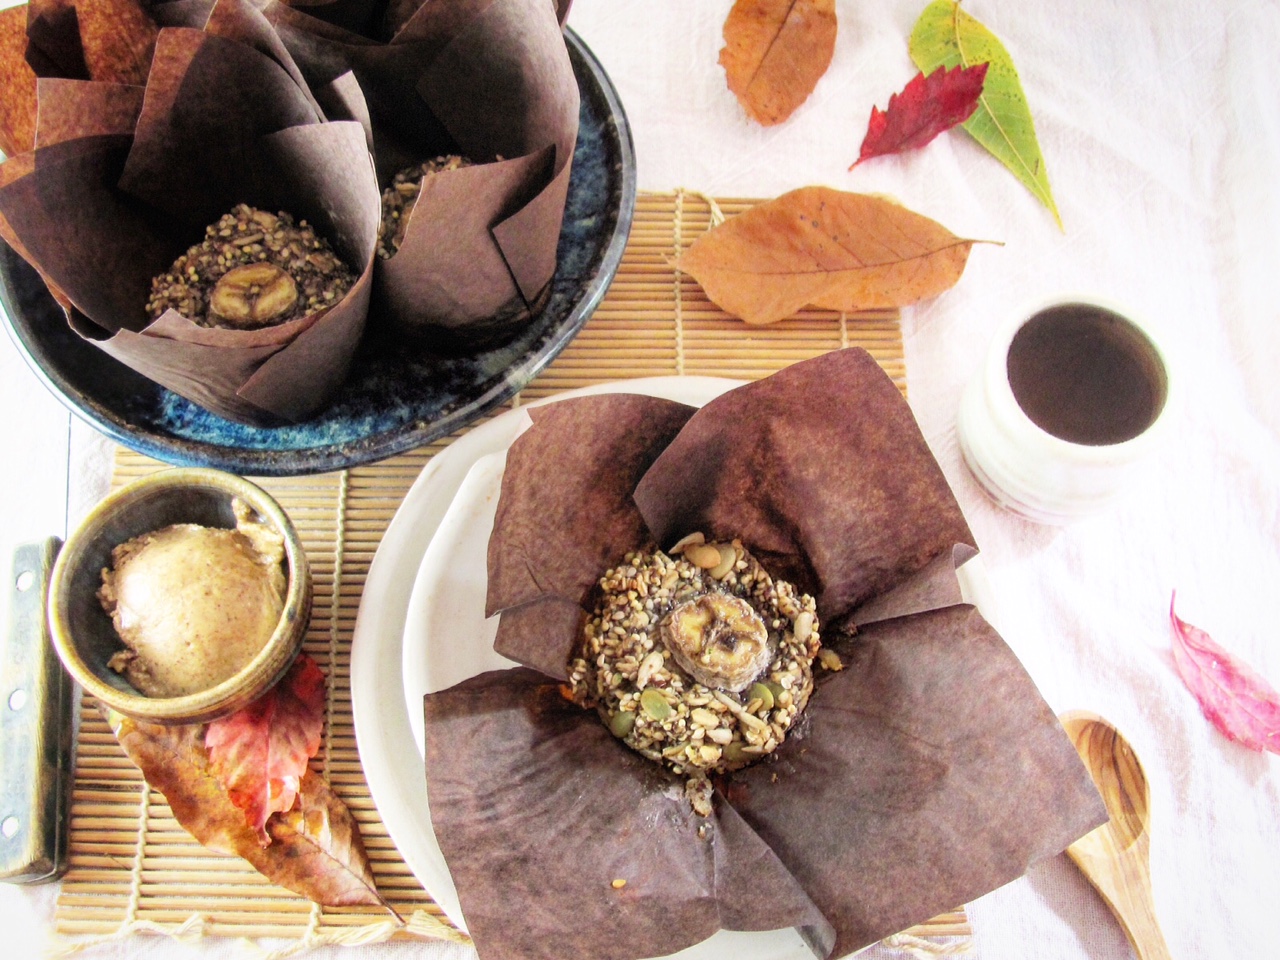
Let them stand for at least 2 hours before serving. If you do snitch one before that, you may find that they are too crumbly.

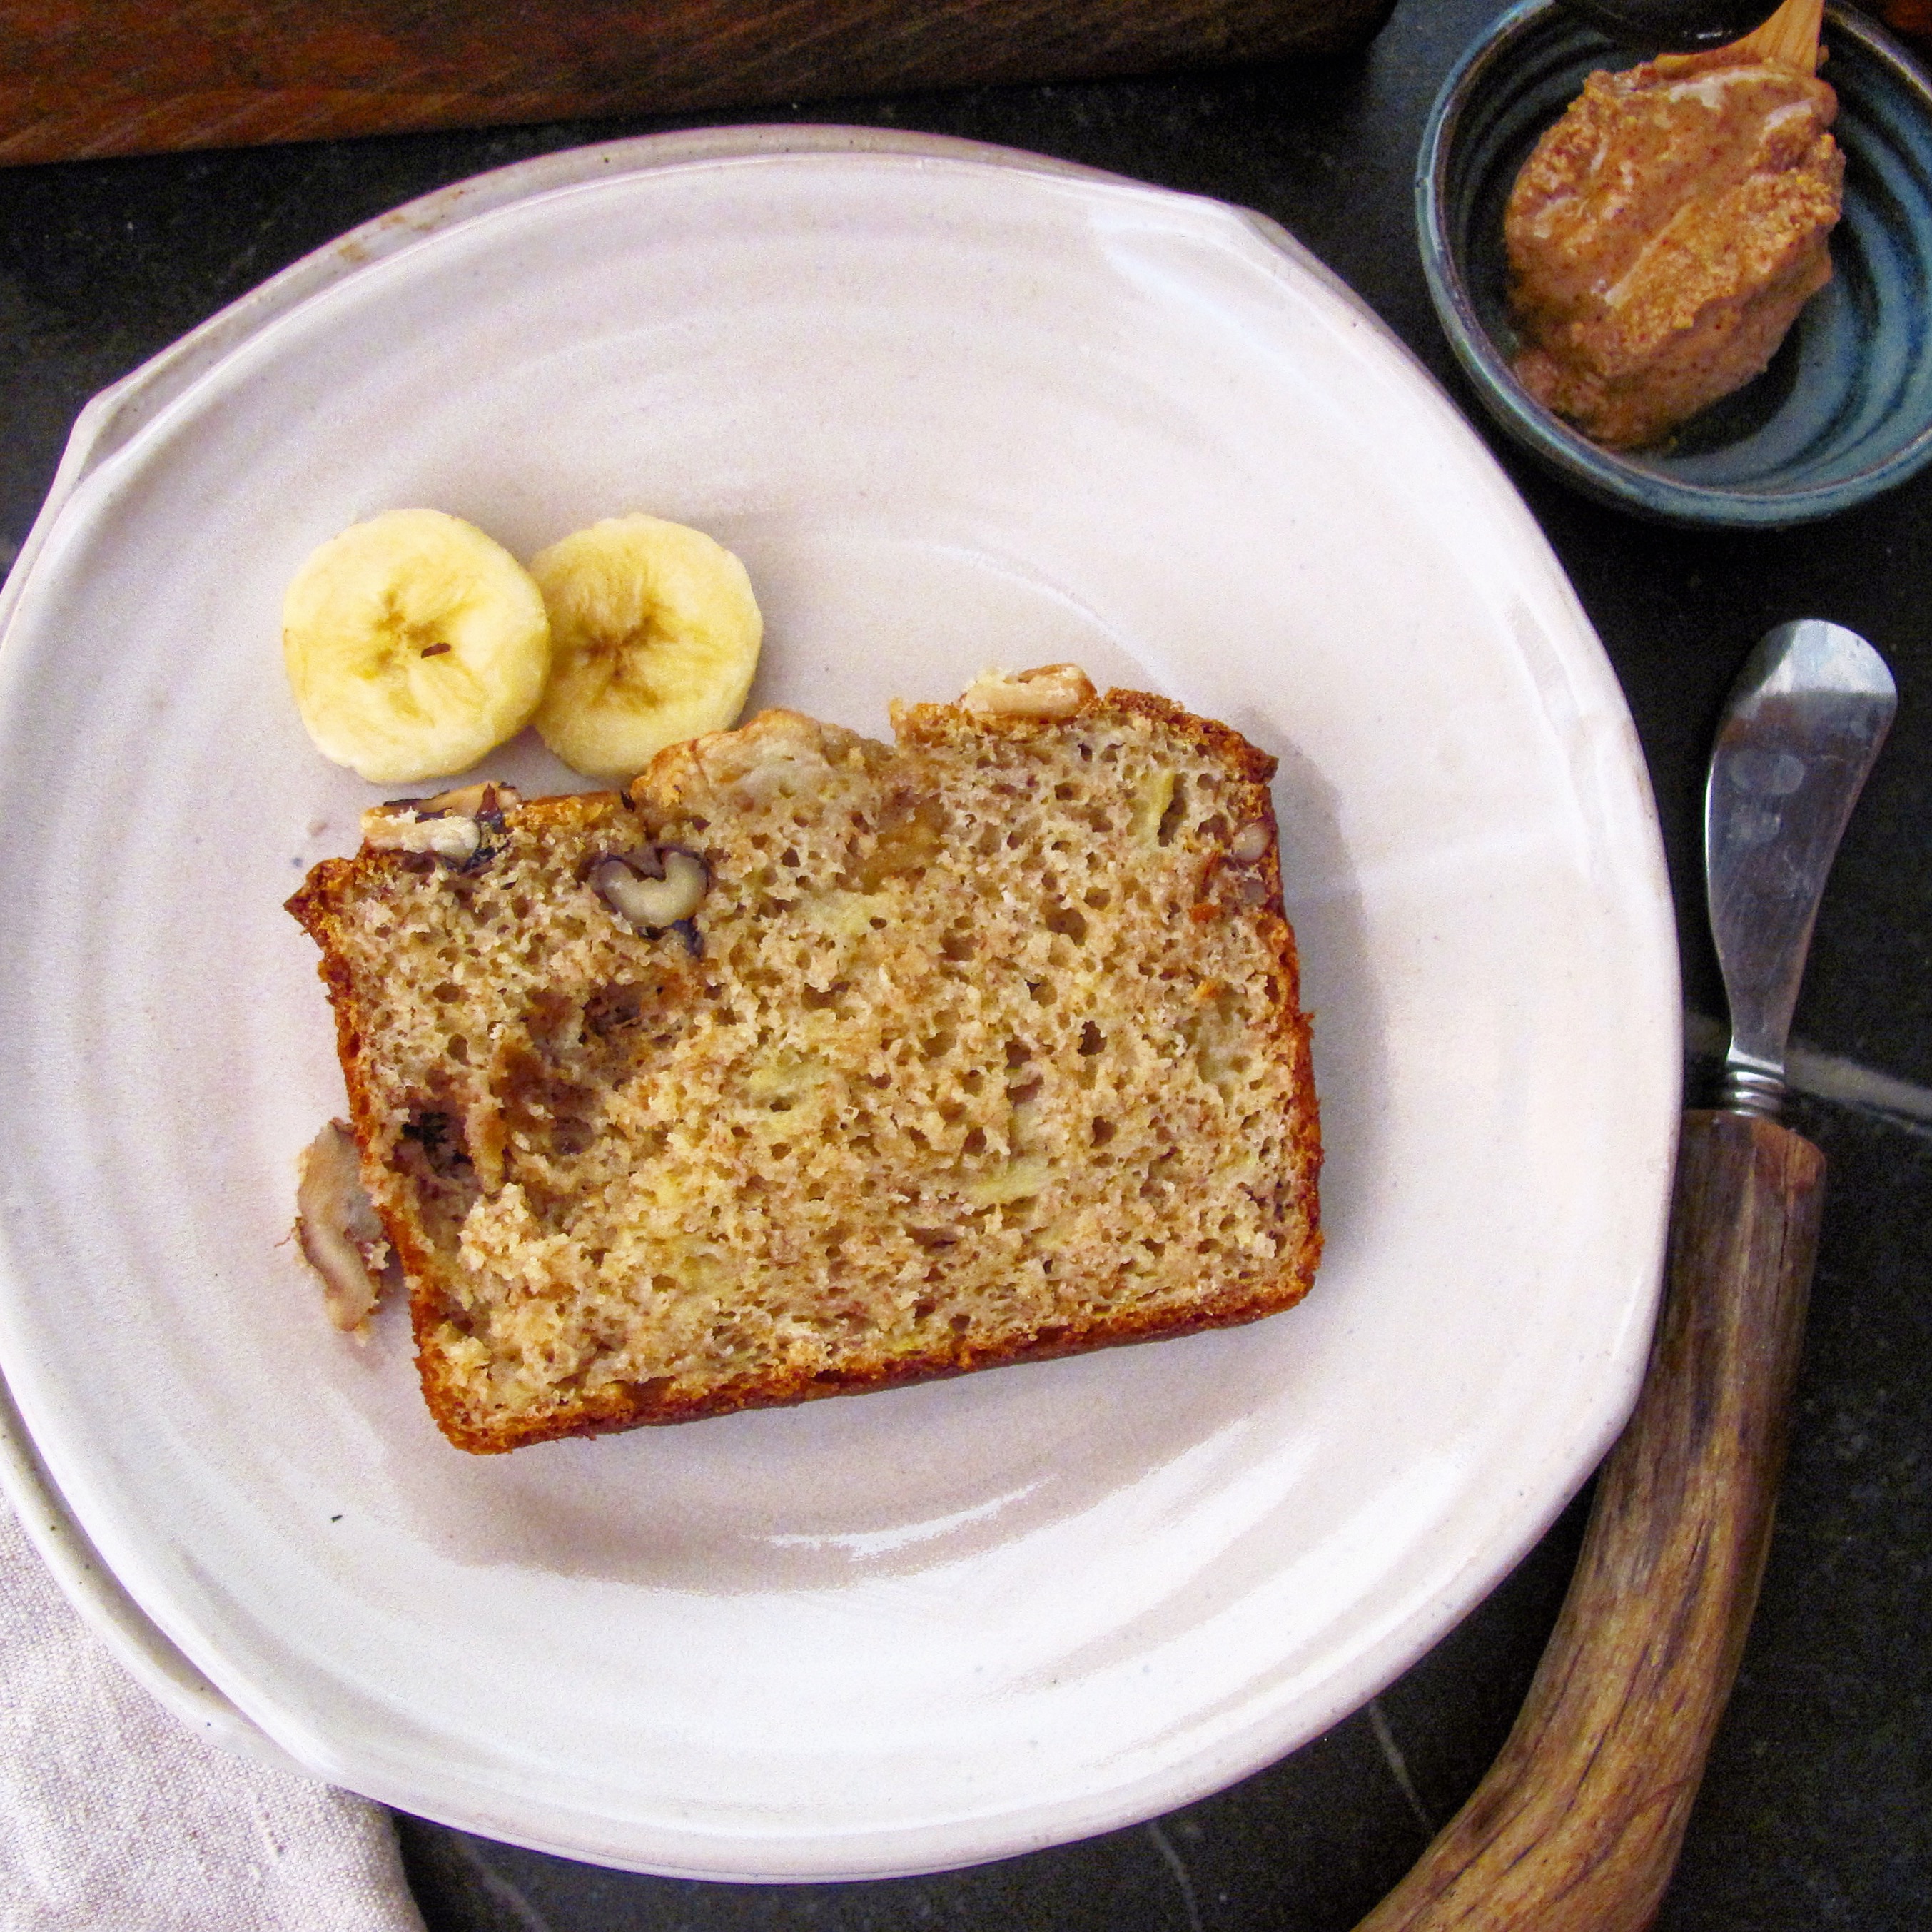
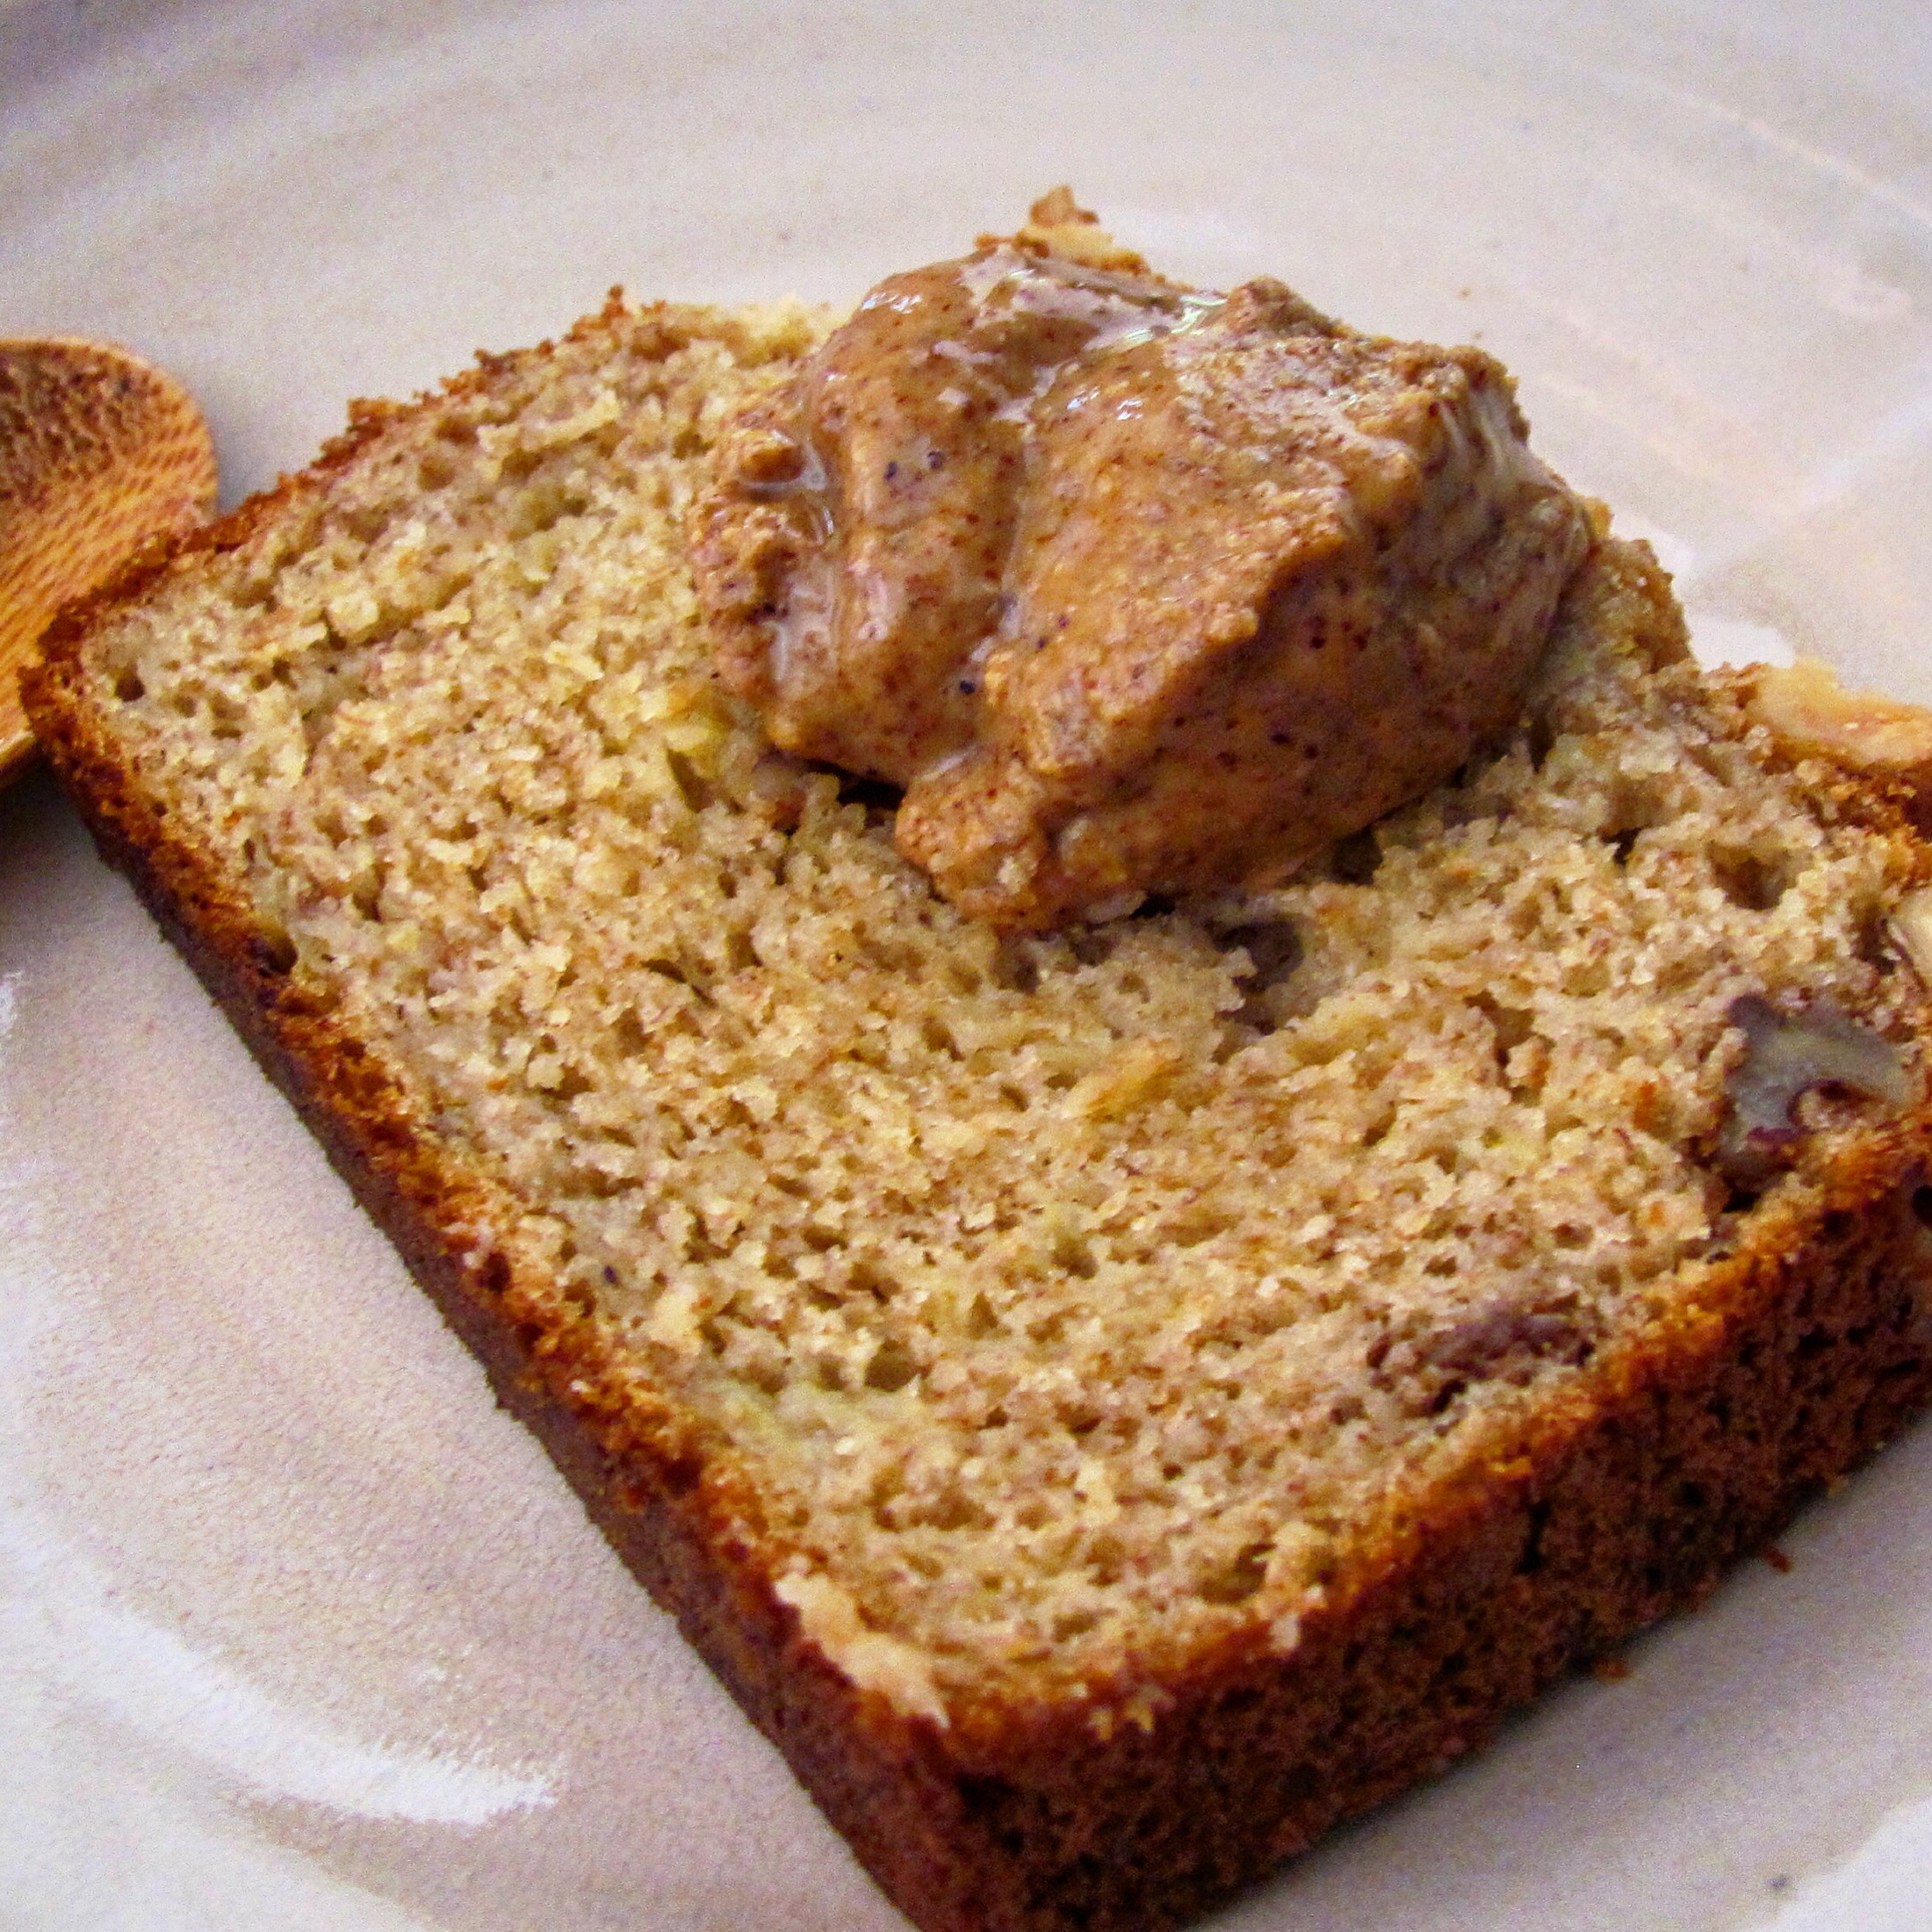
I love these served with peanut or almond butter.

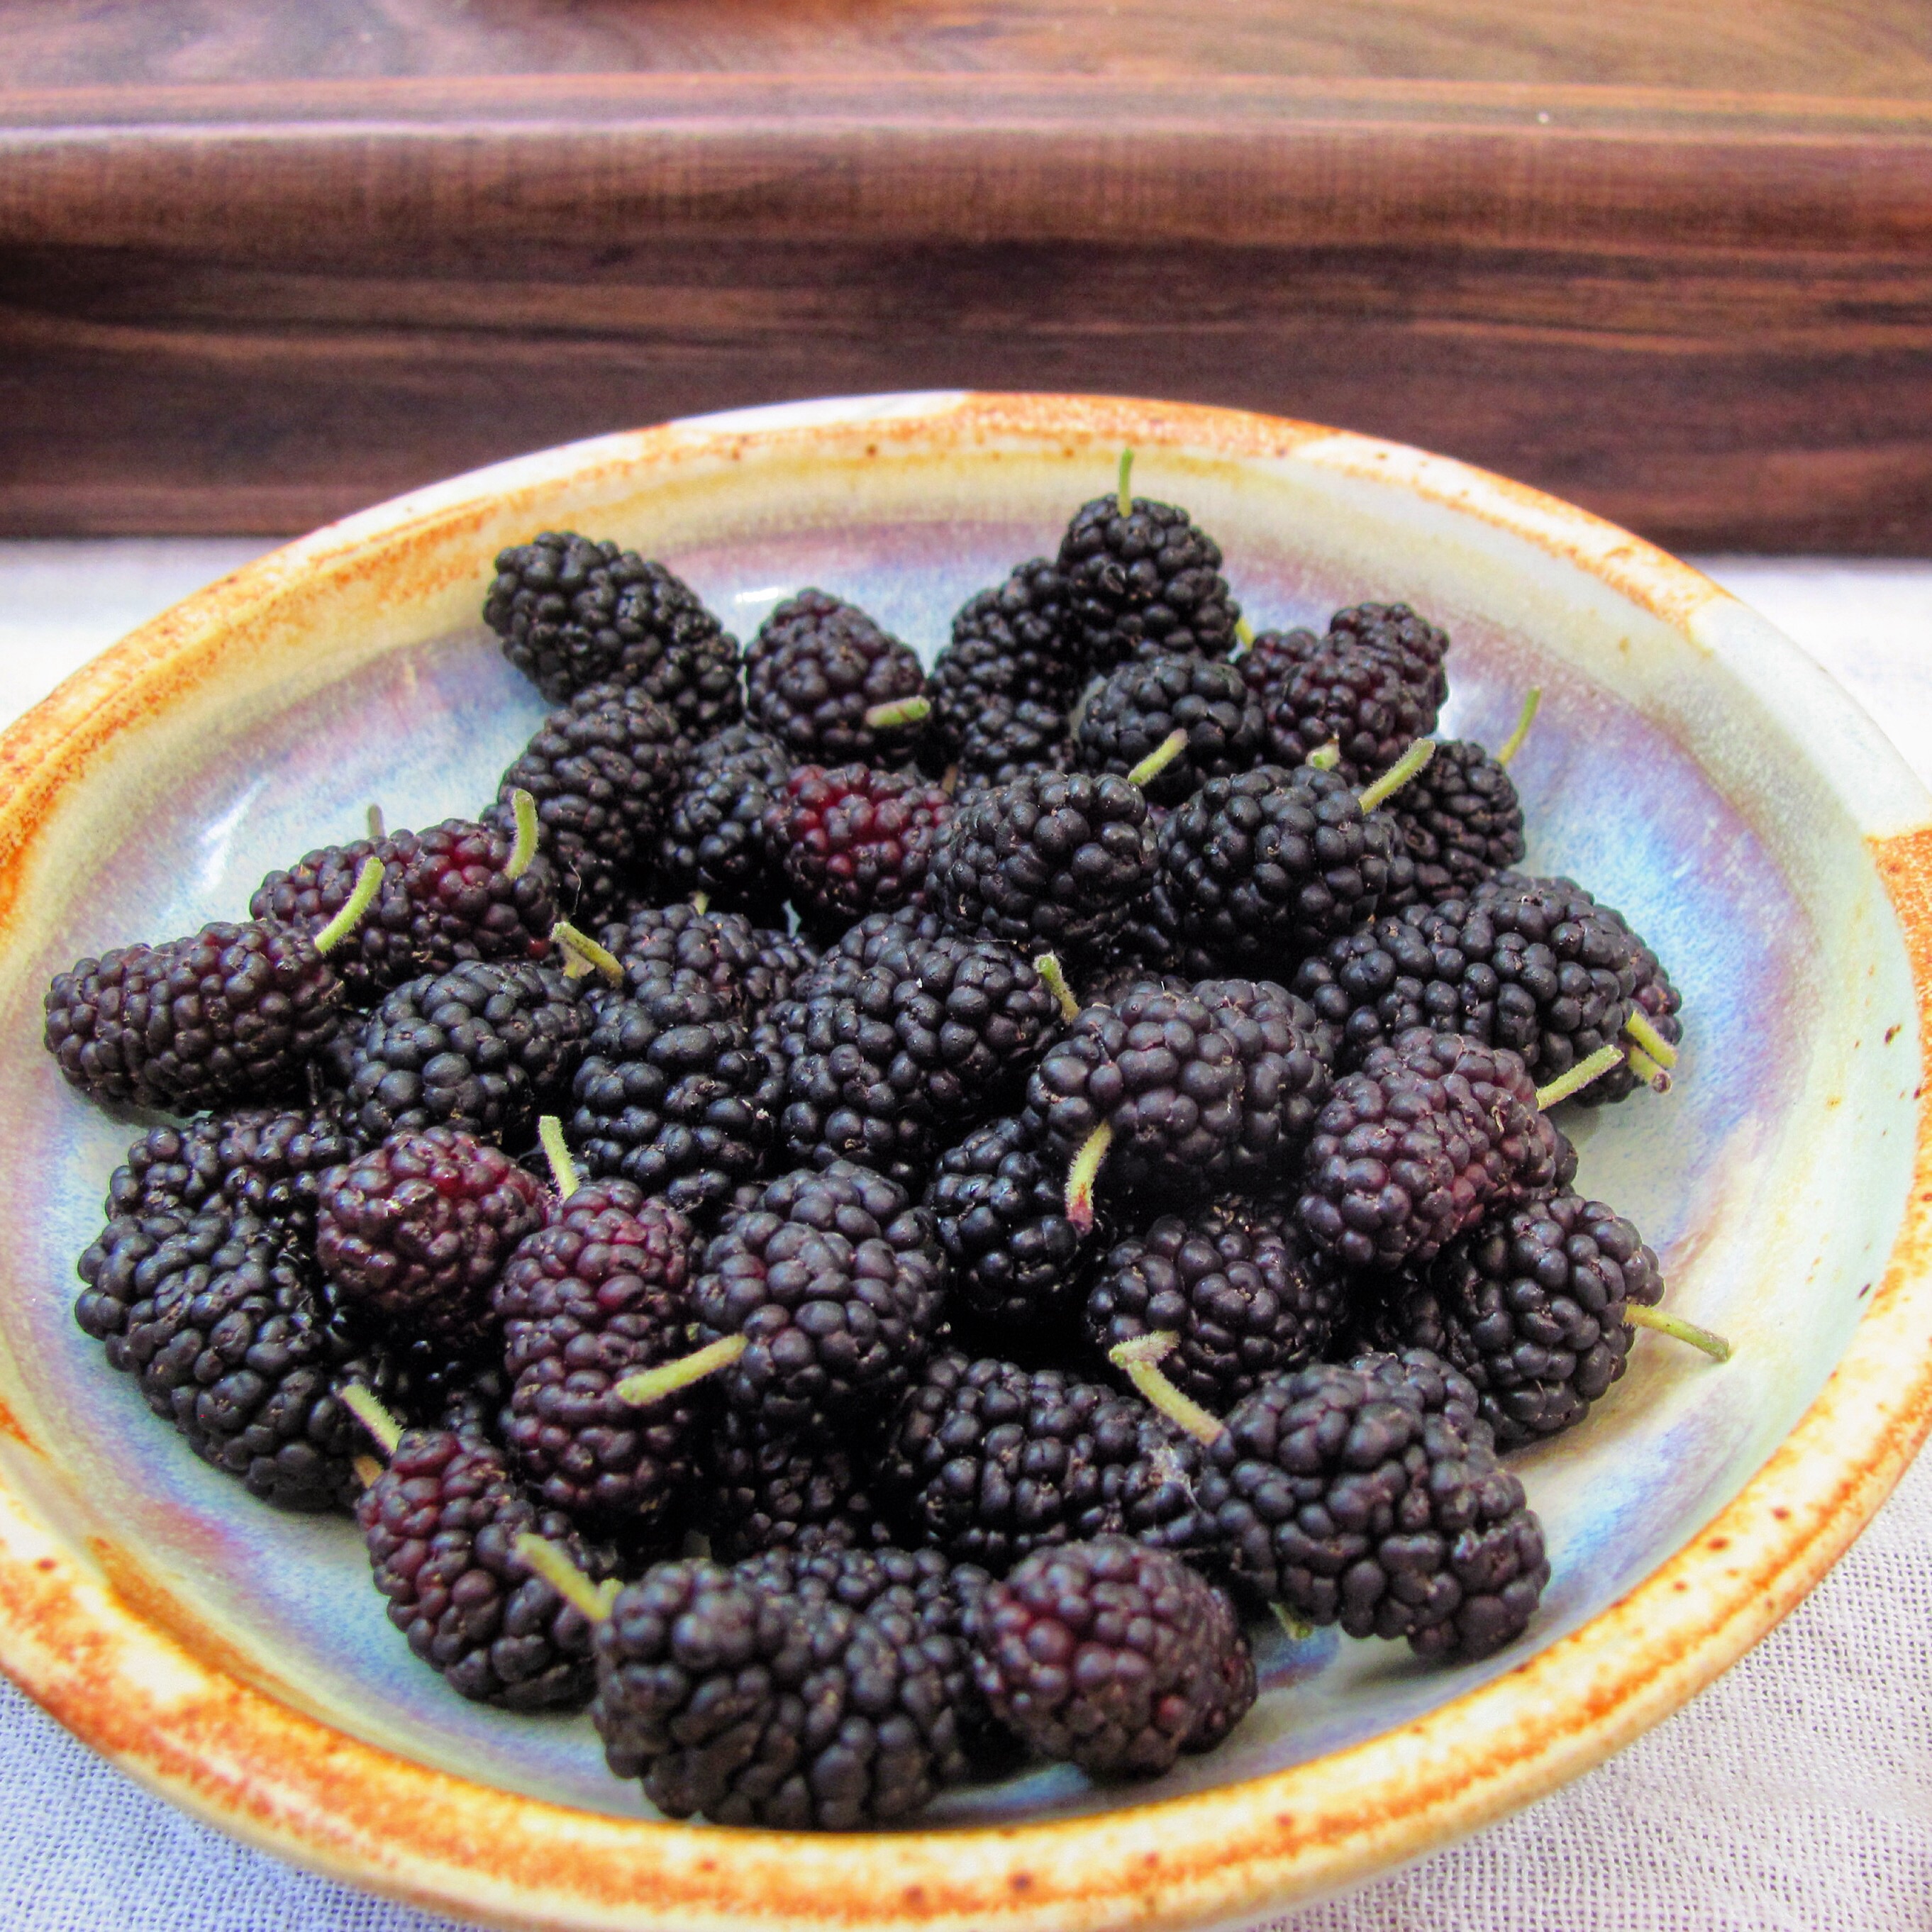
Variations: instead of the banana, you might try fresh or dried figs or apples. Berries would also be good. Or go with the original Mindfulness mixture and use raisins or dates. You may choose different grains, seeds, or nuts, just try to maintain the original proportions.

IMG_6156
IMG_6155
IMG_6152
IMG_6144

Posted in baking, breakfast, healthy | Tagged , , , , , , , , , , , | 14 Comments

Salted Caramel Apple Upside Down Cake

image

image

imageHappy Apple Season! It’s been very close to a year since I started Deb’sPotsBlog and we’ve come full circle back to the orchard; yesterday was our big family fruit and veggie picking expedition. All the grand nieces and nephews had a wonderful time climbing trees (shhhh…), stomping on ripe tomatoes, and digging sweet potatoes. Afterwards, everyone came back to the house and had a swim and a big supper of pasta, salad, and cookies.

foodapp

And, in keeping with time-honored tradition, today is for baking! I have developed an incredible new apple recipe and can’t wait to share it with you! It’s loosely based on Sally Schneider’s Pineapple Upside Down Cake.

This one combines a bunch of favorite flavors: apple, caramel, vanilla, and salt. It’s like a caramel apple, but cake!

image

image

image

image

image

image

Salted Caramel Apple Upside Down Cake

This is a small cake, serving 2-4.

It may be made with gluten free flour.

1 large apple, peeled and sliced*
2 tbs. butter
2 tbs. light brown sugar
2 eggs, room temperature
1/3 cup organic cane sugar
1 tsp. vanilla extract
1/3 cup all purpose flour
several large pinches of your favorite sea salt

*You want a variety that is good for baking and will also hold its shape. Jonagolds are perfect, as are Golden Delicious, which you see here.

Preheat the oven to 375°. Heat a 6.5 inch cast iron skillet over medium high heat and add the butter. When the butter begins to melt, add the sugar and stir. When the mixture begins to bubble, place the apple slices in a spoke pattern in the bottom of the pan. Sprinkle in a little salt.

Cook for 3-4 minutes over medium high heat until the apples begin to soften a bit. Remove from heat and let cool while you make the batter.

Begin beating the eggs with a good pinch of salt on high speed using a stand mixer fitted with the whisk attachment. You could also do this with a hand-held mixer, but I think it would be very challenging to do without power tools. Add the sugar and beat for 5-6 minutes until tripled in volume and light in color. Add the vanilla and beat to combine.

Fold in the flour using a rubber spatula. Pour the batter over the apple slices and smooth with the spatula.

Bake for 18 minutes or until browned and set.

Let cool for 10 minutes. Run a paring knife around the edge of the cake. Place a plate over the skillet. If the handle is still hot, use a pot holder. Take a deep breath. Quickly and confidently, invert the skillet and plate together in one swift motion. Take another breath and remove the skillet. If there are any bits of apple or caramel still in the skillet, use the rubber spatula to spruce up the situation.

Serve immediately with vanilla or salted caramel ice cream or whipped cream. A bit more salt might be nice, too.

image
image

Posted in baking, dessert | Tagged , , , , , , , , | 10 Comments

Pasta Caprese

image

image

image

image

Guess what I’ve been reading lately? I’d love to tell you I’m immersed in some great literature; sitting in my beautiful new great room or outside under a tree with a heavy, old volume that smells of book dust and history. Nope. I’m reading food blogs and cookbooks. There, now you know.

It seems to me that most food bloggers are so much younger than me!! They are having babies and raising young ones. And I notice a recurring theme (yes, it’s what I do, I’m a psychologist, I notice themes) having to do with feeding kids. How to get them to eat…healthy, well, at all? How to raise kids who have a good relationship with food? This issue is perennial, not limited to bloggers. And I’m not an expert. But as a therapist, a cook, and mama of 25 years, I just might have some wisdom to share on the subject.

So, if you’re a parent looking for guidelines, or a grandparent hoping to give some useful advice to your own frantic kids, I’m here to help. If this subject if irrelevant to you, skip right on to the recipe below. It’s a winner, a huge hit in my house for many years. You’ll love it!!!

I have a little scientific speculation regarding the feeding of young children. There seems to be some evidence that many, perhaps all little ones, may be what we call “supertasters.” Which means that the physiology of tongue, nose, and brain combine so that food tastes more intense to them. Which can mean that they might have a hard time with certain flavors. And lots of kids are very sensitive to texture, too. I remember the first time I gave Megan cottage cheese. Let’s just say I don’t think she’s eaten it in 24 ½ years.

Are you wondering why I’m telling you about brains and tongues?

I think it’s important, when trying to figure out how to manage our jobs as parents, (keep them alive, socialize them, make them happy, get through the day) to remember that they are real people with unique experiences. And it’s so helpful to be respectful of those experiences. We can never know what it feels like to be another person. This is especially true for the youngest people with limited language skills. So, I think it’s wise, within reason, to be compassionate and generous about the whole endeavor of eating when you’re dealing with children.

So, I’ll try to describe the mindset I’d like to propose: flexible, curious, collaborative, relaxed, open-minded, upbeat, forgiving, adventurous, silly, and creative. Please don’t hate me. I know you’re busy! The days are full, there are so many things to handle, and a kid who won’t eat what you put on the table can be enormously frustrating. But if you let your anxiety and frustration win, you will have problems for years. And if you find a way to take it easy, have fun, and be goofy, it’s just possible everyone will be happy instead of having a big old power struggle.

People, even tiny ones, like to have a sense of agency and choice. If you simply say, “eat your broccoli,” you are inviting your son or daughter’s sense of agency to come from simply choosing “no!” If you say, “do you think the broccoli tastes better with lemon juice or plain?” then either choice is a positive one for everybody.

I know you’ve heard this before, but it’s true: If you get your kids involved with choosing and preparing heathy food, they will be more interested in it and more likely to eat it. If you have the ability to grow some tomatoes, lettuce, raspberries, a vegetable garden, that’s a whole rich world of food experiences and memories for your kids. We have an apple picking ritual in our family that goes back more than 50 years! These days, our grand-nieces and nephews come to Warwick every fall (tune in next week) to go to a local orchard and pick apples and veggies. Last year, we dug sweet potatoes with our bare hands. Those kids have eaten things right off trees that they would never have eaten at a table. And when they get home, they are willing to eat them off a plate!

If you take your kids to the farm market or supermarket, let them help pick out food, and then get them involved in the kitchen, they will be much more likely to want to taste and experience the results. Have fun! Be playful! Create memories.

image

What happens if they are picky and won’t eat healthy stuff? Don’t push too hard. Gently encourage them to try new things. If you are light hearted about it, you might find that their tastes shift over time. Tell stories about your own childhood: “You know, I hated mushrooms when I was 6, but when I was 8, I tried them again and realized they were really awesome! Isn’t that funny?”

It goes without saying that if you want healthy eaters, you’ll want to be careful about going to extremes in either direction about junk and fast food. If they get too much of it, nothing else can compete. That stuff is engineered to be irresistible. But I think if you are overly rigid about forbidding “corporate poison”, you can create a mystique that makes it too seductive. Mass produced, artfully packaged, highly advertised non-food foods are in the culture and pretending they’re not doesn’t solve problems. As kids grow, teach them the complexities, but I would be careful about being too dogmatic.

image

OK, one last, and most controversial thought. Consider limiting after school activities and sports, especially in the younger grades. Families can get overly busy and lose touch with each other, their own emotions and bodies, and the balance that promotes good health. There’s plenty of evidence that our relationships with people, ourselves, our health, and food, are improved when we sit together at the table and enjoy food as a family. This is impossible if we spend our lives at practices, games, lessons, and in our cars. I know these are tough decisions. I wouldn’t refuse a child who has a passion for a sport and is really committed to the team. Or forbid music lessons to a budding virtuoso. But I worry about all the families who sign up all the kids as a matter of routine. Consider the costs as well as the benefits of so much busyness. Try to have supper together a few nights a week. Talk and laugh. And don’t demand that your kids put their devices away until you turn off your phone!!

I bet you’re wondering about the recipe by now! Meg is home for her 25th birthday (!!!) and I wanted to make a family favorite. Both of my kids have always loved it. This is the one that came to mind when I think back on all the years we’ve spent as a family, enjoying meals together. I hope your family feels the same way!!!

image

image

image

image

image

Pasta Caprese

Serves 4-6

This is great warm or cold. It’s best when you throw together the “sauce,” a couple of hours ahead and then add the hot pasta right before it’s time to eat.

Use gluten free pasta if you or a family member are GF.
Make it vegan: skip the cheese or use vegan cheese.
This makes a great low carb salad if you skip the pasta! Or use zoodles!

1 lb. pasta, any shape*
1 lb. tomatoes, diced (you can use cherry or grape tomatoes)
6 oz. mozzarella cheese**, diced
3 tbs. XV olive oil
handful fresh basil, minced
juice of half a lemon
Salt and pepper, to taste

optional: hot red pepper flakes, grated parm, extra olive oil

*I love whole wheat pasta in this dish, but no one else in the family likes it; the noodles you see here are called Mafalde, and we all love them!

**If you can get really good homemade cow or buffalo mozz, use it here. If not, this dish is good even with the prewrapped blocks.

Toss together all the ingredients except the pasta. Let the sauce stand for at least a half hour and up to two hours.

Cook the pasta in well salted water until just al dente. Before you drain the pasta, scoop out a cup or so of the cooking water. Drain well.

Toss the hot pasta with the sauce. If everything is nicely coated and slippery, you’re good to go. If it seems dry, add pasta water until you have a nice slidey texture. Garnish with extra basil, olive oil, and parm. Serve. Talk and laugh together while you eat.

I want to hear from you! Tell me what you think. Leave me a comment, contact me! If you’re enjoying the blog, consider using the Yum button, pinning this recipe on Pinterest, following me on Instagram and/or following the blog.

image
image

Posted in entree, family, main dish, psychology, supper | Tagged , , , , , , , , , , | 15 Comments

Blue Cheese Stuffed Pepper Bombs

image

image

image

I wonder if this news will blow your mind as much as it blows mine: I have been a mother for a quarter of a century!!! OK, I am taking a bit of license here. I was still pregnant 25 years ago. I was 31, and confined to my bed. In the preceding decade, my life had been marked by unspeakable tragedy and 3 years of infertility. The conception of this child signified the beginning of a process of rebirth and renewal.

Birth and rebirth are often difficult, and carrying this baby was no exception. A tumor grew near her head, instigating premature labor, hospitalization, and bed rest. Three weeks later, the midwives said it was safe for me to “resume limited activity.” I took a walk, did a load of laundry, made some soup, and went into labor. That was the day my luck changed. Birthing (all natural, no drugs, no procedures, no hospital) was pure joy. Megan was born early in the morning on September 18, 1990. Being her mother has been, and is, pure joy every day.

We’re hoping to see Meg for her birthday next week, but we decided to squeeze in a few hours together last Sunday. Bob and I spent the previous week in the Outer Banks on the beach-running, swimming, walking, kayaking, dolphin spotting, bird watching, and beachcombing; we stopped to have supper with our beautiful daughter in Maryland on the way home.

Meg is living in Baltimore. The dolphins at the aquarium are the research subjects for her Master’s thesis. I know!!! She is living in a really cool apartment, writing, freelance editing, and working in a fabulous restaurant. I could go on and on about the amazingness of this young woman, my first born, but I will restrain myself and simply share a recent piece of her writing. And a picture.

image

We had supper at Corner Charcuterie Bar, the lovely restaurant where Meg works as a server and bartender. It was fun sharing a bunch of small plates, including the signature charcuterie plate, roasted quail, house made picklings, heirloom tomato salad, beet salad, and cornmeal crusted oysters. All were tasty, interesting, and delicious. But the dish that kept popping back into my mind the next day was a platter of goat cheese stuffed peppadews.

I have always been a fan of little peppers, and I am quite gaga over the peppadew. Peppadews are small, pickled sweet peppers grown in South Africa. You can only imagine how it torments me that these bite sized treasures are shipped such a long distance. So, please, if you find a locally grown sweet pickled pepper as cute and tasty, PLEASE let me know!!! I will immediately rush out, buy a stash, and invest in the company. In the meantime, I buy peppadews infrequently and ration them. Which reminds me of my favorite instagram hashtag: #sorrynotsorry.

image

image

So, being me, I felt compelled to perpetrate my own riff on these little cheesy stuffed peppers. I often combine blue cheese and cream cheese to create a creamy, savory, salty filling or spread. This works well with full flavored Roquefort or Stilton. I went with the Roquefort here. The resulting stuffed pepper is a perfect bite: sweet, salty, tangy, and creamy, with a kiss of sharpness from the vinegar brine. Everything you could want in an appetizer, treat, or a bite to serve with drinks. To quote Brian, “These are the bomb!” Or was it “bomb-diggity?”

image

image

image

image

image

Blue Cheese Stuffed Pepper Bombs

My supermarket sells peppadews, both red and yellow, in the olive bar. I have also bought them jarred. I think the yellow ones have a nicer texture, but isn’t the combination of colors pretty?

Serves 3-4 as appetizers or snacks, or multiply for a party.

12-14 peppadews or other small sweet pickled pepper, drained
3 oz. blue cheese, room temperature
4 oz. cream cheese, room temperature
optional: minced fresh herbs, such as basil and/or chives

Mix the cheeses and herbs very well. You can do this in a food processor, but I like the stuffing to have some texture. You choose.

Use a very small spoon to stuff the peppers. Be careful not to break them. They are great served right away, while the filling is still soft. But they are equally good chilled, so they are perfect to make ahead.
image
image
image

Posted in appetizer, party, snack | Tagged , , , , , , , , , | 5 Comments

Rustic Fig Pizza

image

image

image

How do you feel about foods that are both sweet and savory? Children don’t usually like them. They want pizza to have tomato sauce and mozzarella and maybe some pepperoni. And they want sweets to be chocolate or vanilla. Kids often like sour, too. The other day, I saw a tiny baby sucking on a big pickle.

As we get more experience as eaters, depending on culture, we develop more interest in combining flavors. Lots of Asian cuisines combine sour, sweet, salty and umami in just about every dish, and most of us love these foods once we taste them. Think Pad Thai, peanut sauce, chinese style pork ribs… In Italy and Spain, we find cured ham with melon. In Morrocco, the strange, but delicious, bastilla.

Fruit and cheese compliment each other perfectly. And together, they beg for some crusty bread. So, I put all three together, and was surprised that they became greater than the sum of their parts.

A roasted fig is a heavenly object. It becomes jammy, and highlighted by caramel, like a good dessert wine. Good Parmesan melted on a crust of bread is food for gods. Put them together and you get cheesy, toasty, syrupy magic. Deep savory and complex sweetness perfectly entwine. This is food for grownups. But don’t be surprised if the kids like it, too!!**

**And speaking of the kids, I made a tomato variation that will make them happy. Just swap cherry or grape tomato halves for the figs.

image

image

This recipe makes two pies, around 8 inches each. It will serve 4 with a salad for supper or 8 or so people for appetizers. You could probably eat a whole one if you’re really hungry.

I’m gonna do a sourdough post one of these days. But until then, I’m giving you crust recipes from my favorite sources. Here’s a great sourdough pizza crust from King Arthur Flour.

If you don’t have sourdough going, this KAF crust is nice.

And here’s a gluten free one.

Cook’s Illustrated has a great recipe, but you’ll have some left for an extra small pie.

Or, buy a pound of pizza dough at the supermarket or your local pizzeria.

image

image

image

image

image

Rustic Fig Pizza

You might like to try this with peaches, pears, or grapes. Dried figs can be soaked in hot water for a few minutes and subbed for the fresh. And sliced big tomatoes are lovely instead of the little ones.

To make it vegan, simply omit the cheese. And see the gluten free crust option above.

Makes 2 pies

1 pound pizza dough, divided in half (see above)
10 large or 16 small figs, trimmed and cut in quarters (or use half figs for one pie and halved cherry or grape tomatoes for the second)
1 cup finely grated parmesan
drizzle of good olive oil
salt and pepper

Extra flourish (optional): Wide ribbons of parm shavings (use a vegetable peeler), before and/or after baking. Extra olive oil and/or a drizzle of balsamic glaze are nice, too.

if you have a pizza stone, place it on the middle rack of the oven and crank that sucker up to 500°. Preheat for at least 15 minutes after the oven says it’s hot. if you don’t have a stone. use a rimless baking sheet or an upside down rimmed one. Make and bake one pie at a time unless you have two stones.

I like to make the pie on a piece of parchment. Use bit of extra flour and a rolling pin. Stretch and pat with hour fingers and use the pin last for some even thinness. Go for 8 inches if you want a thicker crust, 10 if you like it quite thin. If it starts snapping back too much, let it rest for a few minutes and then work it some more.

Drizzle or brush the crust with a slick of olive oil. Arrange the figs (or tomatoes), and top with the cheese. Drizzle a bit of extra oil. Add parm shavings if you like. Use the parchment and a pizza peel (or rimless baking sheet) to transfer the pie to the oven. Prepare the second pie while this one bakes.

Bake for 10-12 minutes until the crust is nice and golden brown. Let it rest for a few minutes before you cut and tuck into it. Decorate, if desired, with more parm, olive oil, reduced balsamic, or black pepper. Now you are happy while the second pie bakes!

image

image
image
image

Posted in appetizer, baking, main, main course, main dish | Tagged , , , , , , , , , , , , | 4 Comments

Zucchini Fries

image
image

image

Were you popular in high school? I wasn’t. One of my most prominent memories is of a “friend” shouting at me in the cafeteria. She said, “Do you know what your problem is? You don’t know how to have fun. F-U-N, fun!” It’s sort of painful to admit, 40 years later, but she was right.

We all need to feel a sense of belonging. It’s hard wired for survival. But the craving for popularity is a two-edged sword. It can lead us astray just as easily as it can guide us to be good family or community members. In the past, the wish to fit in has led me to consume far too many questionable substances. We often make poor choices when we are overly attached to the approval of others. At 56, I have begun to figure out how to have fun and how to feel I belong without compromising my integrity or health.

When I started Deb’sPots, it was my intention to “follow my heart.” I wanted to share my love of food and cooking, pottery, photography and writing with family and friends. But once I got started, I found I wanted a wider audience. Enter: Social media. I’m mostly enjoying the community aspect of the interwebs, especially Instagram. There are lots of talented people posting amazing photographs. There’s great food, and beautiful pottery. I’ve made wonderful connections, you can read about some of them herehere, and here. It’s interesting, fun, and satisfying. But…

I’m finding I can get caught up seeking numbers. If I publish a vegan, gluten free, paleo, low carb, low fat recipe I can use more hashtags. I can post on more food porn sites. My blog stats reflect more hits. If I post a picture of ribs, I risk losing followers…

So, this is my manifesto. I am going to strive to be true to myself. It is my intention to let go of caring whether I get more Gawks on Foodgawker with a cake recipe than one for broccoli. If Tastespotting rejects every single picture (as they have recently), I’m not going to let it ruin my day. I have learned how to have F-U-N fun. I don’t need to be the internet equivalent of prom queen!

And in keeping with my manifesto, I am going to give you another zucchini recipe even though I gave you one last week, and one last fall. If you want to stop following my blog, I’ll just have to eat Zucchini Fries all by myself. Which would be a shame, because these fries ROCK!!! They are so good, I might become a Zucchini Rock Star!

image

image

image

image

image

Zucchini Fries

Serve these with Sriracha Lime Sauce. They are also good with Goddess of Green, Hummole, Peanut Sauce, Tzatziki, Tahini Sauce with Herbs or Simple Tomato Sauce. If you don’t feel like making a sauce, lemon or lime wedges are a perfect accompaniment.

Serves 4

This is equally good if you cut the zucchini into coins instead of long wedges. And yellow summer squash works as well.

Make it vegan: substitute coconut milk for the buttermilk and omit the parm.

2 medium/large zucchini, cut into 8 wedges each
1 cup buttermilk
2 tbs. all purpose flour
1 cup panko
½ cup grated parm
cooking oil spray (I use coconut)
salt and pepper to taste

Preheat the oven to 400°.
Mix the flour, salt and pepper, into the buttermilk in a wide, flat container big enough to hold all the zucchini.

Mix the panko and parm on a plate.

Line a baking sheet with a piece of parchment. Spray liberally with the cooking spray.

Dunk all the zucchini pieces in the buttermilk mixture. Roll them around so they get fully coated. Then, working with one at a time, dredge them in the cheese crumbs. Pat the crumbs on so they stick, then place the coated pieces on the parchment lined sheet. Now spray all the coated pieces with the cooking spray. This will help them brown.

Pop the pan into the oven and bake for 15 minutes until the fries are crisp and toasty. Serve immediately.

image

image

image

Note: The prep hands are mine. The tasting hands are Brian’s. Isn’t he a great hand model?

Other note: Thank you to Mary for the Yum Button. If you don’t know Yummly, check it out and use the Yum Button below.
image

Posted in side dish, simple recipes | Tagged , , , , , , , , , , , , , , | 10 Comments

Epic Thai Peanut Zucchini Noodles

image

image

image

Today is a very special, much-anticipated day here in our newly renovated house and Deb’s Pots Studio in the woods! Brian is home!!!

Our son, Brian graduated from college (GWU) in May, packed a backpack and took off for Europe. He has had a summer full of adventure in 17 cities, culminating in hiking the Camino de Santiago with our beloved friend, Sam.

If you’ve been following the blog and/or you know me, you know that Brian is a serious food lover with a very sophisticated palate (Seriously, if you didn’t click on that link, do it; it’s a howl. It’s ok, I’ll wait). He tends to stay healthy by eating low carb, though rumor has it that he allowed himself plenty of leeway while traveling. So….what to feed him for his first meal home? Yes, we did message about it! He chose ribs. And with them, the veggie that I most associate with Brian…prepared in a completely new way.

So…as we speak, my slightly jet-lagged, but very cheerful son is eating zucchini noodles for breakfast. His comments: “These are awesome. The texture is amazing. And the peanut sauce is epic!”

image

image

I have the amazing team at Cook’s Illustrated to thank for this idea. These brilliant folks suggested a fabulous way to make wide zucchini “noodles” (they call them “ribbons”). We’ve been enjoying the skinny ones made with a julienne peeler. These are done with a regular peeler. As soon as I saw the new ATK recipe, I knew I had to give them an Asian spin.

image

image

image

Epic Thai Peanut Zucchini Noodles

These are great served warm, room temperature, or cold.

Make them paleo: substitute your favorite nut butter, and nut for the peanut butter and peanuts. Almonds or cashews are both wonderful here!

Save the cores for another use. I ground them up in the food processor the next day and made a wonderful zucchini bread. Bob ate it with peanut butter. Perfect, right? I’ll give you the recipe if you leave me a comment here on the blog.

Serves 4-6

Zucchini
4-6 small zucchini and/or yellow squash
1 large or 2 small scallions
1 tbs. peanut (or coconut or other nut) oil
salt

Peanut Sauce
1 tsp. grated fresh ginger (or use minced candied ginger)
3 tbs. peanut butter
1 tbs. soy sauce (gf if that’s a concern)
1 tsp. sriracha or Mongolian Fire Oil
1 tbs. rice wine vinegar
1 tbs. honey or agave
1 tbs. asian sesame oil
warm water, as needed, for thinning

Optional Garnishes
Fresh basil and/or mint, peanuts, scallions, extra sriracha or fire oil, soy sauce, lime

For the zucchini: Wash and dry the squash. Using a vegetable peeler, shave 3 or 4 wide strips down the length of the zucchini, forming wide noodles. Rotate the squash a quarter turn and repeat. Work your way around until you have a square and continue shaving ‘til you get to the seeds. Now, you have a big pile of “noodles.”

Cut the scallions so that you separate the white from the green parts. Cut the white lengthwise into strips, so that you have scallion “noodles.” Cut the green crosswise on the bias for garnish.

Heat up a large skillet or pot and add the oil. When it starts to shimmer, add the scallion white noodles. Toss them in the oil, then add the zucchini. Sprinkle with a bit of salt. Keep everything moving and saute’ until just wilted, then move quickly  to a bowl.

Sauce and Assembly: Whisk together all the sauce ingredients, adding a little warm water as needed to make a nice, thick sauce. Taste and adjust flavors as needed. It should taste bright, sweet, spicy and a bit salty. Dress the noodles with enough sauce to coat. Use any extra as garnish.

image

image

image

A bit of website/blog news and business

It is my intention to make this website and blog a real resource. I’d love to know how to serve you better. Please! Leave me comments, let me know what you’d like me to share with you in the future. Ask me food and recipe questions. I’m here for your cooking and pottery needs!

If you’re not already doing so, please consider following the blog so you’ll never miss a post!!

I’m on Facebook, Pinterest, Tumblr, Twitter, and Instagram. Consider following me on any or all of them! I post pictures of almost everything I cook, every day (yes, my loved ones are very patient). Also, lots of Sadie, deer and occasional hummingbird photobombs.

And…stay tuned. I’m hoping to have a new on-line pottery store up and running in the near future!

Ohhh…and…I’m going to do a giveaway soon! What do you think? Tiny teabowl? Prep bowl?

image
image

Posted in breakfast, family, lunch, main course, side dish, supper | Tagged , , , , , , , , , , , , , | 22 Comments

Honey Lavender Lightly Frozen Yogurt with Fruit

image

image

image

Why do we love foraging? Who among us is immune to the charm of a perfect, wild berry? I know some folks are put off by thorns, mosquitos, and stained fingers. That strikes me as deeply tragic.

Harvesting wild food taps into our ancient identity. Once, we were all hunters and gatherers, dependent on our senses, dexterity, strength, and ingenuity to find, collect, prepare, and preserve what we could find in nature. Did our cave mothers feel enormously gratified by a big pile of mushrooms or a tiny handful of berries? Or were they just too busy and exhausted to care? I like to think they assembled by the fire in the evening, shared the day’s bounty and enjoyed a few gazing moments before tucking into a summer feast. I know, I’m a berry picking lunatic!

This summer, the mulberries have been epic! I sometimes think, between the weather and the berries, Mother Earth is giving us a special gift to apologize for the dreadful winter. We’ve been picking white, pink, and black mulberries since late June and they are still ripening! Bob and I are a little obsessed. We rarely bring a container, preferring to snack on site. But the other day, I decided I wanted to share some with you…and my favorite way to eat berries is in my yogurt.

image

image

image

Yogurt is my nighttime treat. I add many things to my yogurty snacks, and now it is time for me to tell you about them! Then, I’ll give you a recipe for this particular incarnation, which is special and very, very yummy.

First of all, the yogurt itself. Sometimes, I buy Greek style yogurt, but it is very expensive. So, I’m going to tell you how to prepare regular yogurt (I like Stonyfield lowfat, plain, organic) so that it is thick, smooth, and silky like the Greek stuff. All you have to do is strain it! You can use a coffee filter or a towel or paper towel lined strainer. Put the yogurt in your strainer over a bowl and stick the whole operation in the fridge for at least an hour. It’ll keep draining, so you decide how thick you want it. It can be interesting to let it get really, really thick in which case you can call it cheese…but that’s a whole ‘nother blog post. You can let it get really thick and then add back liquids like fruit juice or coconut or other nut milks.

image

image

image

I don’t like to mess around with ice cream makers, as you know from my ice cream recipes. So, I often make frozen yogurt without any contraptions. I simply put the yogurt in a bowl or container in the freezer until it’s lightly frozen, usually about an hour. If it gets too solid, I microwave it for a few seconds and then stir. It’s low tech and works great. No, it’s not perfectly creamy, but I like the textural interest of unevenly frozen yogurt with or without fruit.

Here’s a list of my best yogurt add-ins:

Fresh fruit: berries, stone fruit, bananas, pineapple, pears, apples, mangoes, kiwi, oranges
Dried fruit: raisins, currants, dates, banana chips, apricots, plums
Nuts: almonds, walnuts, pistachios, pecans, peanuts, macadamias
Seeds: sesame, pepitas, hemp, flax, sunflower, chia
Coconut: milk, shredded, chips, manna
Nut butters: peanut, almond, cashew, almond-coconut
Sweeteners: agave, coconut sugar, date sugar, honey, maple syrup
Fresh herbs: lavender, basil, mint, lemon verbana, lemon balm
Carbies: granola, graham cracker crumbs, pretzel shards

image

Honey Lavender Lightly Frozen Yogurt with Fruit

This is a very adaptable recipe. Halve or multiply it. Use any of the combinations listed above or invent one of your own and leave me a comment. I encourage you to try the honey/lavender combination, with or without fruit. The honey gets  slightly chewy from the freezing, and the lavender gives an almost savory quality. It’s really interesting and delicious.

1 cup plain yogurt (lowfat or full fat; don’t use fat free)
¼ cup honey
1 tbs. lavender leaves, torn or chopped
1 cup fruit, bite size pieces
optional add-ins (see above)

Drain the yogurt for at least an hour, as described above. Add the honey, lavender, and fruit; mix well. Divide into two bowls and place in the freezer for an hour. Stir. Top with more honey if you like.

Special note: I recently met an amazing craftsman, Michael Laico, on Instagram. We admired each other’s work and decided to arrange a trade. I made him a pair of ice cream bowls and he made me a beautiful walnut cutting/serving board (pictured here). We both received our much anticipated treasures on the same day. And we both were thrilled with the results of our trade. The little blue/green porcelain bowls pictured here are identical to the ones I made for him. If you like Michael’s work (of course you do), please visit his website and/or his Instagram Feed!

image
image
image

Epilogue: Please visit Michael’s beautiful blog to see a post about our collaboration!

Posted in breakfast, dessert, treat | Tagged , , , , , , , , , , , , , , | 10 Comments

Banana Bread

image

image

image

bananagawk

I’m not used to the light in the new kitchen yet. So, I decided to practice shooting some photos while throwing together a banana bread the other day. I was not planning to do a banana bread post for the blog, I just wanted to play around with the camera, ingredients, and pots.

I never planned to do a banana bread post. Don’t get me wrong, I make a phenomenal banana bread. But blog posts about banana bread are a dime a dozen, and I didn’t think I had anything to add. My recipe just didn’t seem unique.

So, I had some fun with the camera and the light and the bananas. And then I took a nice, long walk with Ruth, my dear friend and office mate. And afterwards, I gave her a slice. She kept commenting how good it was. So I said banana bread is always good. She said how moist it was. And I said banana bread is always moist. She disagreed. She felt that this was an unusual slice of banana bread. She was quite adamant about it.

I started to think…maybe my banana bread really is good enough to post. I began to run through memories. There was the time I was asked to leave a party because of my banana bread. Neil, a wonderful friend I very much admire, said the following to me: “You have one hell of a nerve bringing that thing here. I can’t stop eating it. It’s outrageous. I can’t control myself. Please take it and get out!”

That night I noticed more than half the bread was gone. There was only one possible culprit. Bob. I asked him if he wanted another slice for dessert or was he tired of it? He said he’d had difficulty refraining from finishing the whole loaf and would be delighted with another slice. I gave it to him warm, with some ice cream on top. I will not tell you what happened after that because it was x rated.

So, I concluded that I’d better post the recipe after all. I hope it brings you the same reaction it brought me.

image

image

image

image

image

Banana Bread

I believe that walnuts belong in banana bread. But if you don’t like walnuts in yours, leave them out or use your nut of choice.

3 ½ very ripe bananas*
2 eggs, room temp
½ cup cane sugar
1/3 cup yogurt
2 tbs. neutral oil or nut oil (I like almond)
1 tsp. vanilla
¼ cup toasted walnuts, chopped
½ cup organic all-purpose flour
½ cup organic whole wheat pastry flour
1 ½ tsp. baking powder
½ tsp. baking soda
½ tsp. salt
2 tsp. demerara or other coarse or raw sugar (optional)

*Freeze the half banana for later. Thawed frozen bananas work perfectly well in this recipe.

Preheat the oven to 350°. Grease a standard 9 x 5 loaf pan very well with oil or butter or cooking spray.

Combine the flours, baking powder, baking soda, and salt in a medium bowl. Whisk well. Add the walnuts and mix again.

Place 3 of the the bananas in the bowl of a stand mixer and mix on medium speed until they are broken down and goopy. Alternatively, you may process them in a food processor or mash with a potato masher and do the rest by hand.

Add the eggs, sugar, yogurt, oil, and vanilla and mix well. Now, fold in the flour/walnut mixture. Don’t overmix. Stop when just combined.

Scrape the batter into the loaf pan. Slice the remaining half banana and lay the slices across the top. Sprinkle with the coarse sugar.

Bake for 45-55 minutes or until just firm when pressed with a fingertip. Let the loaf cool on a rack for 10 minutes, then turn out of the pan. Let cool at least another 20 minutes before you start demolishing. You can do it!

This well keep for a couple of days at room temp and freezes well. It tastes great toasted. Butter or coconut butter are great on top, but my absolute favorite it almond butter.

image
image
image

Posted in baking, breakfast | Tagged , , , , , , | 9 Comments

Grilled Corn Salad with Tomatoes

IMG_5430
IMG_5435

IMG_5427

OK, Let’s play a little word association game! I’m a psychologist, we love these sorts of games. Oh, come on, don’t be shy. I promise I won’t analyze your answer. Ready? Say the first two words that come into your mind when I give the following prompt: Summer food.

What did you say? Corn and tomatoes? Me, too!

I put both on the table most nights as soon as they are in the market. It’s hard to beat a ripe, summer tomato, simply sliced and sprinkled with a bit of coarse salt and maybe a torn leaf of basil. A little good olive oil never hurt, either. Corn, simply steamed with butter, may be one of life’s finest pleasures. When I’m grilling, I skip the big pot of boiling water and throw a few ears on the fire. Read on and I’ll tell you how.

I’m also a huge fan of what our family calls “Mexican Corn,” or “Elote.” I do a number of different versions, but the basic gist involves grilling whole ears, brushing them with mayo and/or sour cream, sprinkling with chili and lime, and then rolling in some kind of sharpish cheese.

By now you know that I lie awake at night thinking about food and trying out different combinations in my head. So, I was considering your answer to my psychological test and trying to figure out a way to make one dish with all the flavors of our summer favorites. And this salad is the solution! It hits all the right notes: sweet, salty, sour, and spicy. You get tomatoes with basil and Mexican Corn all in one bite and it is a very, very happy experience!

IMG_5419

IMG_5437

IMG_5433

IMG_5422

IMG_5426

Grilled Corn Salad with Tomatoes

If you want to make this vegan, skip the cheese.

Serves 4-6

4 ears fresh corn
1 cup cherry or grape tomatoes, wash and halved
3 tbs. fresh lime juice
2 tbs. XV olive oil
½ tsp. smoked paprika
hot sauce, to taste
¼ cup parmesan, feta or cotija cheese (optional)
handful torn basil and/or chives
sat, to taste, I used Hawaiian Red Salt here, but any coarse salt is fine

Shuck the corn while you fire up or preheat the grill. When the grill is hot (and clean), place the ears on the grate. Cover the grill and cook for 10 minutes or so, rotating them so that all sides get some nice char. If you have a gas grill, turn it off at this point. Let the corn stand for 5-10 minutes while the grill cools down. This gives the corn a chance to finish cooking through. If your grill is charcoal, take the ears off and wrap them in foil for 10 minutes to let the residual heat work on them.

Now, let them stand for 10-20 minutes until you feel you can handle them. Now, I am going to tell you how best to get the corn off the cob.

Get a big board. Break each ear in half so the falling niblets have less distance to travel and thus won’t bounce as much. Stand each half ear on end and cut off the kernels with a paring knife. That’s right, not a big knife, a little one. Again, less bouncing. Then, put all your nicely cut corn into a big bowl. Add all the other ingredients and toss to combine.

This is great warm right after you put it together. It’s also wonderful if you make it ahead and refrigerate or if you have leftovers.

You are welcome!!!

IMG_5428
IMG_5459

Posted in appetizer, side dish, vegan, vegetarian | Tagged , , , , , , , , , , , , , | 2 Comments