

I promised you a Kauai post. I didn’t make this promise out loud or Tweet it or mention it here on the blog or take a picture and hashtag it on Instagram. I made it in my own head. And now I’m feeling guilty because this is not the Hawaii post I’d planned. I’d planned to tell you all about our trip and my experiments and wonderful successes with poke bowls. But…it’s been an intensely busy, jet laggy week following our return and I didn’t have time to get to the fish store. But I did make a trip to the Farmer’s Market, and there were berries. And berries don’t keep. So…this is a market driven blog post. And I will get to the fish bowl post next week!
Turning my attention to the gorgeous, red berries, I asked Bob if he would prefer tartlets or frozen yogurt. Bob is, as you know, the tester and taster for DebsPotsBlog. And my husband of (in one month) 30 years! I remembered the cream cheese leftover from Father’s Day brunch (my dad loves bagels with smoked fish and cream cheese on a raisin [ack] bagel). Hmmm…could I make a cheesecakey berry yogurt?
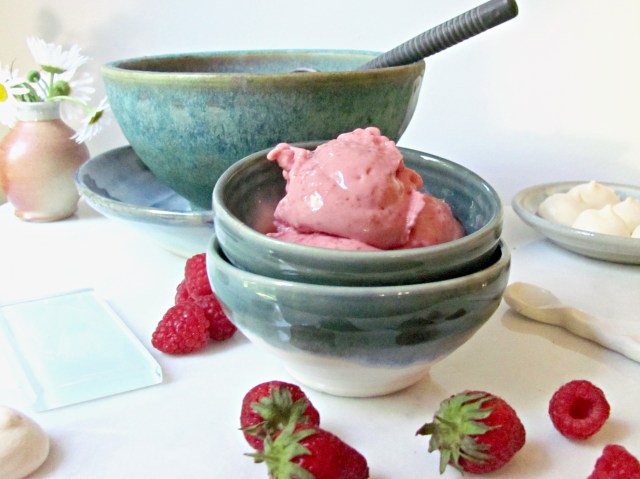
The results were terrific-tangy, creamy, intensely berried, with a hint of that kick we associate with cheesecake. And just look at the color!


Berry “Cheesecake” Frozen Yogurt
Use organic, local berries if you can get them. In a pinch, you may use frozen berries.
Makes 1 quart
16 oz. greek yogurt
4 oz. cream cheese
1 cup sugar, preferably organic cane
1 cup raspberries, washed and well drained
2 cups strawberries, washed and trimmed
pinch salt
Place the cream cheese and sugar in the bowl of a food processor fitted with the steel blade. Pulse to break up the cream cheese. Add ¼ cup of the yogurt and process for 30 seconds or so until creamy. Add the remaining ingredients and pulse until the color is fairly uniform.
Transfer to an ice cream maker and let it do its thing; serve as is (it will be loose, as in the pictures here), or store for longer in a covered container in the freezer.
If you don’t have an ice cream maker, or if you don’t want to bother, you can get a slightly less creamy result without one (that’s what I did). Simply place the mixture in a wide bowl and place in the coldest part of the freezer. Stir vigorously every half hour or so, scraping the sides, until frozen. This version will freeze fairly solid overnight. To serve, simply let it stand at room temp for 15 minutes or so before scooping. Or, zap in the microwave for a few seconds until scoopable.
If you want to enhance the cheesecake effect, sprinkle some crumbled graham crackers on top!
And don’t forget to visit the Etsy Shop!!!


Love the idea of using what’s on hand (and in the market) to make something new and delicious. Going to share this with my daughter who churns frozen treats on a regular basis! Love all the pottery as well (right down to the little spoons)!!!
LikeLike