
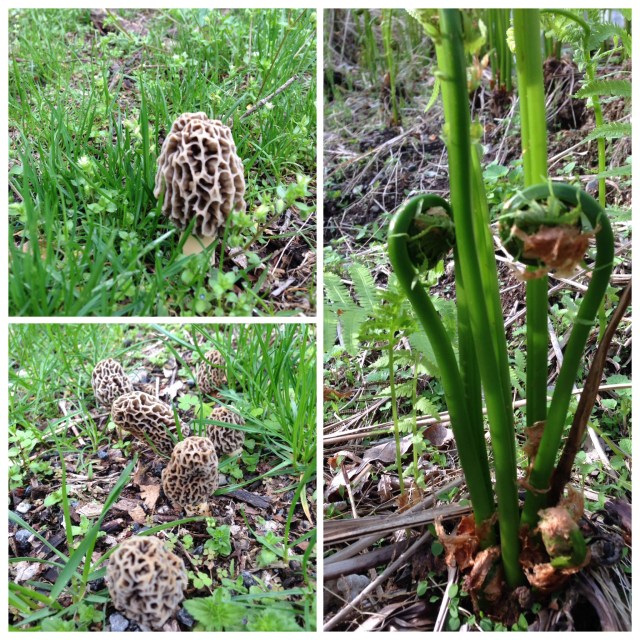
It would be easy to argue that the morel is one of the most prized treasures a forager can find. So imagine my surprise and utter delight when I walked out my front door the other day and discovered dozens of perfect specimens in my “lawn.” I put that word in quotation marks because we don’t really have a lawn here in the woods. We have a motley collection of weeds which I mow once a week during the warm weather.
A quick count before I ran inside to get Bob: 51 morels. He was as dazzled as I. The immediate question: Harvest immediately, or wait a couple of days in the hopes that they would be safe and grow a bit bigger, giving us an even greater yield. I guarded them carefully for two days, during which time they did indeed grow. At that point, I felt they would soon begin to deteriorate and we decided, reverently, to gather them.
I admit, I was so excited (and suffering from hay fever), that I was unable to sleep, and texted Meg to see if she was still up and wanted to chat. We had a lovely 2 am chat during which I asked her what she thought I should cook with the morels. She did not hesitate: “Halibut.” I was speechless because, in fact, I had already decided I would make halibut. She was not as impressed as I was by the resonance. It was, she said, simply the correct answer.
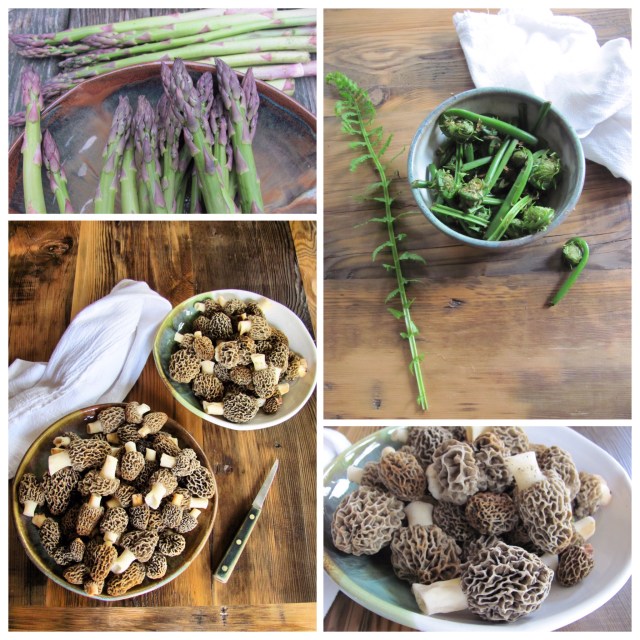
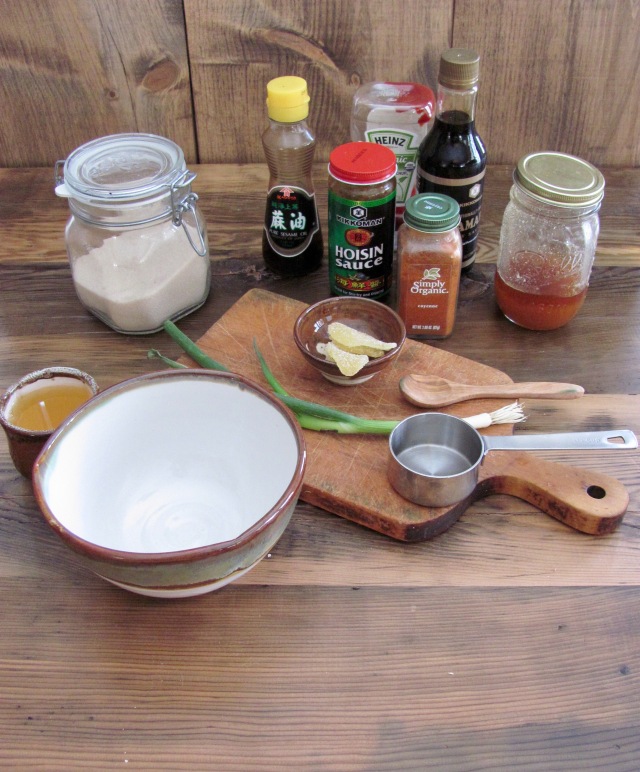
I developed this recipe to showcase our abundance of foraged produce, both the morels and the season’s bounty of fiddleheads. Asparagus is a natural, perfect addition. But I don’t expect most of my readers to have ready access to these wild foods, and cultivated substitutes are absolutely wonderful here.
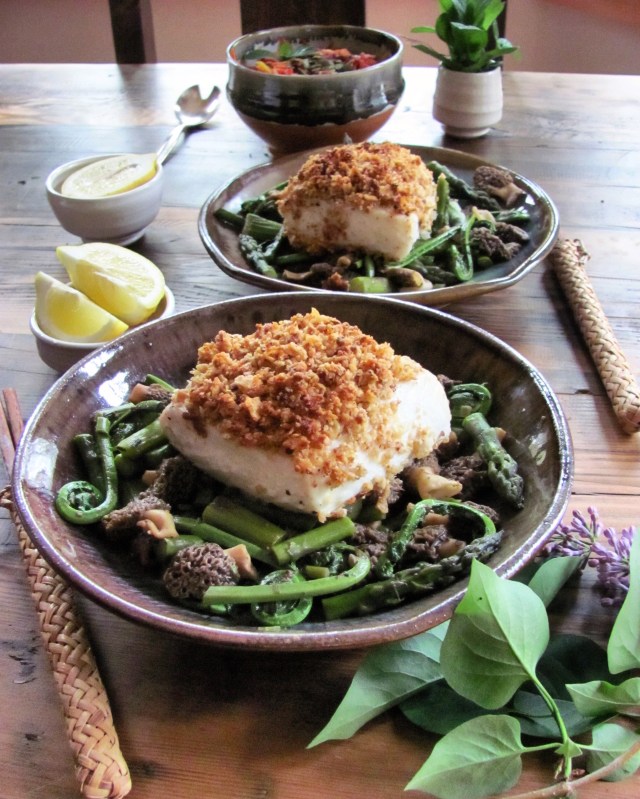
Potato Crusted Halibut with Spring Vegetables
I’ve suggested spinach as a substitute for the fiddleheads. Frozen or fresh peas or artichoke hearts would be equally good.
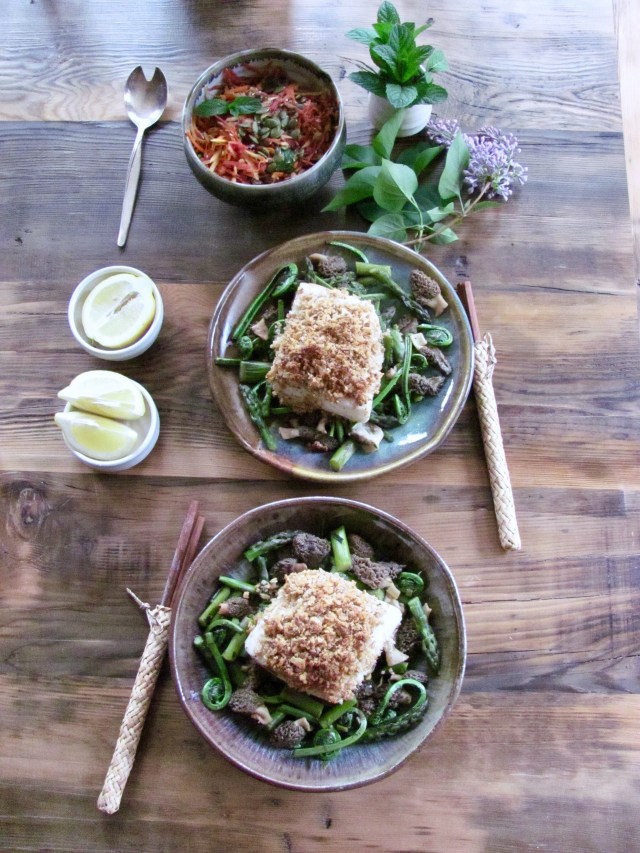
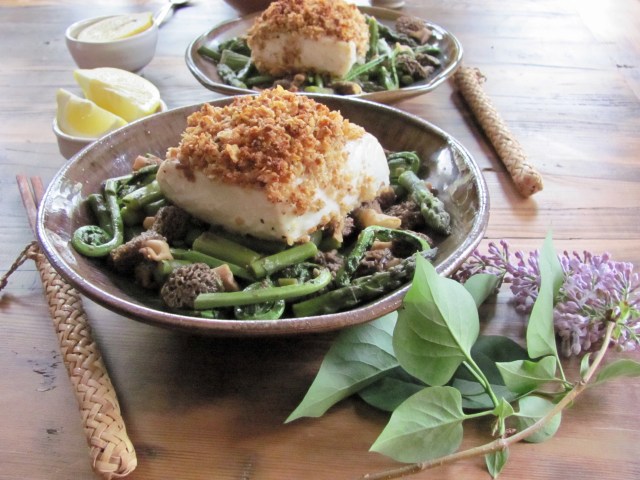
Serves 2
For the fish:
¾ lb. skinless halibut, cut into two pieces
2 tbs. softened butter
1 cup good quality potato chips
¼ cup toasted, salted almonds
¼ cup panko (gluten free are fine)
salt and pepper to taste
Preheat oven to 375°. Use a teaspoon of the butter to grease an 8 inch baking dish or pie pan.
Season the fish liberally on both sides with salt and pepper. If you have time, do this a few hours ahead of preparation and refrigerate until ready to cook.
Place the potato chips and almonds in the bowl of a small food processor, and grind until fine crumbs. Add the panko, and process to mix.
Rub the fish with the remaining butter and place the filets in the prepared pan. Sprinkle the crumbs over the top. Bake for 12-15 minutes, until the fish is just firm to pressure.
For the vegetables:
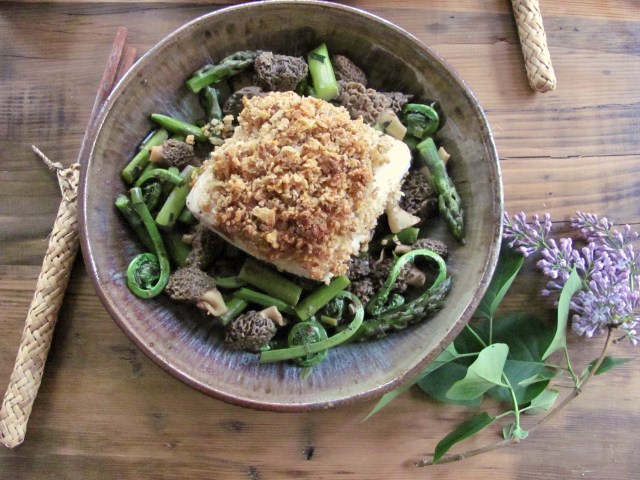
½ lb. asparagus, trimmed and cut into 1 inch pieces
½ lb. fiddlehead ferns or spinach
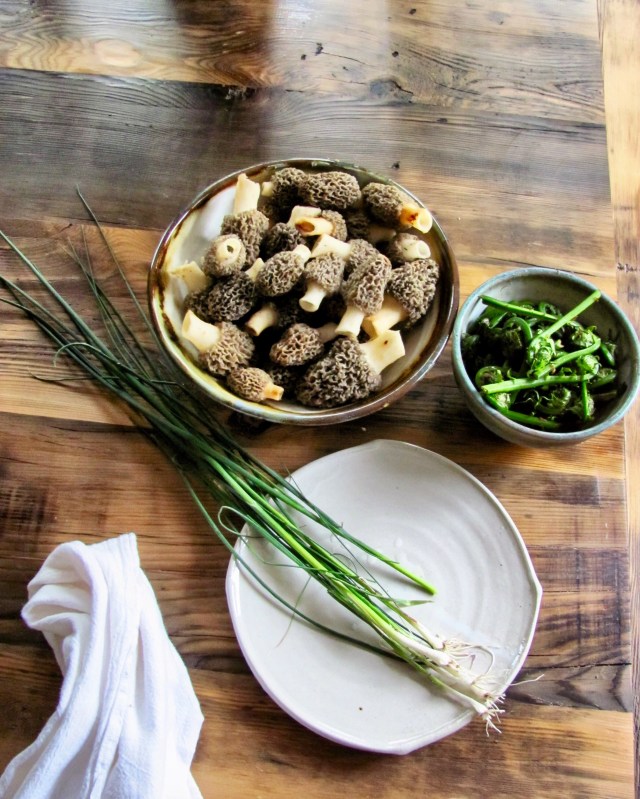
½ lb. morels or other wild or cultivated mushrooms
wild or cultivated chives or scallions, minced
2 tbs. butter
¼ cup white wine
salt and pepper, to taste
Sauté the mushrooms in the butter for a few minutes, then add the other vegetables and continue to sauté until they are almost cooked through. Add the wine and cook over high heat for a minute or two more. Add the chives or scallions.
Serve the vegetables in shallow bowls, topped with the fish.
Blog notes: Happy birthday to Brian, who is hiking Everest today, on the day he turns 24!
If you are local or within traveling distance, please join us this Friday, May 5, 5-8:00 pm for our annual Empty Bowls Event at the WVSD High School. I’ve unloaded 3 dozen or so new bowls and they will be available at the event. Come choose a bowl, enjoy some soup, and help feed the hungry!


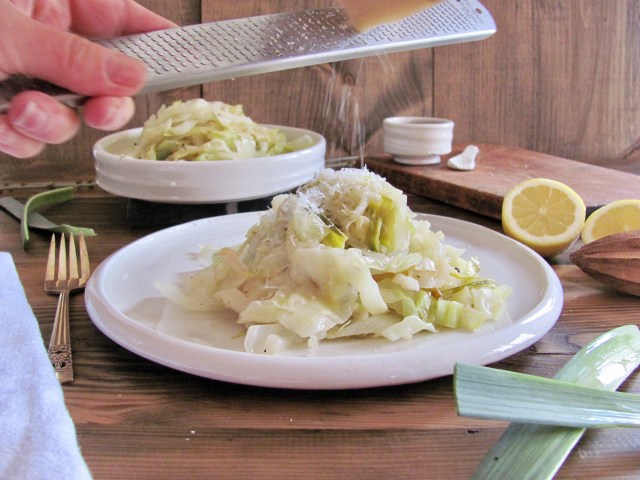


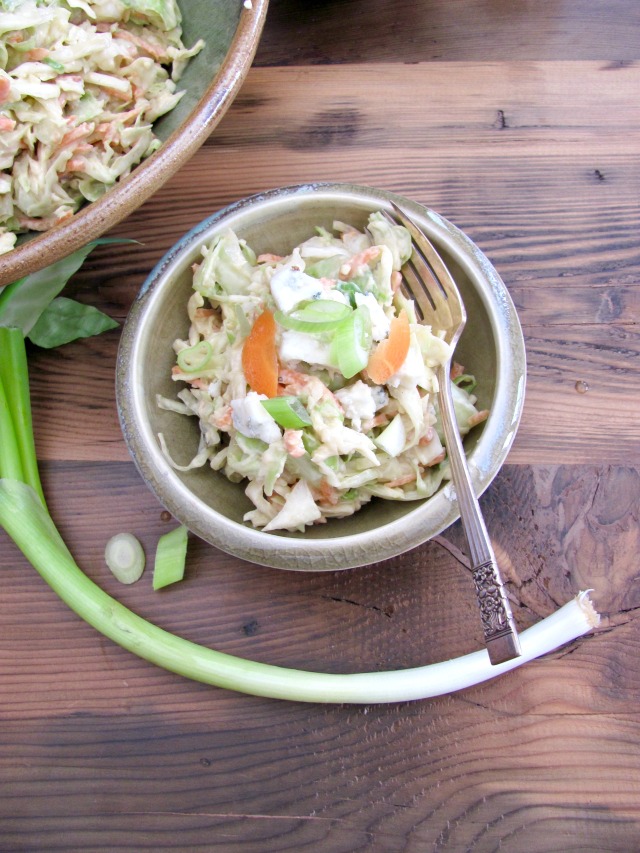
 So, when was the last time you woke up in the morning and said to yourself, “I’m really in the mood for some coleslaw!”? I know, right? Coleslaw can be tasty, satisfying, perfect with certain favorites, but rarely crave-worthy. Unless you’re my dad.
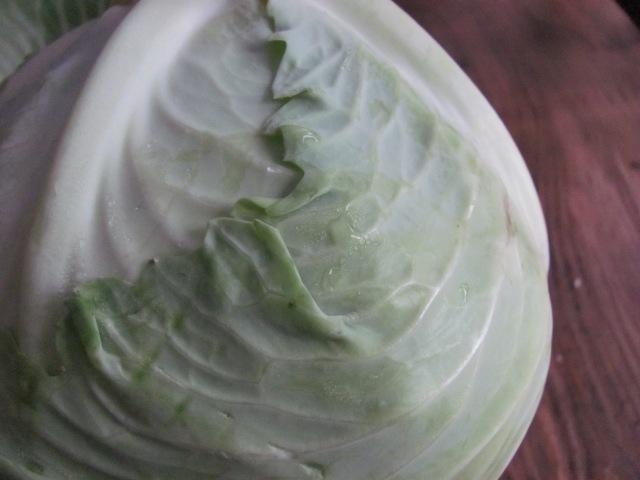
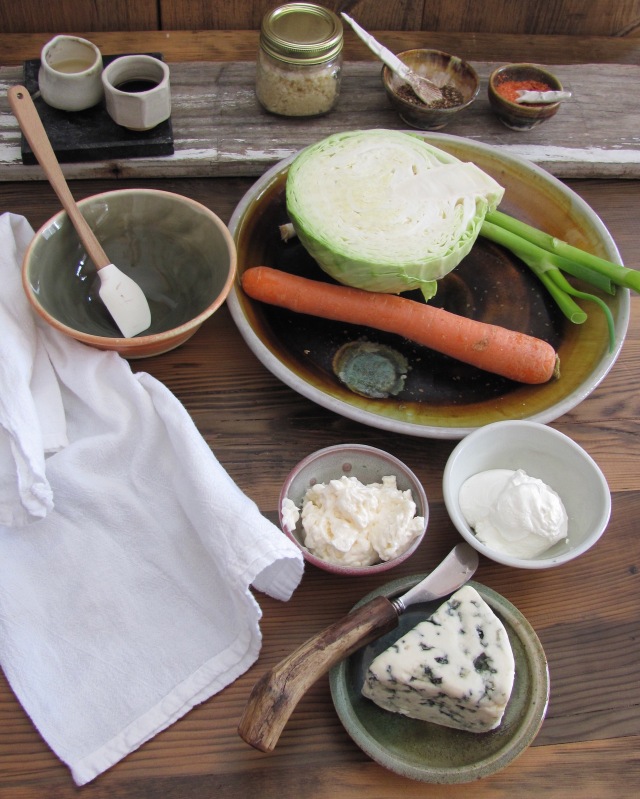
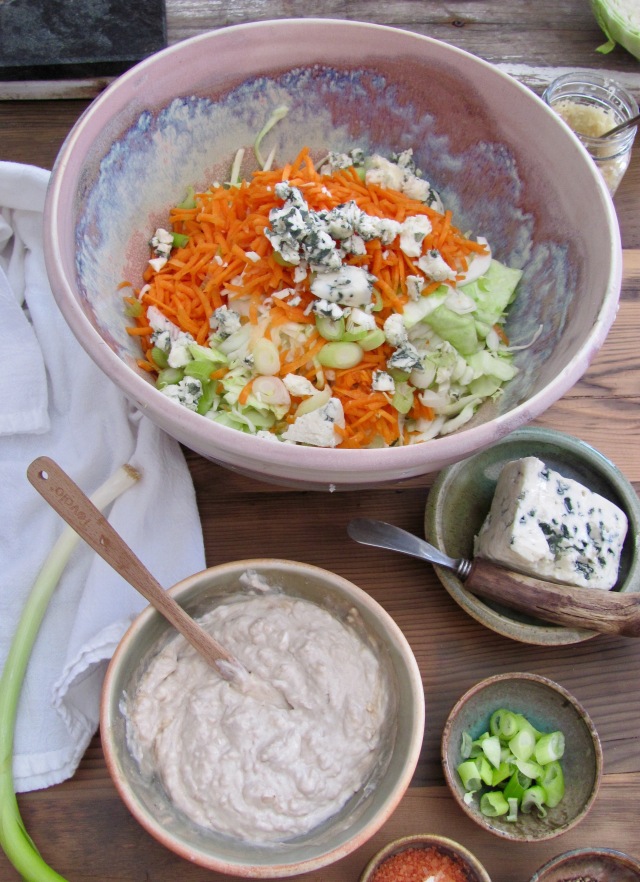
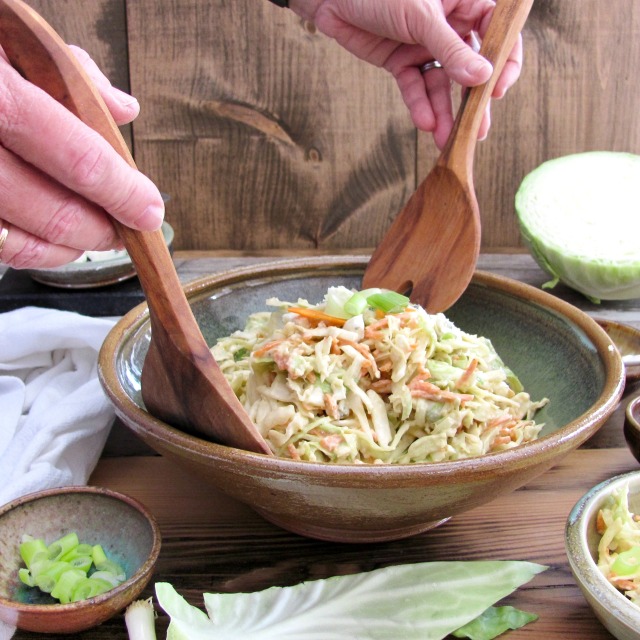
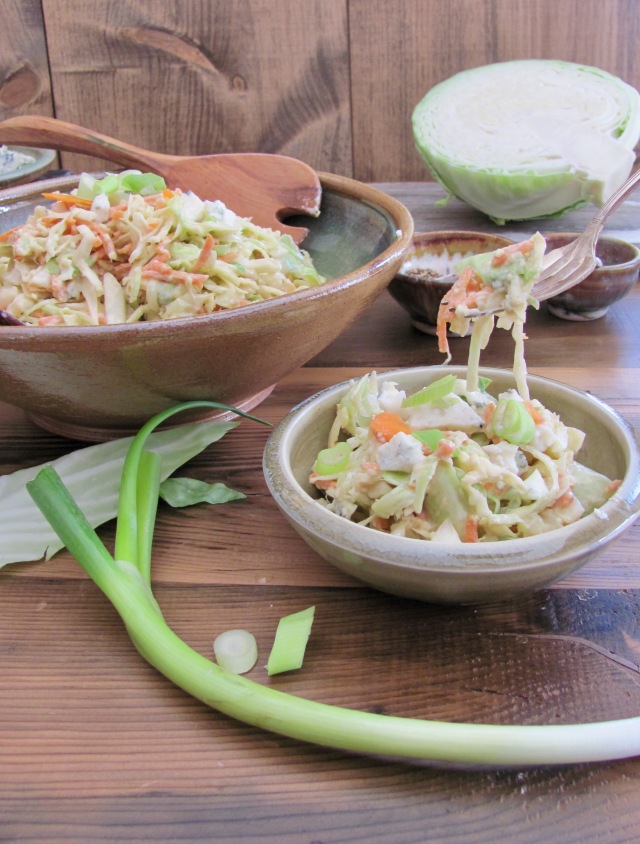


 This recipe is dedicated to my number one recipe tester, ski partner, co-parent, and sweetheart,