Perfect Chocolate Chip Cookies

IMG_7002

IMG_7003

IMG_7020

IMG_7024

I’ve been working on this chocolate chip cookie recipe for 50 years. It is my holiday gift to you! Happy holidays!!!

Like any decent food blogger, I’ve made many different chocolate chip cookies in my baking career. The originial Toll House recipe is good, very good. Cook’s Illustrated improved on it and the folks at ATK gave us a bunch of wonderful variations. Then, Nancy brought us the Levain Bakery Cookies and threw down the gauntlet. Many knockoffs ensued. These are the result of an integration of all the features we liked in all the variations. I tried to interview my husband to get a description for you besides my own. He wasn’t very articulate. He said something like “guh.” I should have asked him after he was finished eating the cookie.

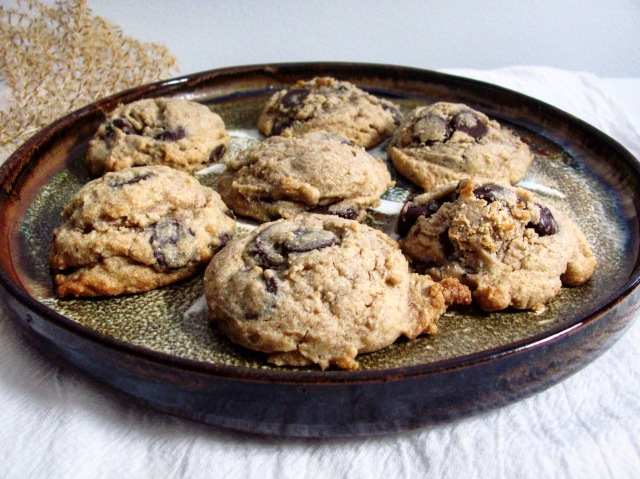
This cookie is thick, we might even say fat. It’s soft and chewy with a crispy edge. The flavor is a little salty, caramelly, buttery, butterscotchy. The chocolate chips are big and dark. Half the flour is whole wheat, which lends a welcome depth of flavor and heartiness.

I’ve found that aging or freezing the dough increases the complexity of flavor. And baking directly from frozen ensures that the cookies spread very little and thus stay tall. Keeping the formed cookies in the freezer also allows you to keep a stash at all times and just bake exactly as many as you want today, rather than having to bake a whole batch. Though you can certainly bake a whole batch…

IMG_7014

IMG_7010

IMG_7015

IMG_7016

IMG_7021

Perfect Chocolate Chip Cookies

Yield: 30 cookies

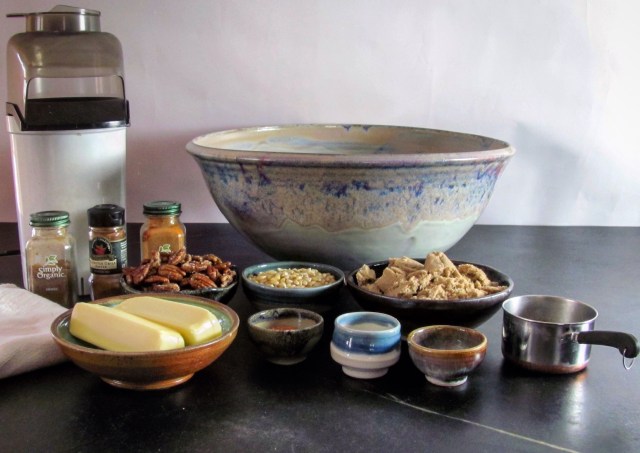
I use organic ingredients when possible. It makes me feel better about eating cookies. I am giving you instructions to make these in a standing mixer. You may substitute a hand mixer. I’m sure you can do them by hand, but I haven’t done it with the cold butter and expect it would be a major arm workout. Let me know if you try it.

I find that many people don’t want a huge cookie. But if you think those enormous Levain-style treats are fun, use a 3 tablespoon scoop. You’ll need to increase the baking time by a minute or so.

2 sticks (1 cup) salted butter, cold, cut into 16 pieces(ish)
¾ cup packed light brown sugar
¾ cup cane sugar
2 large eggs
1 ½ tsp. vanilla extract
1 ½ cups all purpose flour
1 ½ cups whole wheat flour
1 tsp. baking powder
½ tsp. baking soda
1 ½ tsp. salt
11 oz. (1 bag) bittersweet chocolate chips (I use Ghirardelli 60%)

Mix the butter and both sugars in the bowl of a stand mixer, first on low speed to combine and then on medium speed when the sugar is no longer at risk of flying all over the kitchen. Add the eggs one at a time with the mixer running because it feels freeing and dangerous and it sounds slurpy.

Add the vanilla, mix for a moment, then stop and scrape down the sides and mix for a few more seconds.

Add the flours, the salt and baking soda and powder and start the mixer very slowly. Stand back if you are wearing black. Mix on low speed until just combined. Add the chocolate chips and mix to distribute.

Now, using a 1 tbs. portion scoop, form cookies on a baking sheet and freeze for at least two hours. After freezing, you can bake as many as you want and place the rest in a gallon zip top freezer bag. You will then feel like the richest person ever with a stash of frozen cookies.

OK, now preheat the oven to 375°. Line a baking sheet (or sheets) with parchment or a silpat. Place up to 8 cookies on the sheet(s), staggering the placement (see photo).

IMG_7032

Bake for 12-13 minutes or until the cookies have just begun to brown at the edge.

I like them when they’ve just cooled for long enough not to burn your tongue and the chips are all gooey. Bob prefers them after the chips have firmed up, which takes a few hours. He is weird. How do you like them?

IMG_7005

IMG_7017

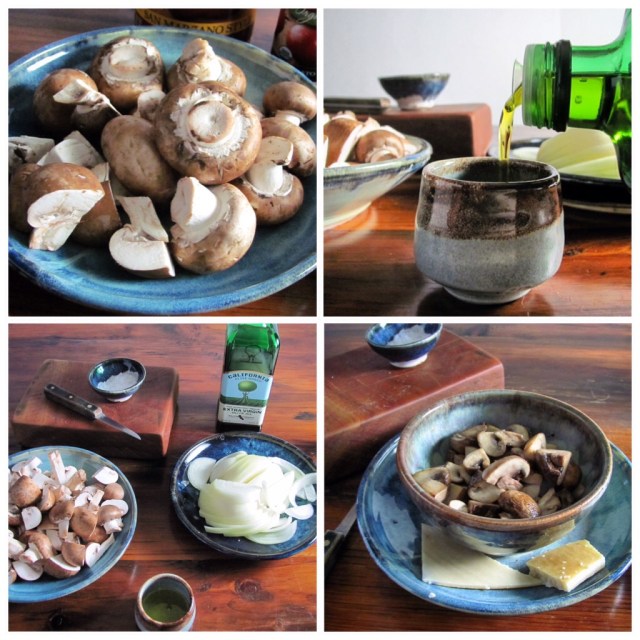
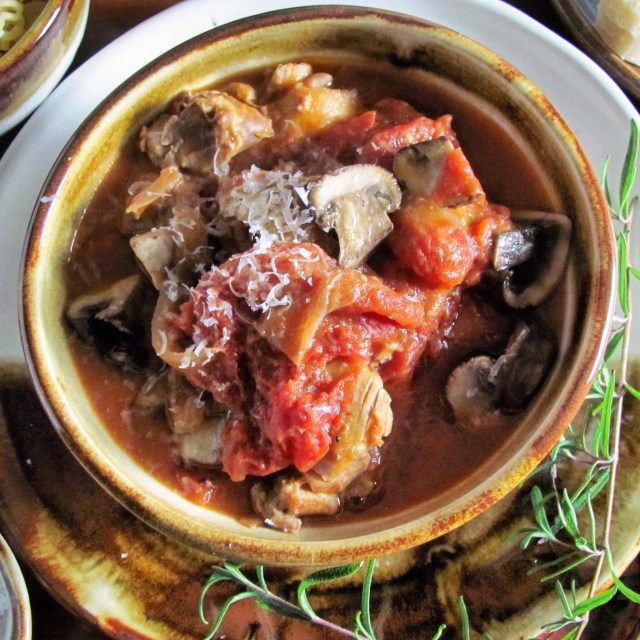
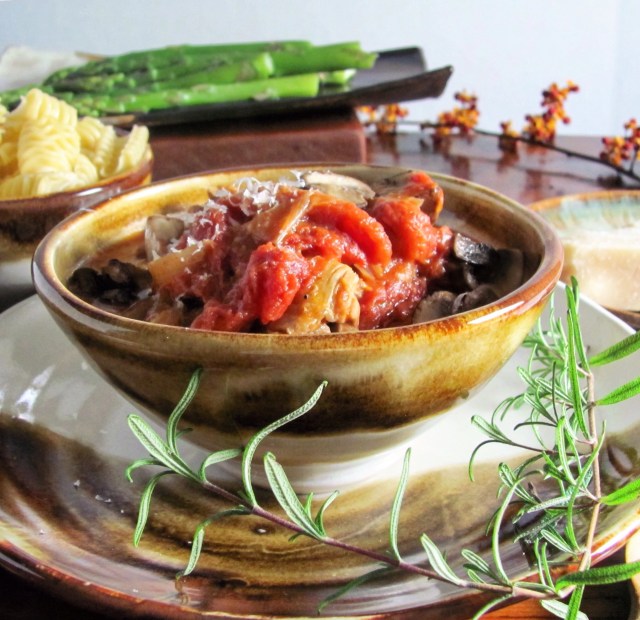
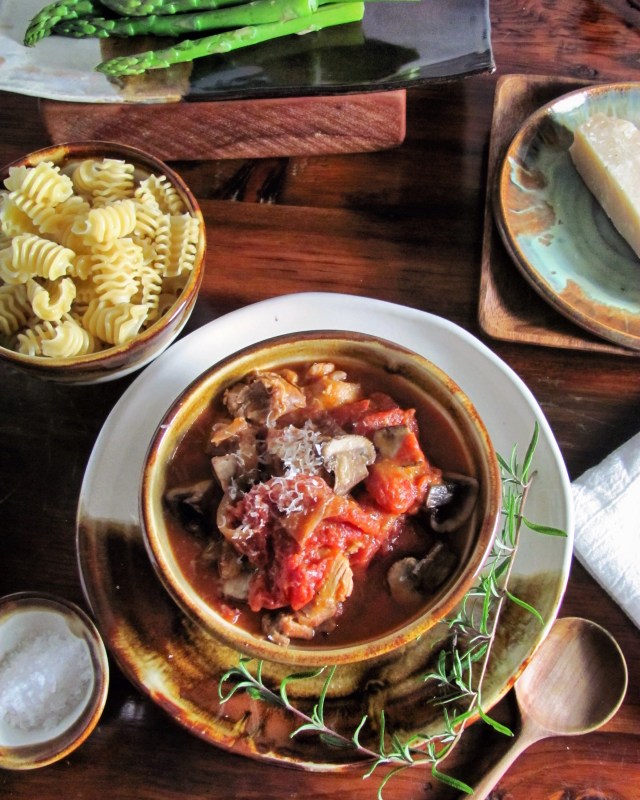
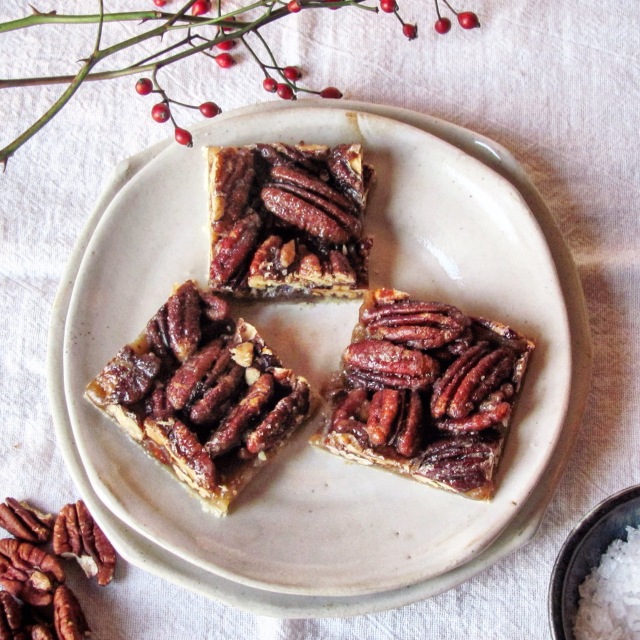
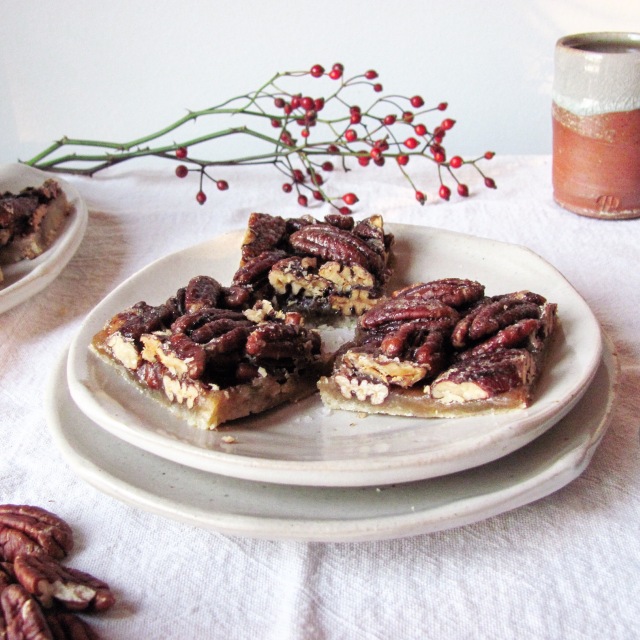
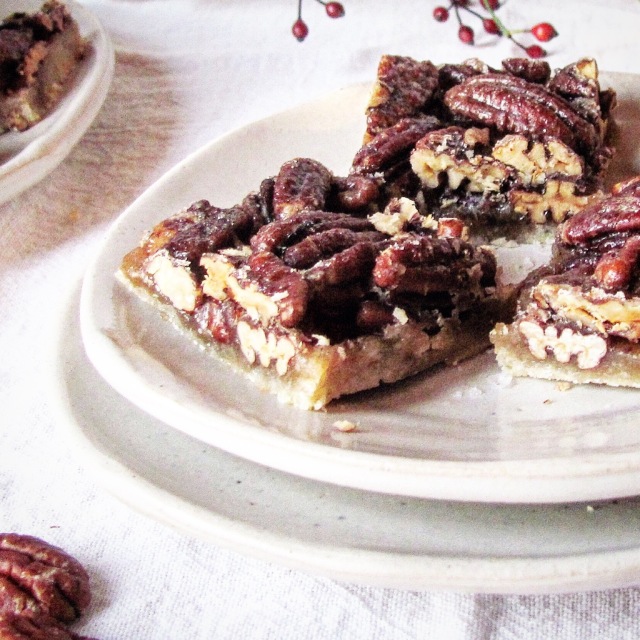
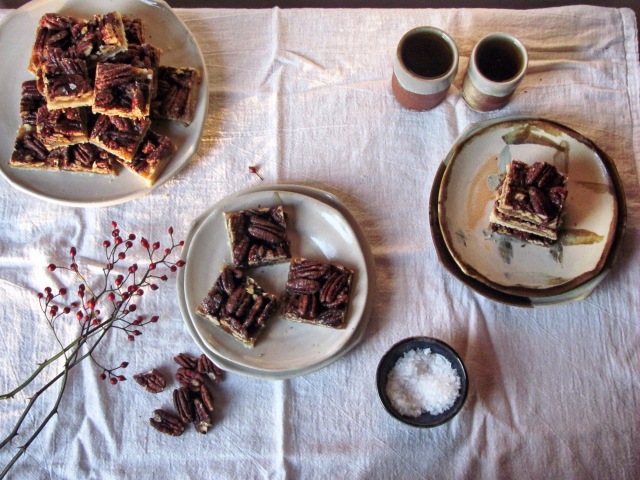
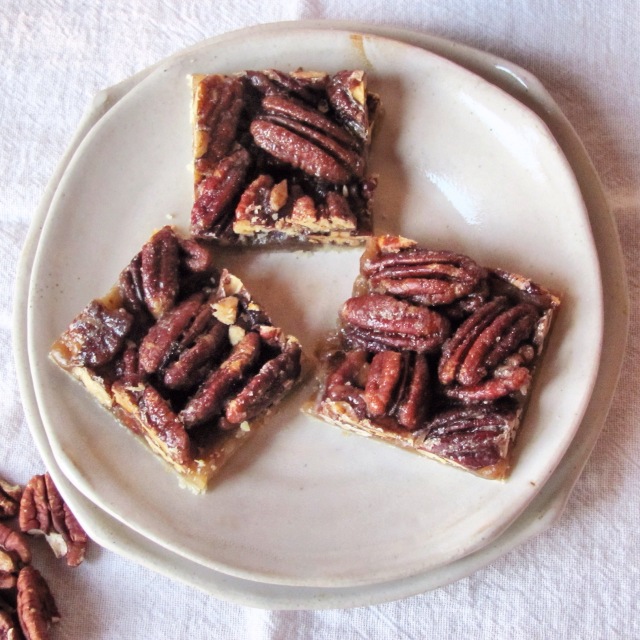
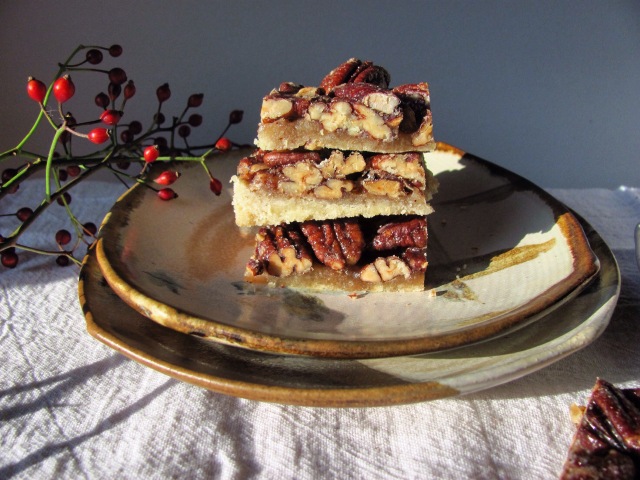
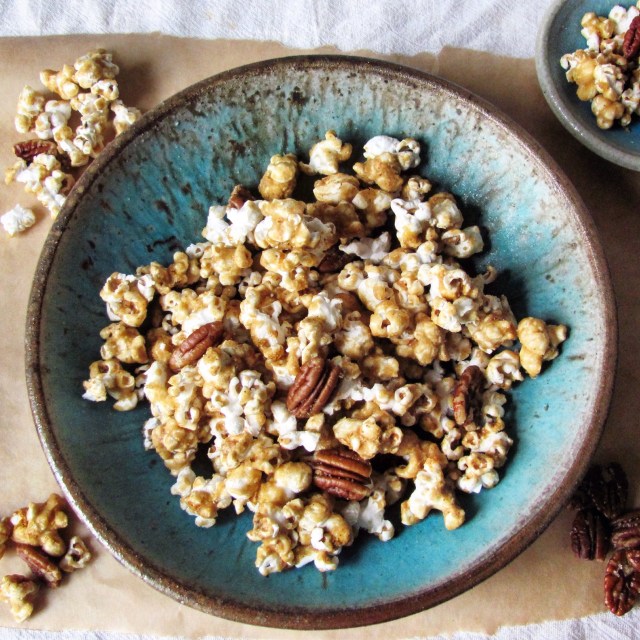
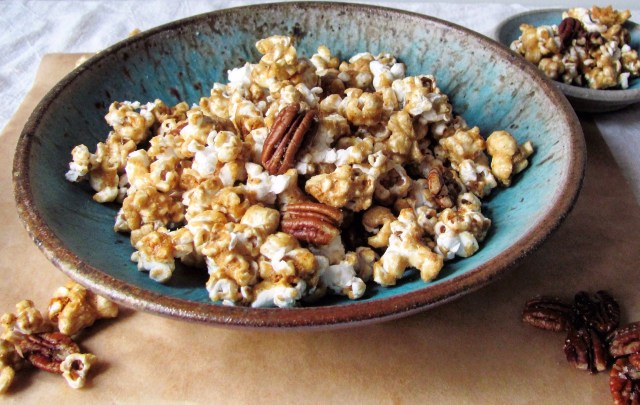
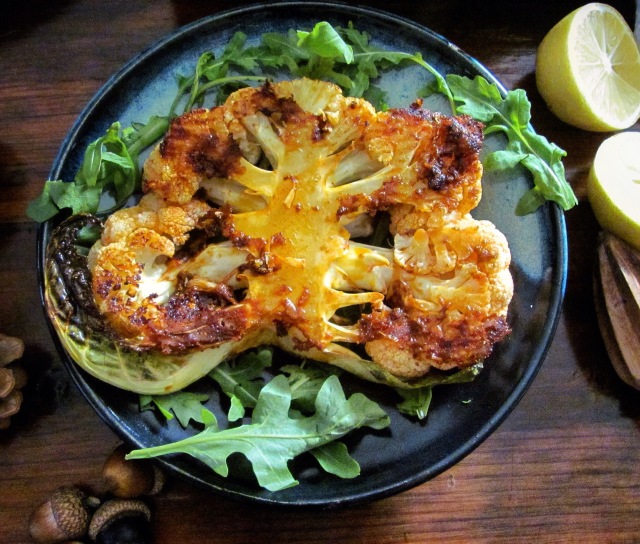
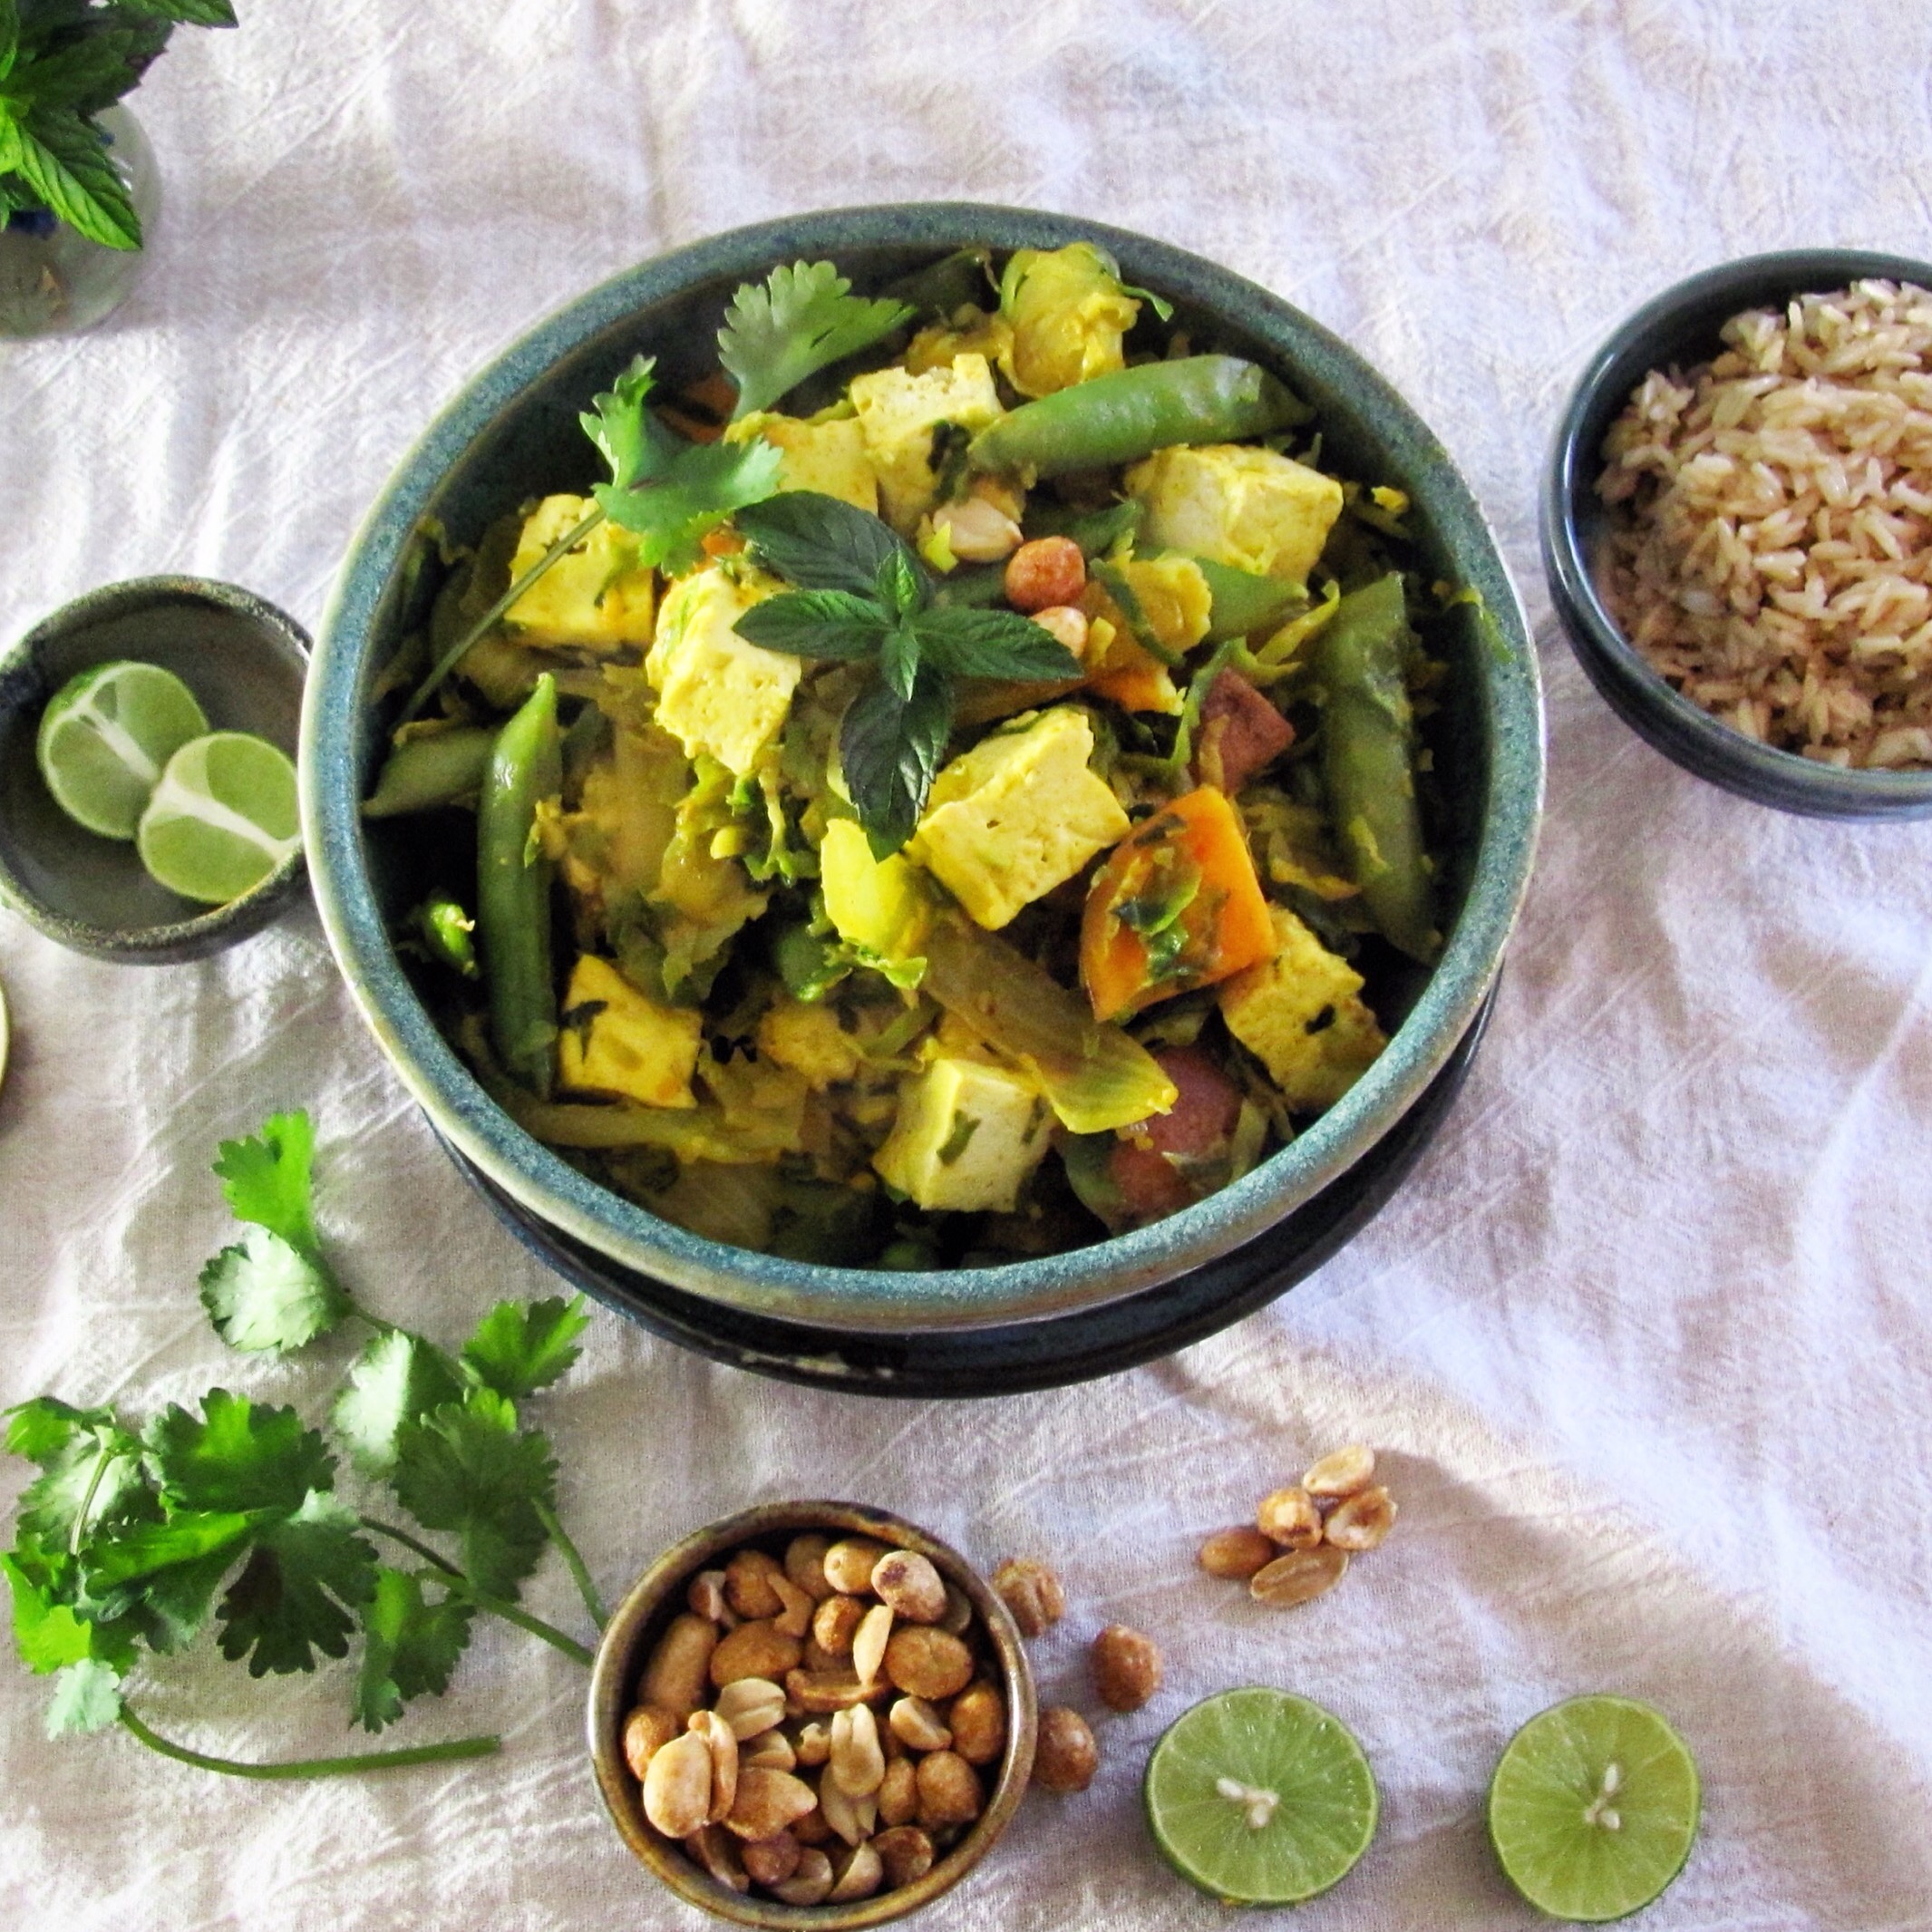
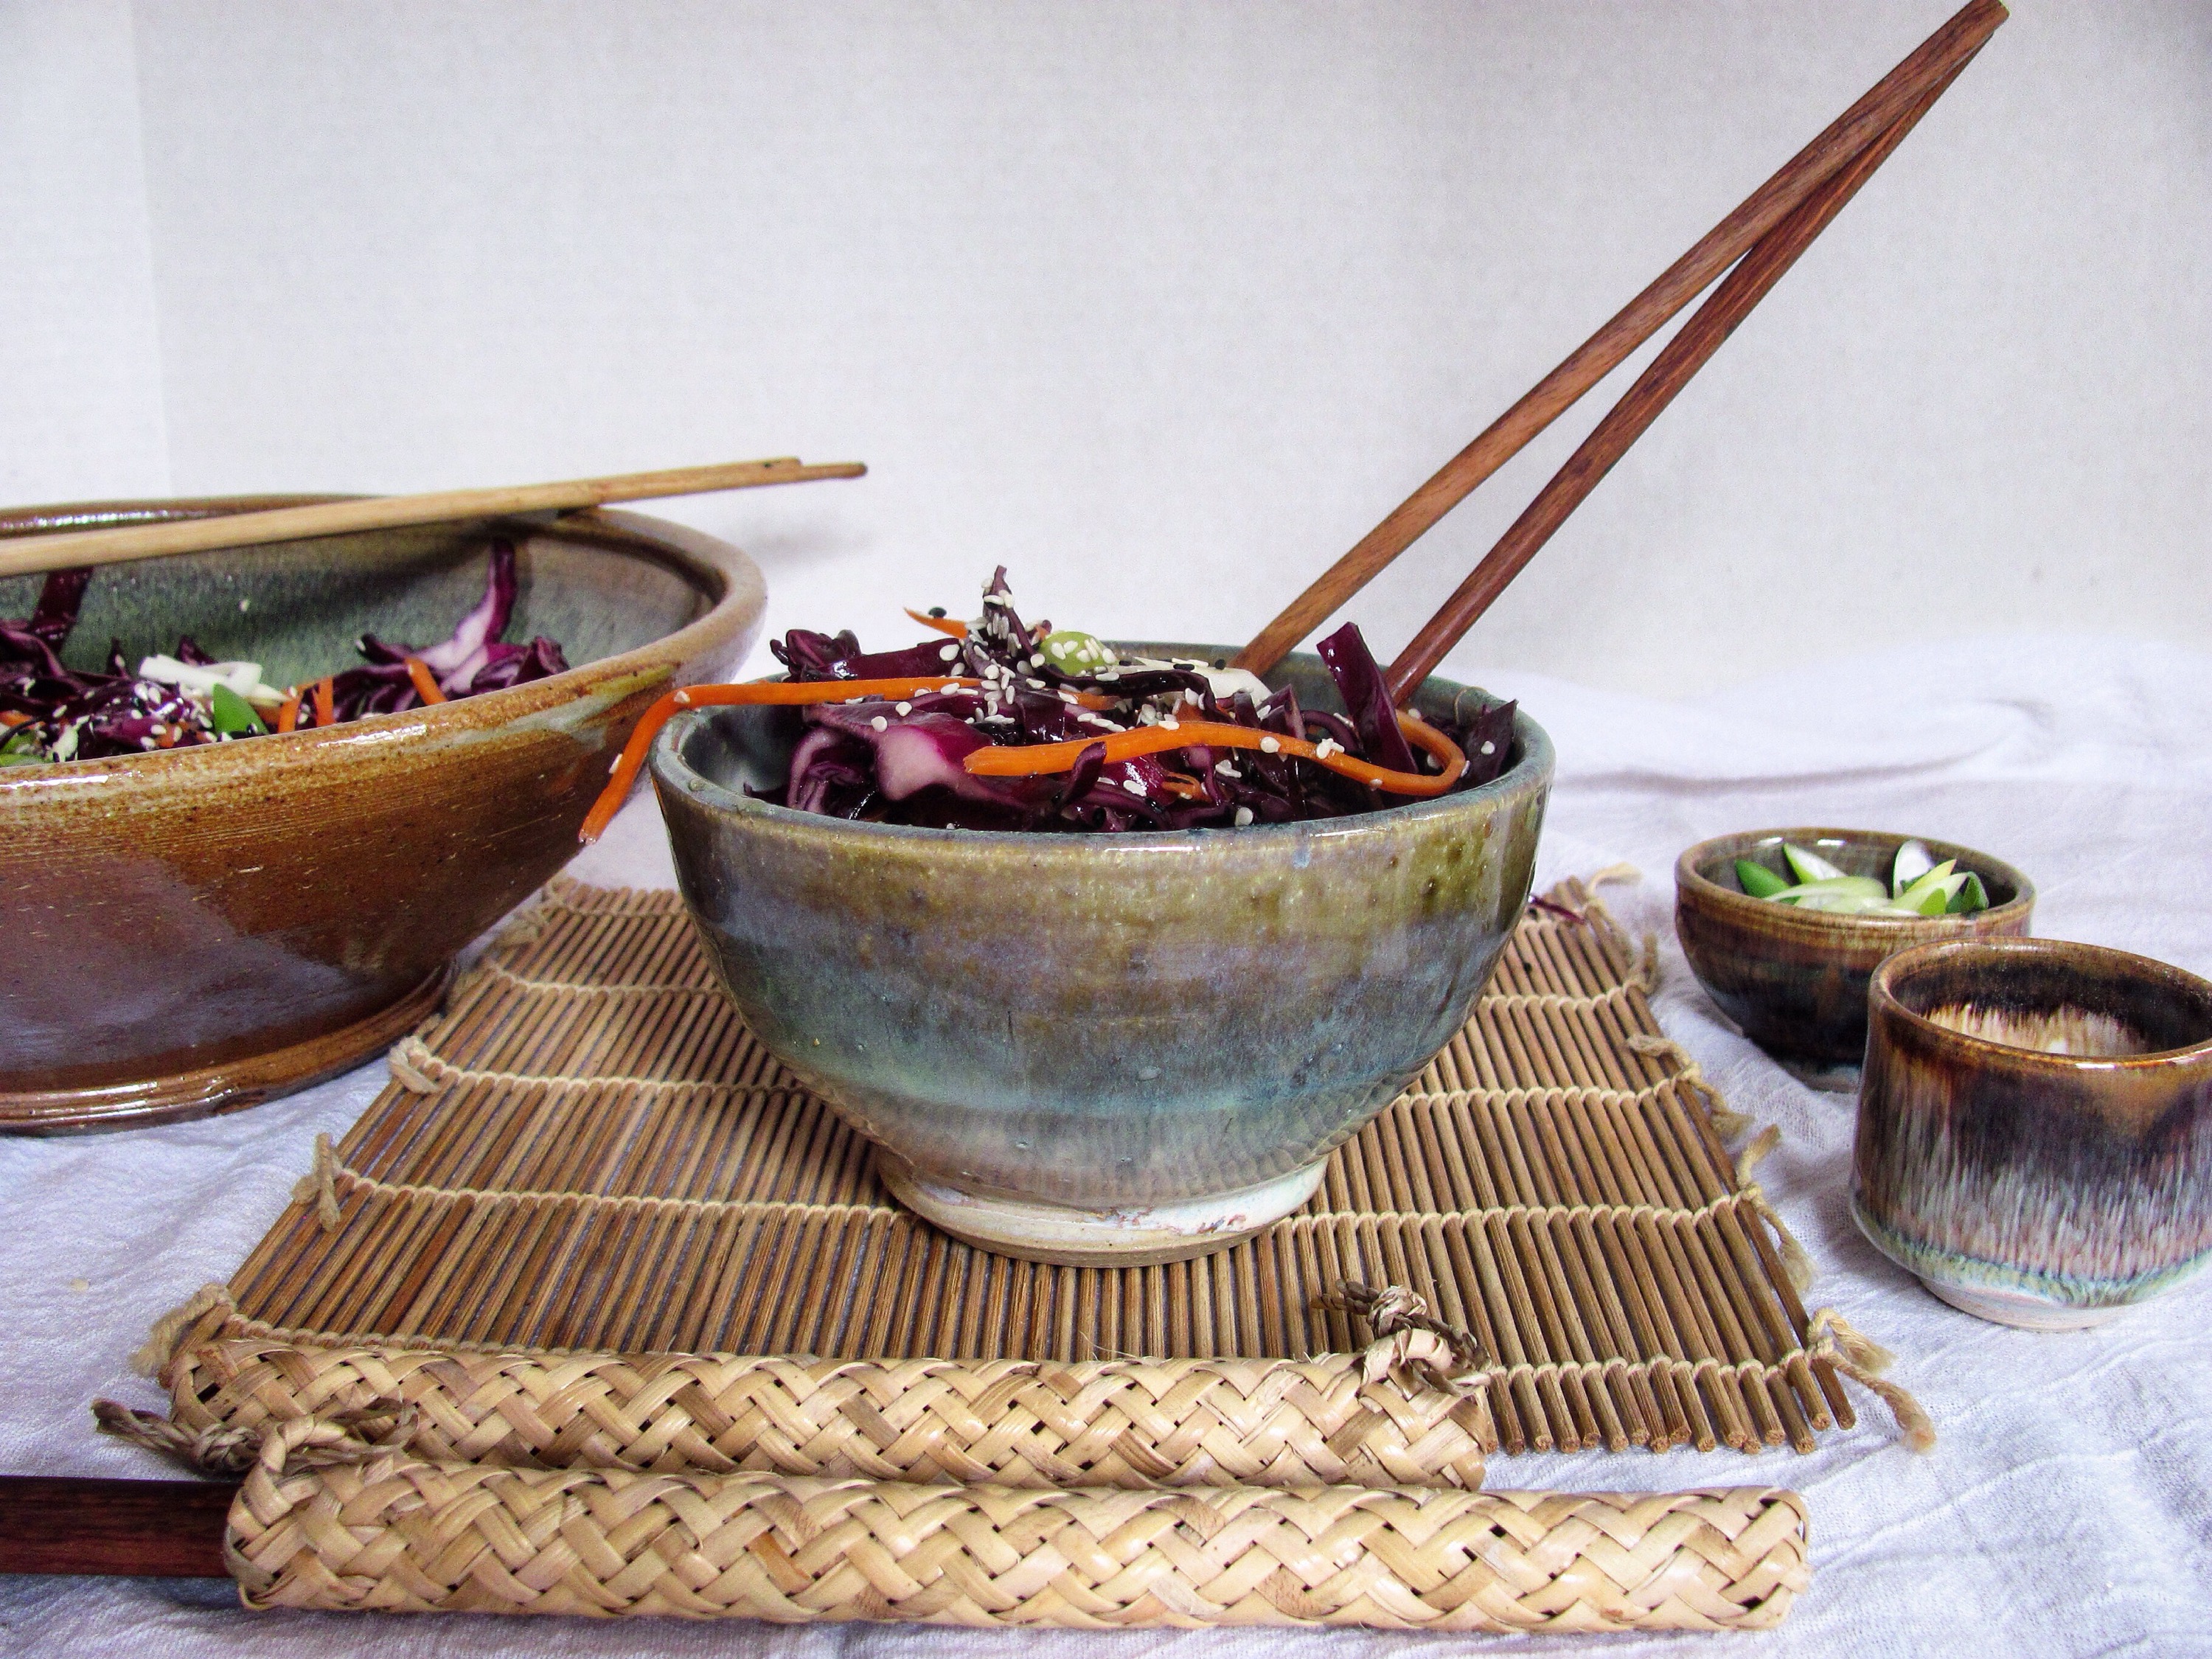
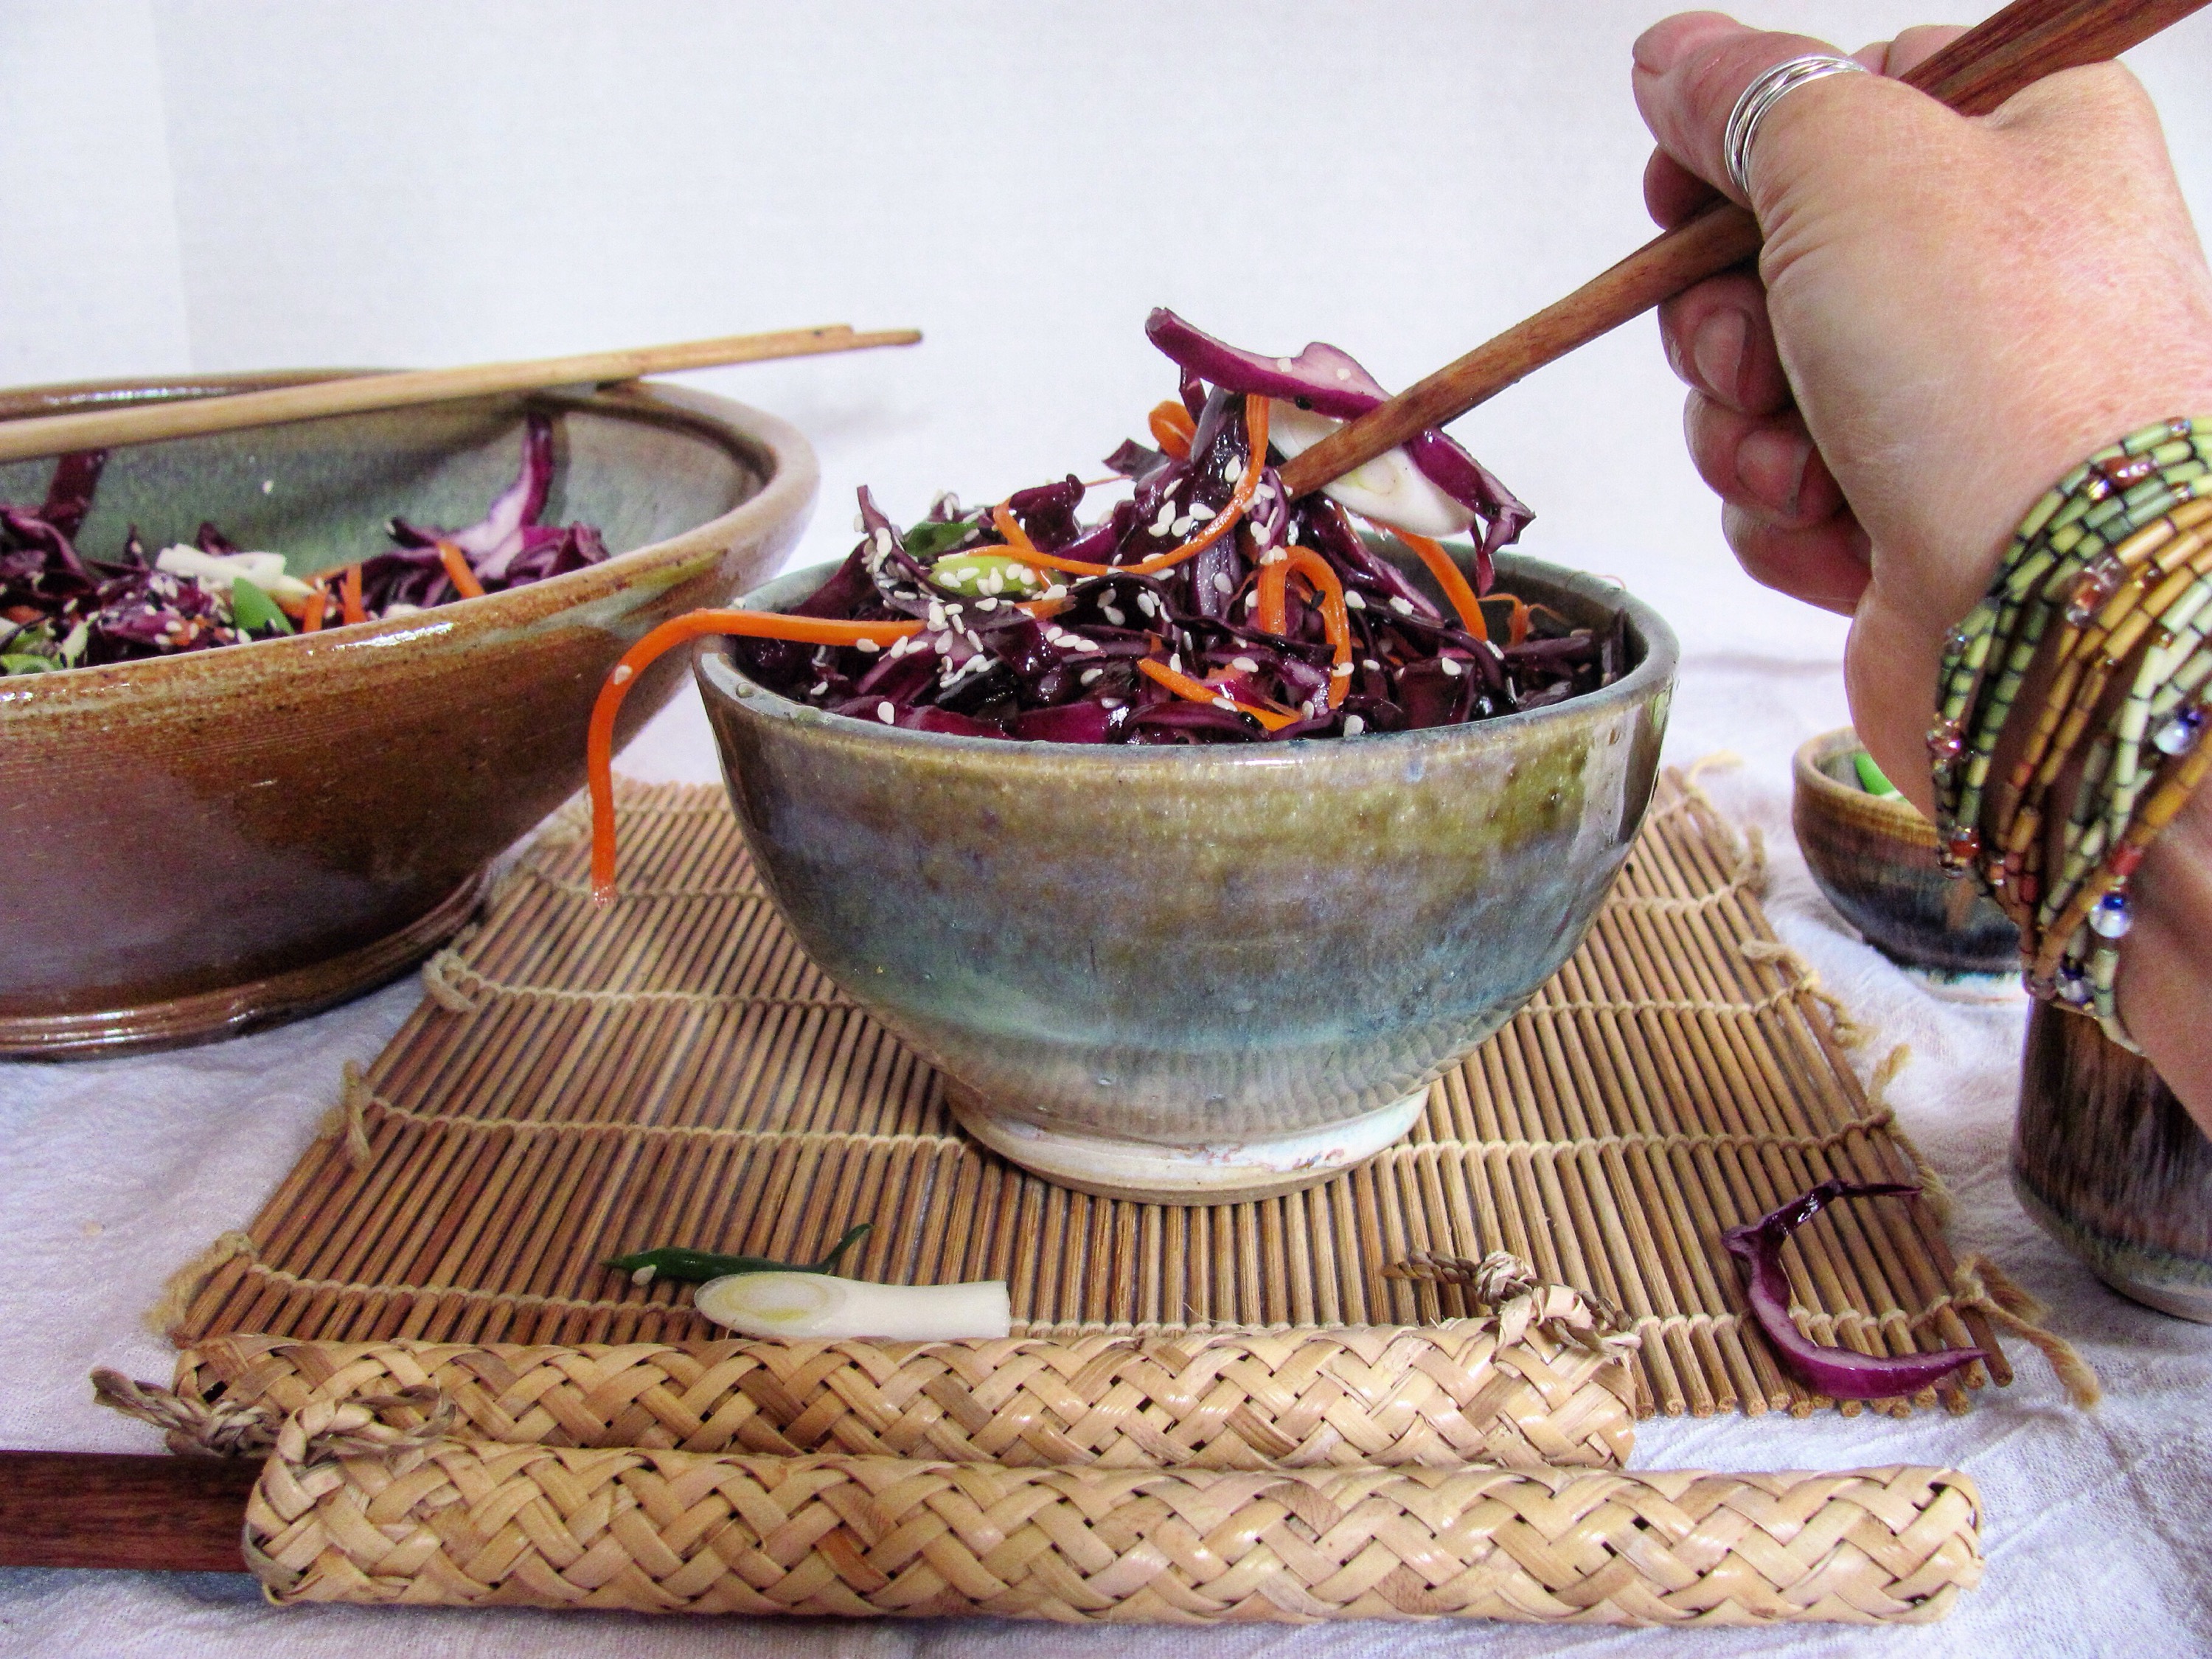
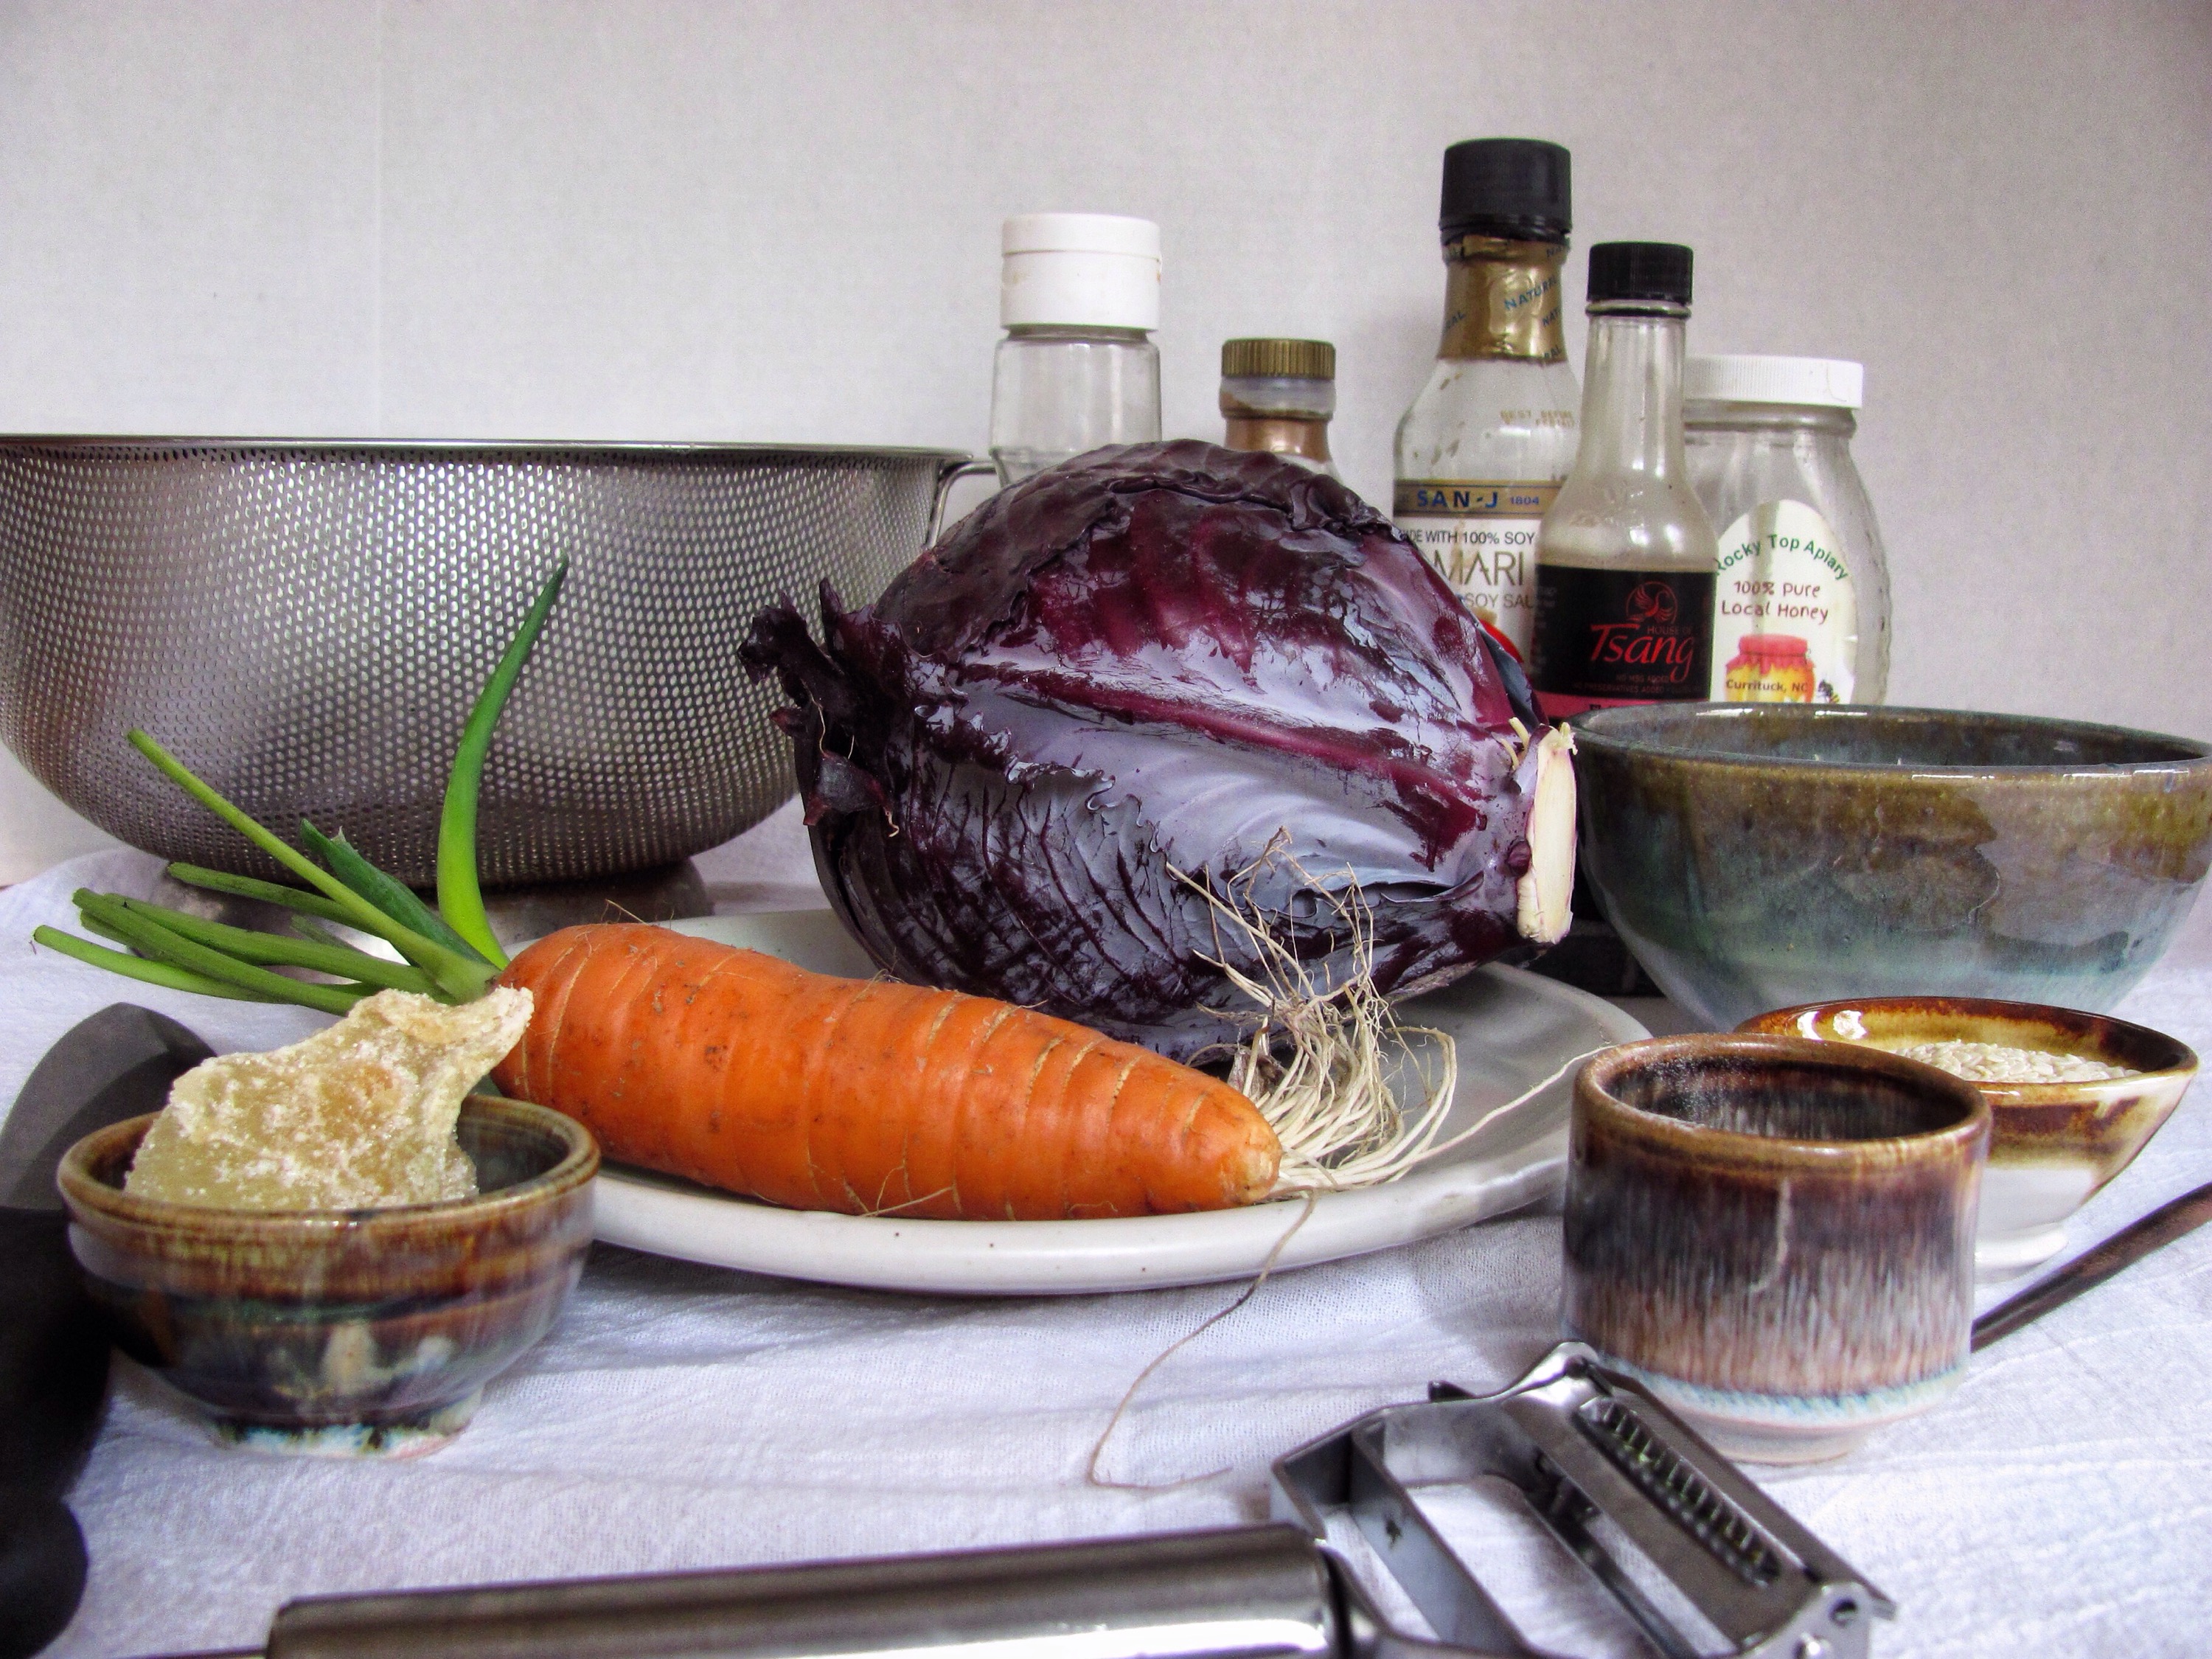
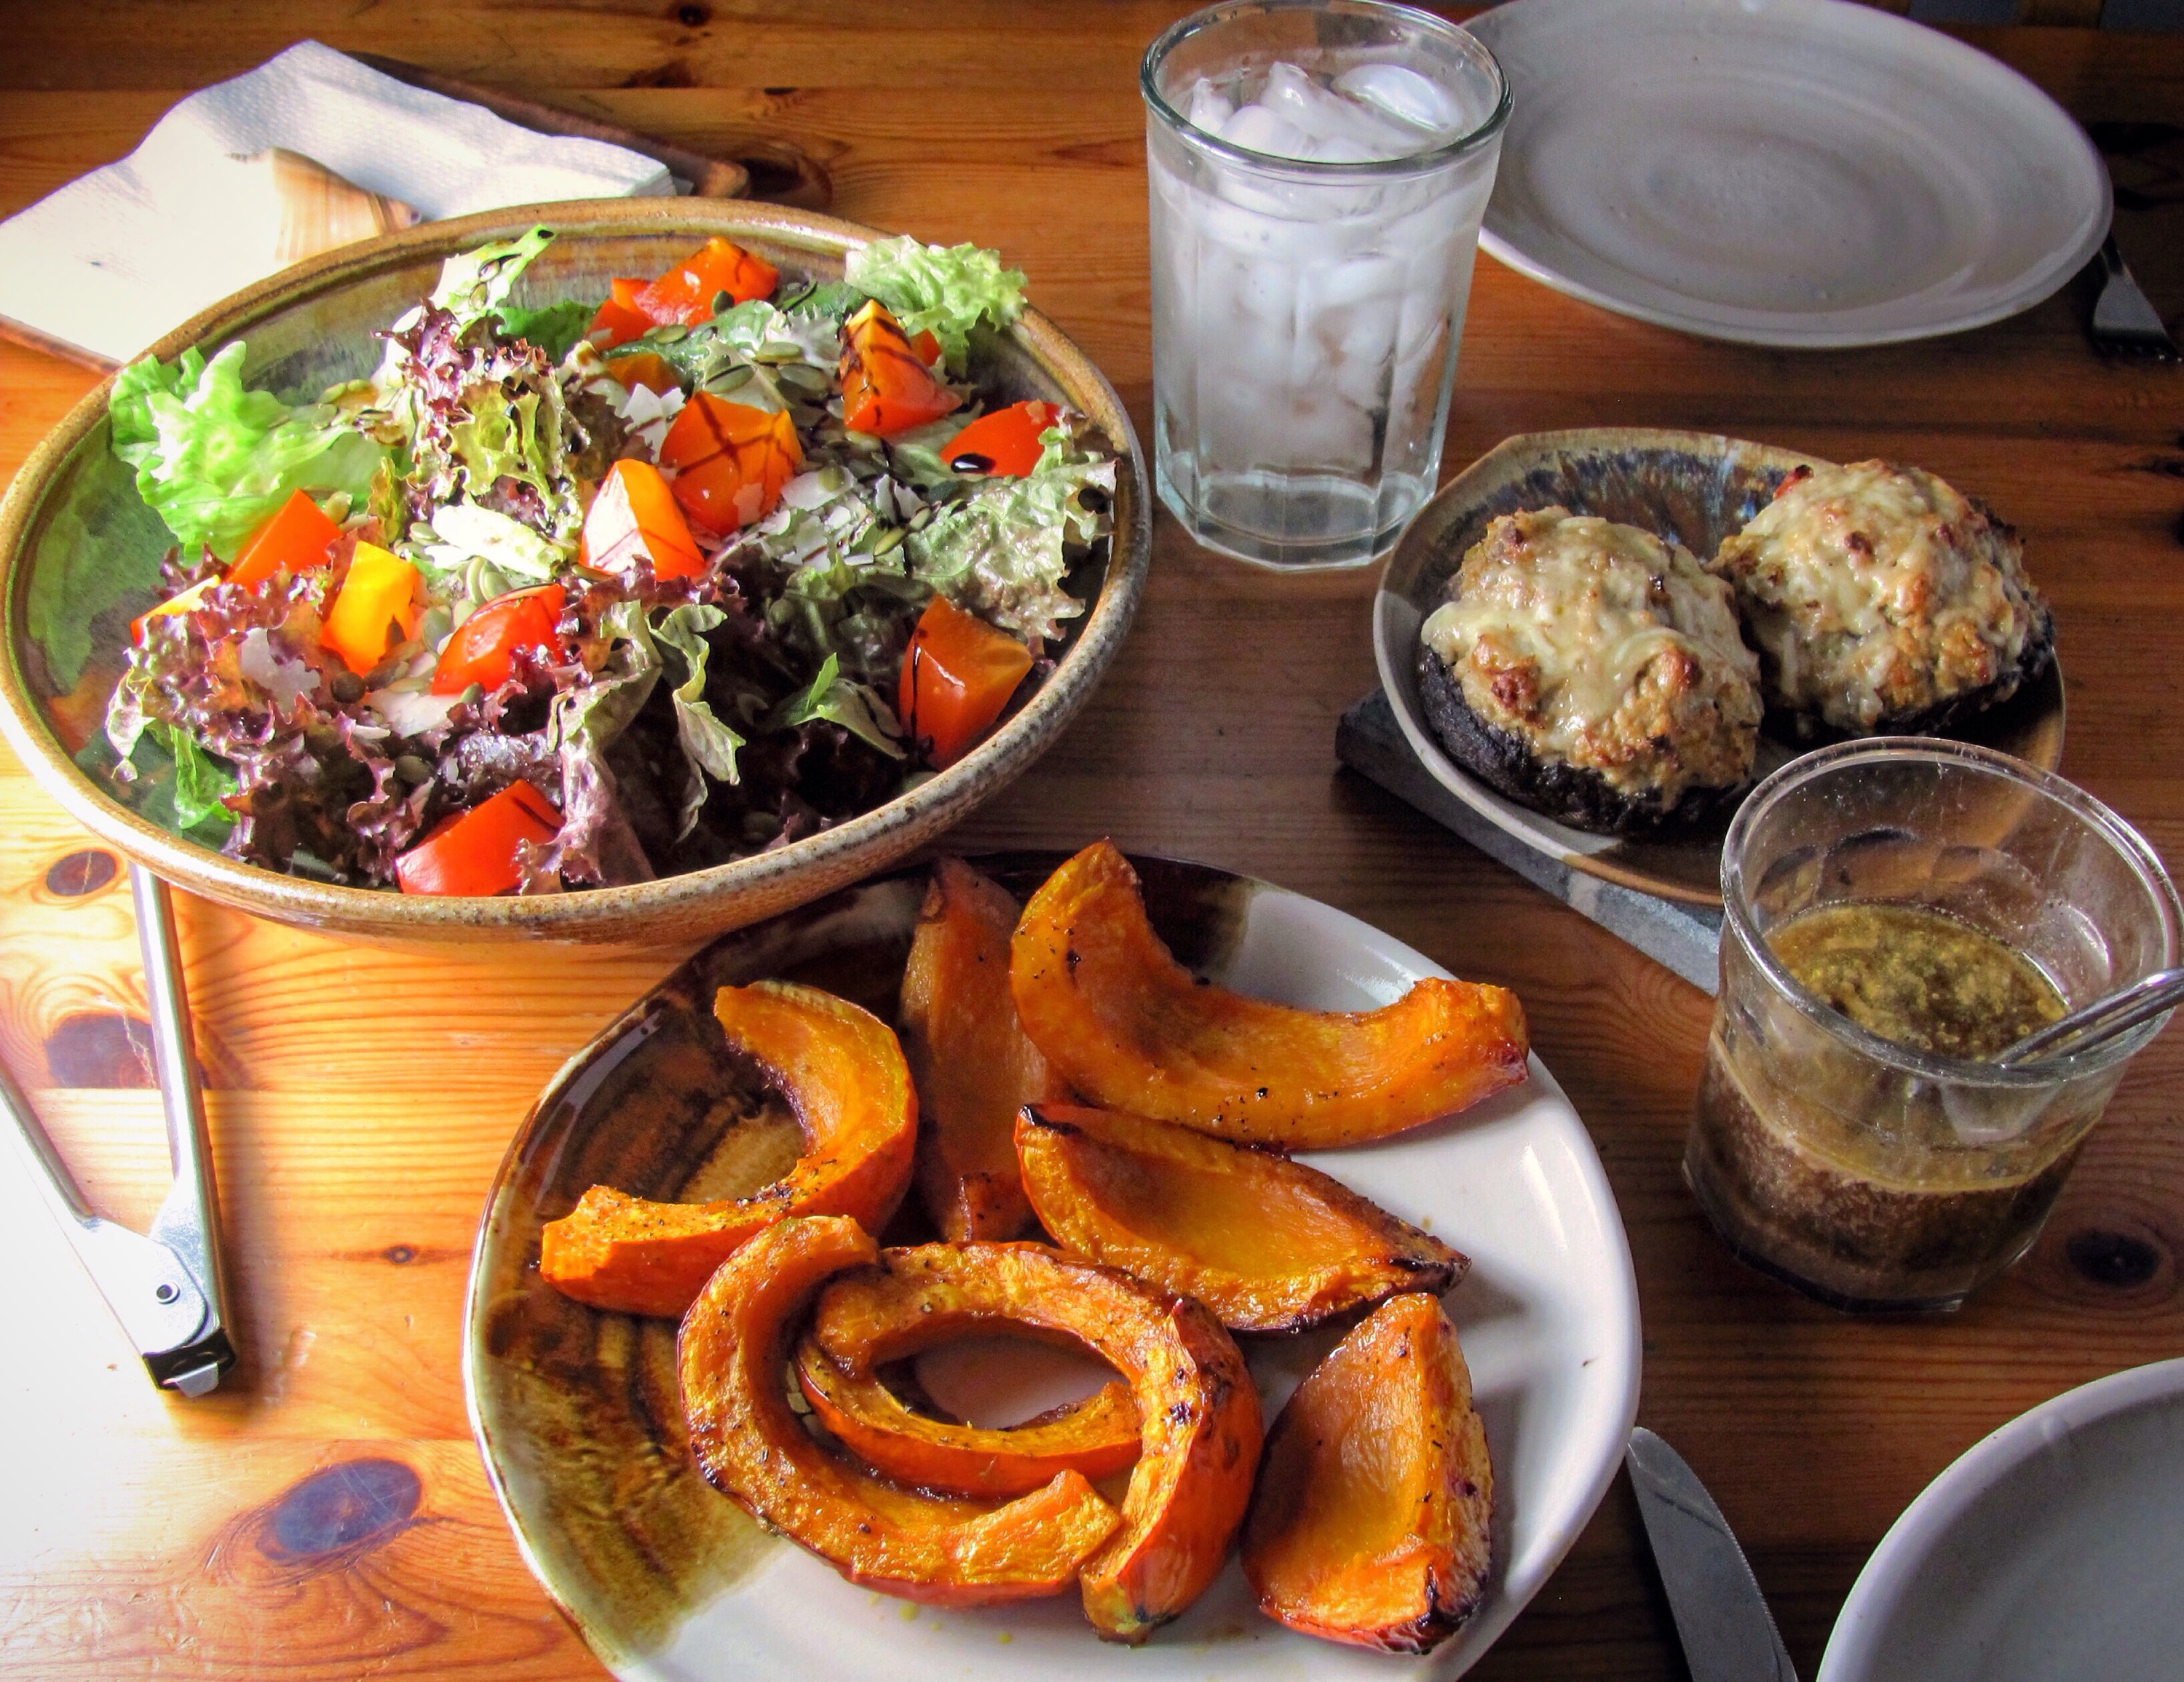
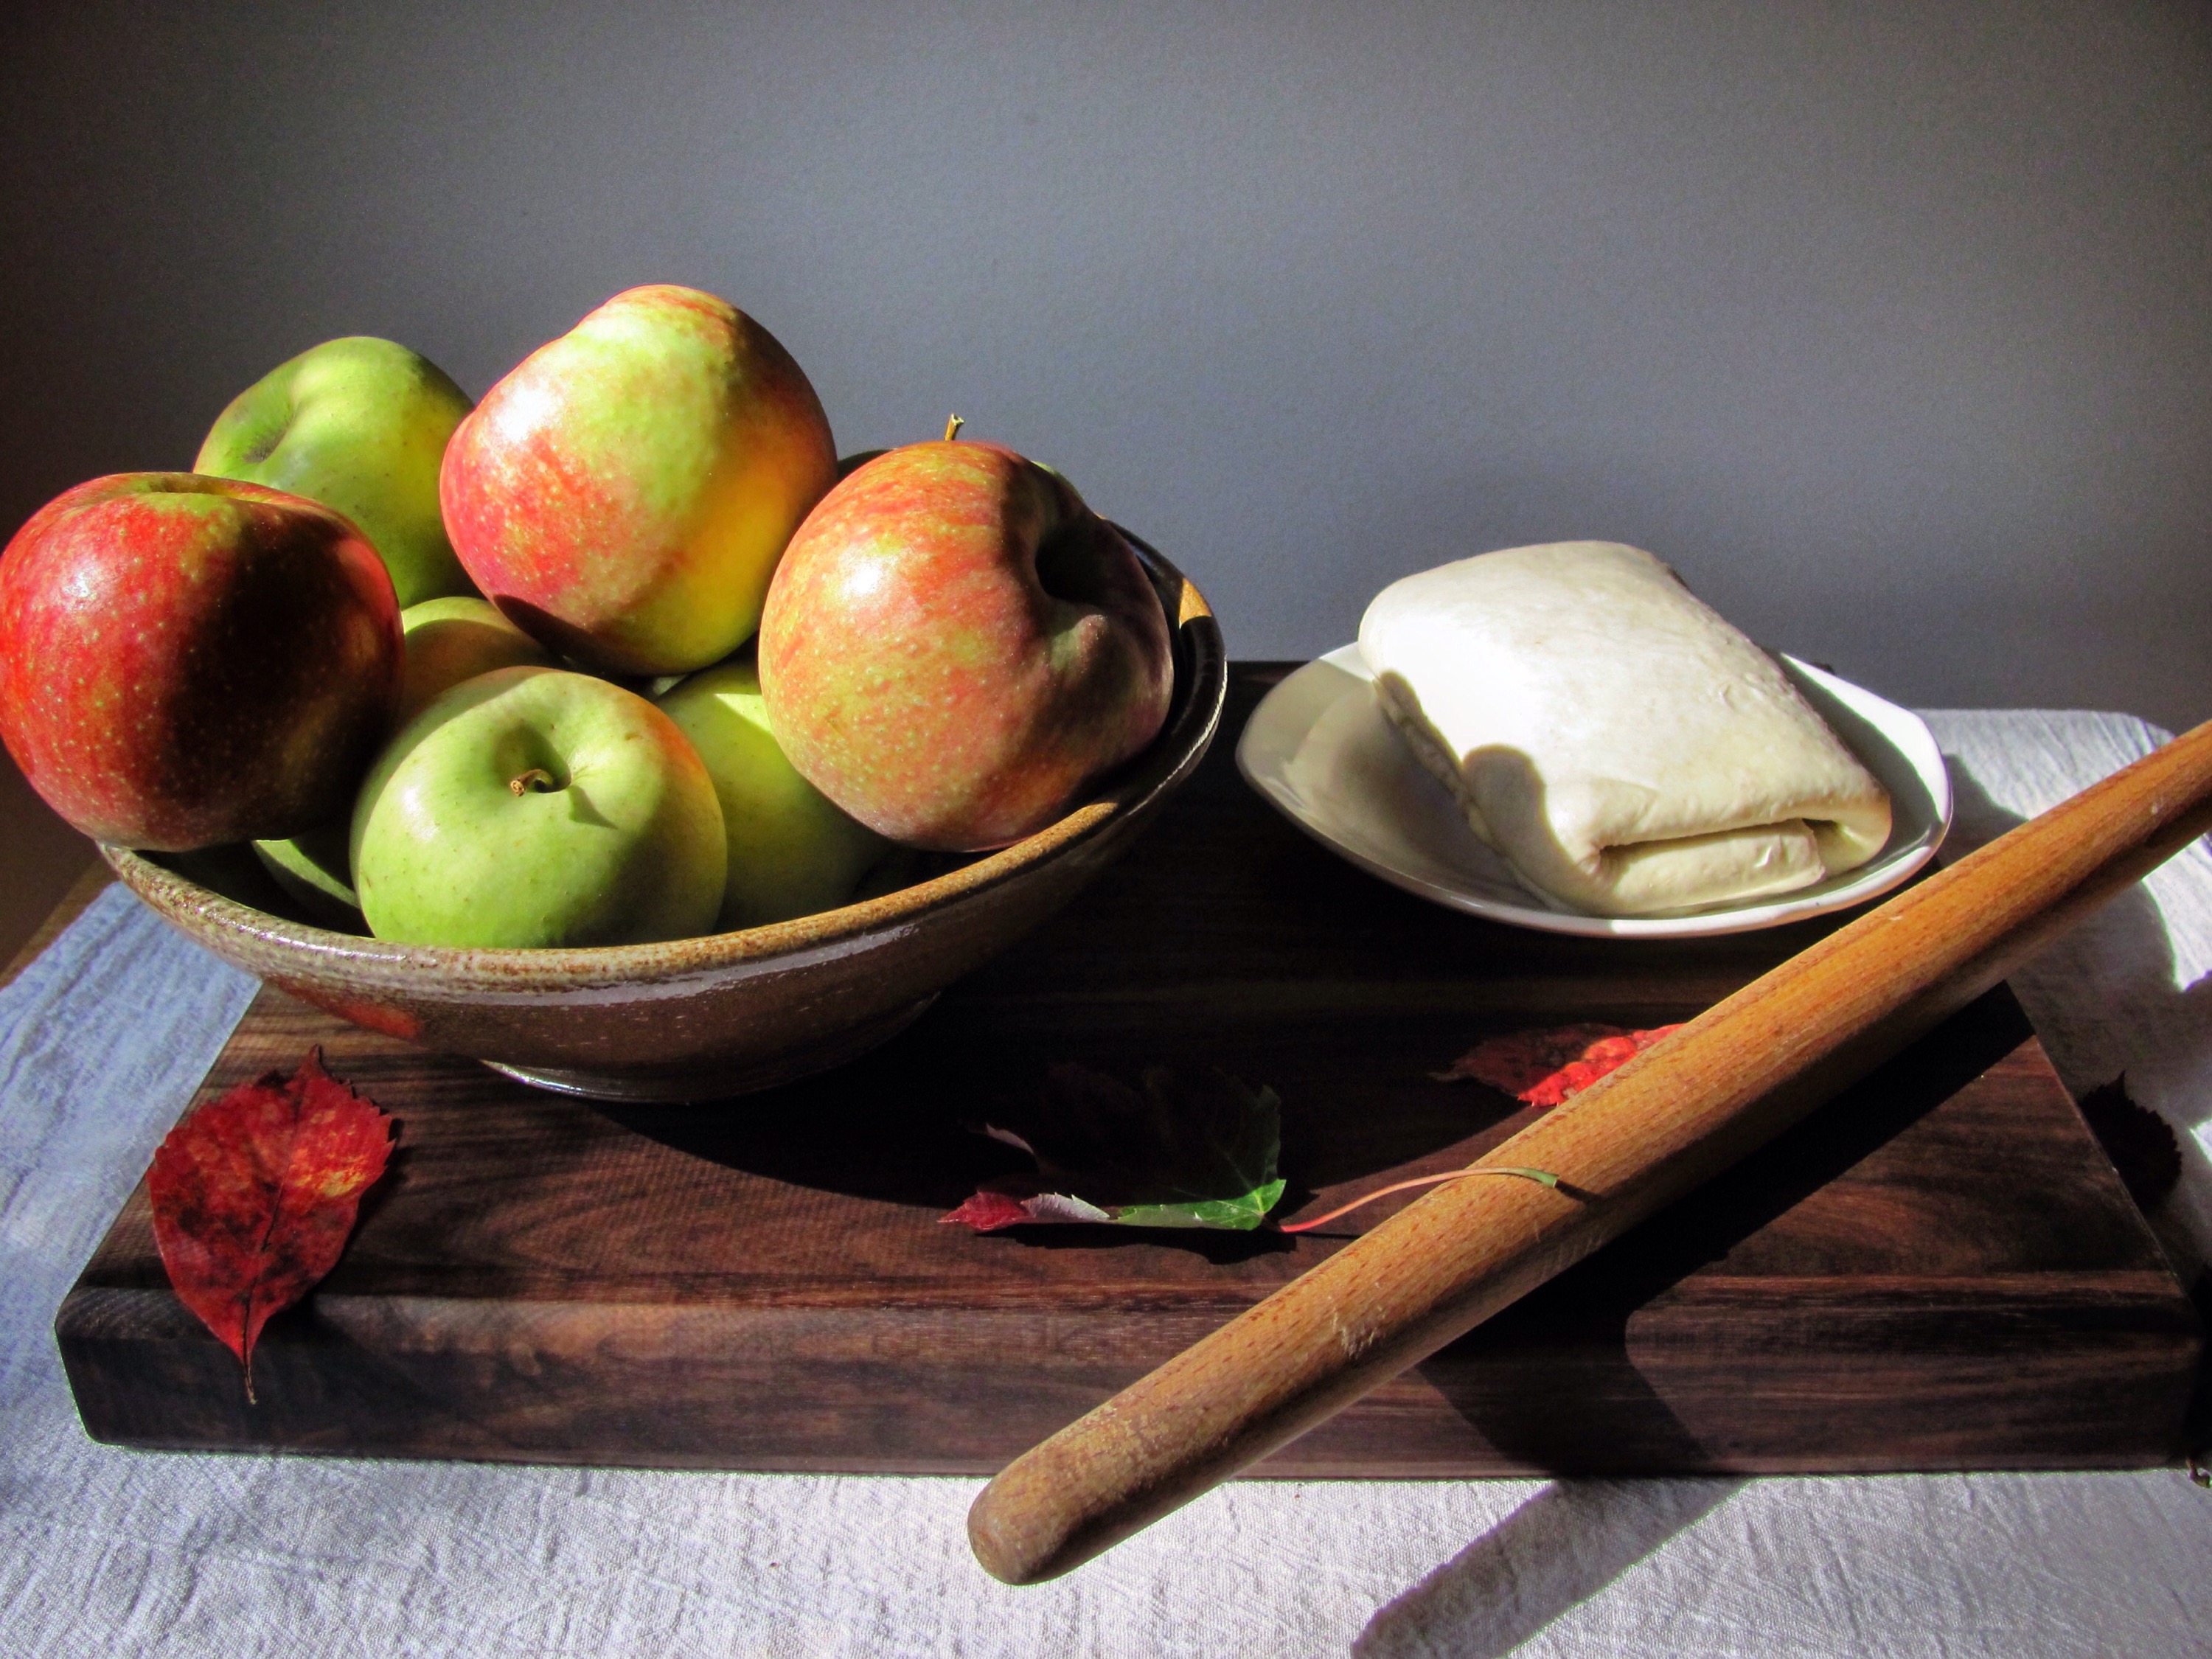
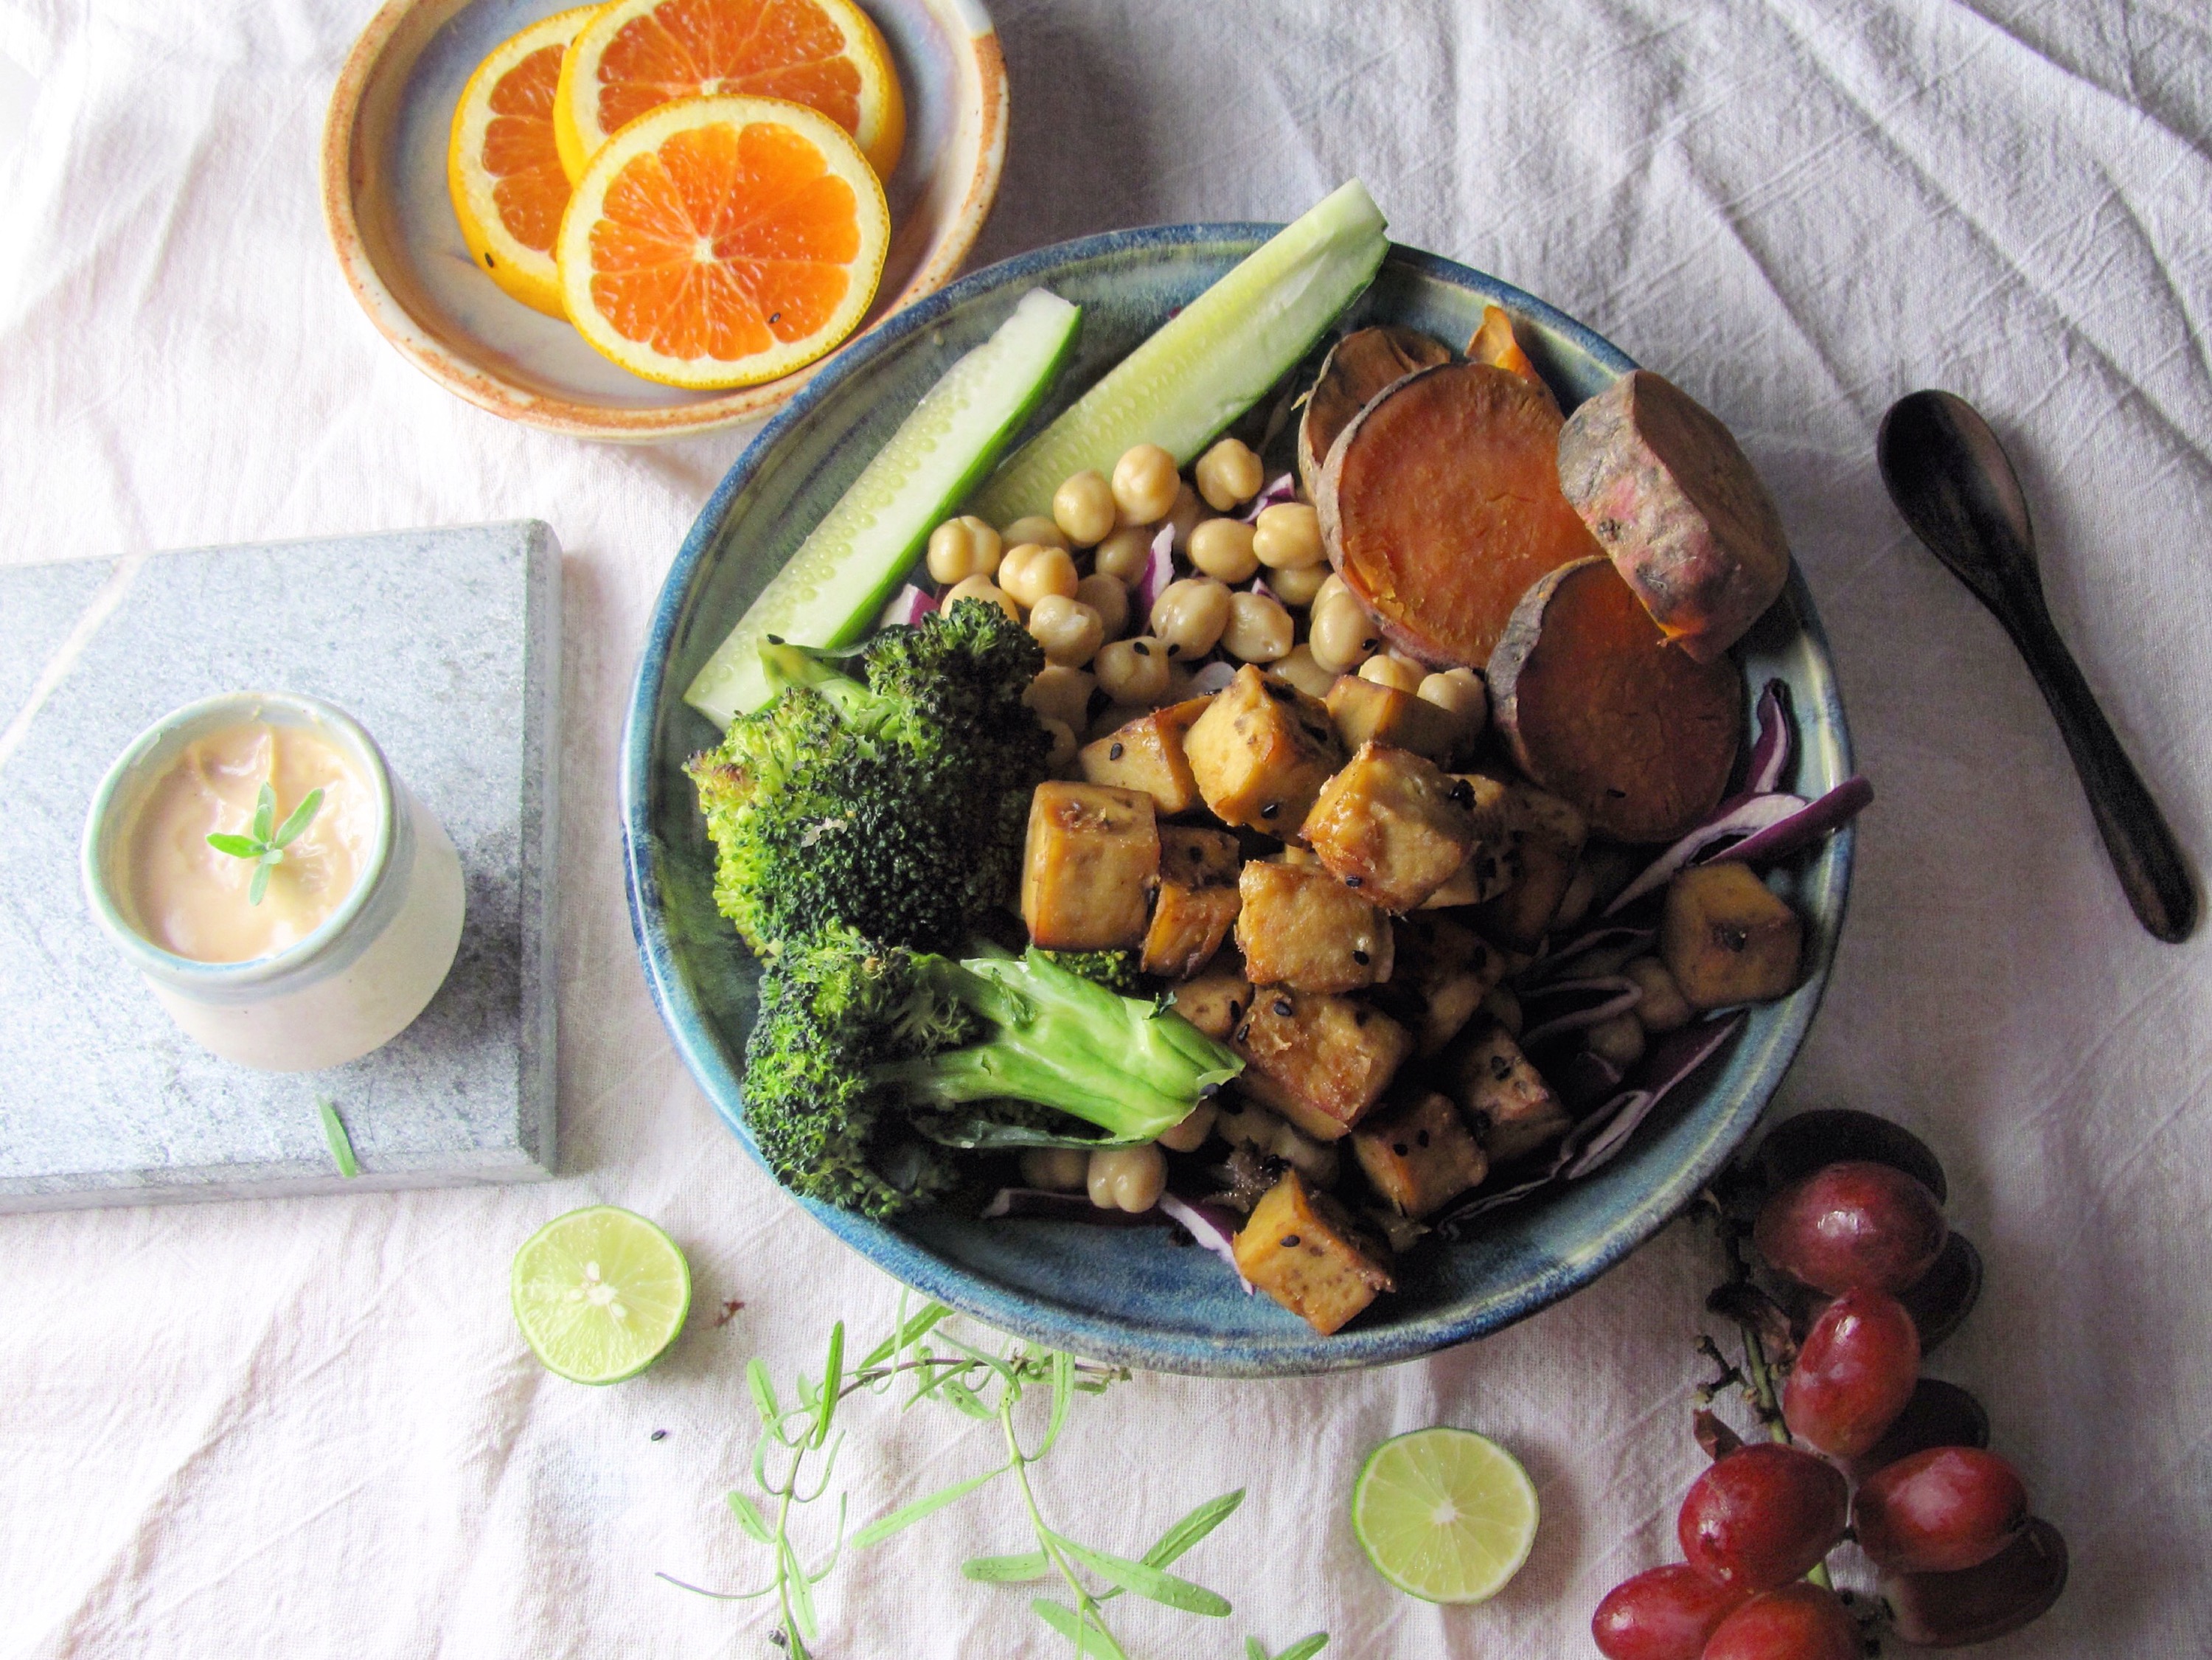
Pottery note: All the porcelain and stoneware pottery you see in this post were unloaded from the kiln this week! Many of you have requested information about buying pots. Currently (because of tech angel complications), we are doing local sales only, here at the studio in Warwick, NY. Stay tuned here on the blog and Instagram and Facebook for info about upcoming on-line sales.

perfcook


Posted in baked, baked goods, baking, chocolate, dessert, holiday, sweets, treat, treats, Uncategorized | Tagged , , , | 13 Comments

Deb’s Chicken Cacciatore

IMG_6908

IMG_1293

IMG_6956

“You must be Jewish,” the produce man said to my mother. She couldn’t figure out if this was his idea of flirtation, or a peculiar response to her request for bigger onions. He must have realized that the appropriateness of his comment was questionable, so he explained. “Jewish women like big onions.” I know not whether this is statistically true, or whether he was a flaming anti-semite, but there you have it.

This incident occurred 40 or so years ago, and I still think of it almost every time I buy an onion. The onions you see pictured here were grown locally and I bought them at the end of the season at Warwick’s wonderful Farmer’s Market. Perhaps I was destined to move to onion country because my mother’s need for big onions was never fulfilled? Perhaps I was destined to continue her lifelong search for a big-enough onion?

Short days and cold nights make me dream of a house that smells like the browned onions at the beginning of a stew. The Italian translation of cacciatore is “hunter style.” I am not a hunter. As a matter of fact, no one in our family has ever hunted anything more animate than an onion…but we all like this sort of stew. Come to think of it, I’m not sure why it came to be made with chicken. The hunter struck out and had to go to the coop and cut into her supply of laying hens?

IMG_6947

IMG_6951

IMG_6952

acac

There are two little secrets to the wonderfulness of my version of Chicken Cacciatore. The first is the use of a bit of tomato paste, which is sautéed along with the onions and caramelizes on the bottom of the pot, creating depth of flavor and giving nice body to the sauce.

The second is the addition of a piece of parmesan rind to the stew. Are you familiar with this trick? It is great for all kinds of soups and stews. I save the “outer skin” of the cheese after the rest has been grated, and use it for this. Some markets also sell pieces. This also contributes body and also gives extra umami to the dish. And after the stew is cooked, the cook gets to nibble on the now-soft parm rind. Try it!

This cacciatore is one of my favorite fall and winter suppers. Great after a day in the woods hunting…just kidding, trail running or cross country skiing. Or scraping kiln shelves in the cold garage. It is hearty, filling, and comforting without being heavy; one of those stewy dishes that is wonderful right off the stove, but even better the next day. Perfect for Chanukah, whether you’re an onion-loving Jew or not!

IMG_6955

IMG_6953

Deb’s Chicken Cacciatore

Naturally gluten free and low carb. Leave out the parm to make it paleo and dairy free.

Serves 6

1 large onion, sliced pole to pole
1 lb. cremini mushrooms, quartered
3 tbs. olive oil, divided
2 tbs. tomato paste
3 lbs. boneless chicken thighs
1 piece parmesan rind
28 oz can tomatoes
1/3 cup red wine
salt and pepper to taste
grated parm for serving

Heat half of the olive oil in a large pot or dutch oven. Add the mushrooms and a bit of salt, and sauté over med-high heat until they are lightly browned. Remove them from the pot and set aside. Heat the remaining oil and add the onions. Cook for a few minutes until they begin to soften, then add the chicken and a good sprinkling of salt and pepper. Cook for five minutes or so, moving everything around a couple of times with a wooden spoon. Now, made a clear spot in the bottom of the pot and put in the tomato paste. Try to spread it out on the surface under the chicken so it gets good contact with the heat. Let it cook for a couple of minutes and then stir so it begins to coat the chicken.

Now you want to let everything cook for a good 8-10 minutes until the bits and paste that are on the floor of the pot look like they are very dark brown but not burnt. Don’t let them burn!! Then, add the wine and tomatoes. Stir well.

Bring to boil, reduce to simmer, cover, and cook for 45 minutes, stirring occasionally. During those stirs, break up the whole tomatoes with your wooden spoon. Toward the end of the time, I also like the break up the chicken a little so there are more pieces of different sizes. Add the mushrooms, cook a few more minutes to heat them through and serve. Or refrigerate and serve later.

This is great served over your favorite pasta, polenta, or rice. It’s also nice over Cauliflower Hash Browns. Terrific sides: Zucchini FriesUmami Roasted Cauliflower, Sweet and Spicy Glazed Brussels Sprouts, Umami Bomb Asparagus, Arugula Salad, or Surprising Kale Salad. Happy holidays!

IMG_6958

IMG_6957


IMG_6954

Posted in chicken, dinner, easy, entree, gluten free, healthy, holiday, low carb, main, main course, main courses, poultry, supper, supper, main courses | Tagged , , , , , , , | Leave a comment

Pecan Bars


IMG_6850


aanglepecan

bright pec

Happy Thanksgiving!!

Have you noticed that most Americans prefer Thanksgiving to other holidays? I have heard and read much speculation about this. And the nature of the speculation usually reveals more about the person speaking or writing than any truth about the population. Stress, materialism, the importance of family and food are the factors most often mentioned.

I’m going to reveal my own agenda now. And I’m not going to analyze anyone except myself! I like Thanksgiving best because I take it literally. I really like gratitude!!! I try to cultivate gratitude every day and I think I do a pretty good job. But Thanksgiving is about gratitude, how awesome is that? I am in a grateful frame of mind pretty much constantly before, during, and after the holiday. And for the record, I also like the lack of gift-giving, the presence of loved ones, and the food. Yup, it’s pretty great!

Here’s a partial list of the things for which I am grateful: My health, the love of my life, my daughter and my son, family, friends, the best cat ever, clay, food, my home and you, the readers of my blog.

These Pecan Bars come together quickly and easily, so if you still haven’t made dessert, get to it! They’re also great for any other occasion or holiday. Salty, toffee, chewy, nutty, buttery, really wow!

IMG_6831

IMG_6840

IMG_6832

IMG_6846

beyond pecans

Pecan Bars

This recipe comes from Cook’s Illustrated. I am grateful for them, too!

If you want to prep ahead, you can make the crust and put it in the fridge for a day or two before you do the rest of the recipe.

Crust
1¾ cups all purpose flour
6 tbs. sugar
pinch sugar
8 tbs. unsalted butter, melted

Filling
1 lb. pecans, toasted
7 tbs. unsalted butter, melted and hot
¾ light brown sugar
¼ cup light corn syrup
1 tsp vanilla
pinch salt

optional: flaked sea salt for sprinkling

Preheat oven to 350°. Line a 13 x 9 inch baking dish with 2 layers of foil placed perpendicular to each other, forming a sling. Spray lightly with baking spray.

Make the crust: Mix all the crust ingredients together in a big bowl. It helps to use your hands at the end of mixing. And then use your hands to press the crust into the bottom of the prepared dish.

Make the filling: Mix all the ingredients except the pecans. Then fold in the pecans and spread the filling over the crust. Don’t worry if it looks like it’s not covering well, it will spread out while it bakes, just give it your best shot.

Bake for 23-25 minutes or until bubbly. Sprinkle with flaky salt if you like.

Let cool for at least 1 1/2 hours. Lift the bars out using the sling, place on a cutting board and cut into 24 squares.

These will keep in a sealed container for 5 days at room temp.

And if you have a minute, I’d love to hear from you! Leave me a comment and tell me what you’re grateful for this Thanksgiving! Hugs!

IMG_6842

IMG_6844

aaaIMG_6841

Posted in baked, baked goods, baking, dessert, Uncategorized | Tagged , , , , , , , , , | 6 Comments

Caramel Corn OMFG


IMG_6772

IMG_6773

IMG_6764

Guess what Bob found in the garage? My popcorn popper!

Last fall, before the renovation from hell, we packed away most of the contents of the broken kitchen. Everything that wasn’t an everyday essential went into storage in the garage.

The air popcorn popper didn’t make the cut. Now, you know me. And I know you are yelling, “deb! You make speeches about kitchen unitaskers. Why on mother earth do you even own an air popper? That thing is such an anachronism, it’s for fat phobics, and that s**t tastes like cardboard.”

Hey! My brother gave me that popcorn popper for Chanukah! It was… winter break of my freshman year of college…so 1977. He was a junior in high school. I still remember how deeply touched I was by the gift. And that contraption was great in dorm rooms and apartments. I estimate that it has moved with me 25 times in 38 years. And it still works like a champ! And every time I use it, I think of Steven.

So, when Bob came across it in the garage last week, I knew I had to make caramel corn and share it with you here on the blog. I made a test batch and sent a huge bag with him for the 4 hour car ride to Boston. He texted me: Caramel Corn OMFG. He had about a cup left when he went into his meeting at Tufts and apparently the heretofore docile research nerds turned into a frenzied mob.

IMG_6767

IMG_6763

I know, it’s the week before Thanksgiving and all the other bloggers are making pumpkin pie and squashduckens. I will point you to all my great turkey day recipes in a minute. But think about it. You need something to munch while you are cooking! You need something really amazing to put out in bowls all over the house while your guests are waiting for the turkey to rest and sipping their drinks!

This caramel corn is out of control, seriously. I don’t usually like spicy-sweet snacks that much. And if you don’t, you can leave out the spices. But try this. The combination of crunchy corniness with the shattering, sweet sugary crust, the slight bitter of the caramel and the little bite from cayenne and chipotle, OHMYGOD! The cumin just gives it a little something…exotic, and the flavor of the pecans echoes the nuance of the spices. The combination is way beyond addictive.

But, I promised you Thanksgiving. I’ve gotcha covered for everything except the turkey. You can make an entire DebsPotsBlog Thanksgiving feast, from appetizers through dessert. My turkey technique is sort of like this one. And here are recipes for the rest of the meal:

Blue Cheese Stuffed Pepper Bombs
Hummole 
Gravy-Making Secret
Roasted Butternut Squash
Butternut Squash and Sweet Potato Puree 
Genius-ish Umami Roasted Cauliflower 
Sweet and Spicy Glazed Brussels Sprouts 
Hasselback Sweet Potatoes
Umami Bomb Asparagus
Surprising Kale Salad
White Chocolate Salted Caramel Ice Cream
Gluten Free Chocolate Chip Cookies
Black Sesame Loaded Oatmeal Cookies
Blackberry Apple Crumble
Apple Roses

As for the Caramel Corn…you can make it this weekend and keep it in a covered container until Thursday. Who am I kidding? You’d better hide it in the garage!

IMG_6758

IMG_6769

IMG_6765

Caramel Corn OMFG

This recipe is very loosely based on  Susan Feniger’s Coconut Curry Caramel Corn.

If you don’t like pecans, you can substitute peanuts or you favorite nut.

Makes about 15 cups.

½ cup popcorn kernels, popped*
1 cup unsalted butter (2 sticks)
2 cups light brown sugar
¼ cup corn syrup
¼ tsp baking soda
1 ½ cups toasted pecans
1 ½ tsp. coarse salt
to taste: cayenne, chipotle powder, cumin (optional)
butter, oil, or cooking spray for greasing

*I use Bob’s Red Mill organic (no sponsorship). If your brother didn’t give you an air popper, you can make it on the stovetop. If you do it in the microwave, make sure you use a product with no flavorings.

Preheat the oven to 250° and line 2 baking sheets with parchment. Prepare a huge bowl by spraying or rubbing it with a bit of butter or oil. Put the popcorn and the pecans in the greased bowl.

Melt the butter over in a medium saucepan. Add the sugar and corn syrup, and cook, stirring occasionally, over high heat for 7 minutes or until the mixture measures 225° on a candy thermometer. You will notice that the bubbles get bigger and the boiling appears slower.

Remove the caramel from the heat and stir in the baking soda and spices. Working quickly, pour the hot caramel (be careful!) over the corn and pecans. Stir. Resist the temptation to taste; there is nothing that burns like hot caramel!

Distribute the caramel corn evenly over the two baking sheets and bake for 1 hour, stirring occasionally.

Let cool and taste. Taste again. Call everyone in the house to come and have a nibble. Store what remains in covered containers. Happy Thanksgiving!

PS Consider donating to the Leukemia and Lymphoma Society in Steven’s name. Our friend, Martin will be eating my Thanksgiving turkey in the hospital; thanks to the research supported by LLS, he is likely to win his battle with Leukemia!

IMG_6766

IMG_6768

Posted in holiday, snacks, Uncategorized | Tagged , , , , , , | Leave a comment

Genius-ish Umami Roasted Cauliflower

IMG_6675

IMG_6692

IMG_6684

Don’t get me wrong, I love being dr deb. My work is meaningful, important, interesting, lucrative, and rewarding. I’ve been a practicing psychologist for 28 years and I’m good at it. But I watch my husband, friends, and colleagues aspire to and achieve impressive professional goals and I wonder what is wrong with me.

I don’t want to be a leader in psychology, do research, teach, develop a new theory or see a million patients a week. I want to make a substantial difference in a select few lives and spend the rest of my time outdoors, in the pottery studio, and in the kitchen.

But…I got feeling insecure about this earlier in the week. I had lunch with Karen; she is a superstar! My husband is a powerhouse. He is a genius and he loves being a psychologist. His work as a teacher, administrator, leader, researcher and writer is just mindblowing to me. He asked me to edit a letter in which he outlined his credentials. I was both impressed and deflated. To be completely honest, I felt like a worm. A proud worm.

Let’s be real; I am never going to be a huge success. I am way too late on the scene in the food world, the blogosphere, and the ceramics community. There are people half my age whose accomplishments leave me in the dust. And I’m ok with that most of the time. But every so often, I have a bit of an identity crisis. When that happens, I remind myself to stop being so narcissistic and to center myself in what I love: making pots, making food, putting them together and sharing them.

This vegetable dish will probably not make me famous, it’s an interesting flavor combination; really, really good. I’m giving it to you here on cauliflower, but I’ve tried it with Brussels sprouts, and chicken so far and gotten rave reviews…well… my friends and husband liked it; I haven’t made it into Genius Recipes yet. Have you read it? Amazing! Talk about geniuses and people half my age! See why I feel like a worm?

This really is an umami party on a plate. You can vary the spiciness to your liking by adjusting the cayenne. The toasty parmesan combined with the smoky paprika and the bit of fire on the tongue makes for a very savory experience. And it’s easy.

IMG_6698

IMG_6699

IMG_6696

IMG_6697

Genius-ish Umami Roasted Cauliflower

This is naturally vegetarian and gluten free. Make it dairy free, vegan, and paleo by subbing sesame seeds for the cheese.

Serves 4

1 large head cauliflower, cleaned, trimmed, but not cored
3 tbs. olive oil
½ cup parmesan, finely grated
1 tbs. smoked paprika
salt and cayenne pepper, to taste

Preheat the oven to 375°. Line 2 baking sheets with parchment.

Mix all the ingredients except cauliflower in a soup size bowl. You’ll have something between wet sand and paste.

Think about how you want to cut the cauliflower. You might want to make steaks as I have done here. You will have lots leftover, which Dan Barber turns into puree. I prefer to roast them in a separate pan. Just make sure you cut the bigger pieces so that are flat sides because you get better caramelization that way.

Or, you might cut the head into wedges.

Or, break up the head into florets and then cut the big pieces in halves or quarters so there are nice, flat sides.

OK, you have your cauliflower ready. If you’re working with wedges or steaks, put them on a plate. All the other preparations can go into a big bowl.

The gist of this preparation is that you’re going to schmuzzh (yes, that’s right) the sandy paste into the cauliflower. You’re kind of pressing and rubbing and smearing so that the vegetable pieces are more or less coated and some of the mixture gets into the crevasses. I was going to say ”nooks and crannies”, but as Molly and Matthew
pointed out recently, that is a rather meaningless redundancy.

Now, lay the messy, unevenly smeary pieces on the baking sheets, and pop into the oven. Roast for 25- 30 minutes or until they are tender and very dark reddish brown. Serve immediately or let cool to room temperature. You may do this ahead, say for Thanksgiving, it reheats surprisingly well.

IMG_6695

IMG_6686

Posted in holiday, side, side dish, vegetable | Tagged , , , , , , , , , | 9 Comments

Thai Coconut Curry with Brussels Sprouts and Tofu

IMG_6605

IMG_6617

IMG_6622

IMG_6620

“Ma, I messed up.” A text from Brian telling me he’d slipped while cooking and spilled hot oil, burning his hand. Instantly, I re-experienced the pain I’d felt a few summers ago, when a jar shattered and boiling water cascaded over my leg.

That’s what happens when someone I love is in pain. I feel it. Especially if it’s one of the kids! I think we all do, humans are designed that way; we experience empathy. Ack!

My solution: Bring food.

Umm…I know what you’re thinking. I don’t bring food in lieu of first aid supplies or warm blankets, or a ride to the emergency room. But once I know that everything is stable, if I can, I feed everyone.

I have been known to travel long distances with food in the trunk of the car. I’ve even brought certain delicacies on airplanes. But Brian insisted that he would heal just fine without my culinary ministrations and could wait for mama’s cooking until Thanksgiving. Which left me with a lot of mama-energy. How many times a day could I text him to see how his thumb is healing?

Knowing my plight, Mary made a great suggestion. During this difficult phase of Martin’s treatment, I could bring their family suppers a few times a week. I was enthusiastic about this because, as I’ve said, when someone you care about it going through something like a battle against cancer, all you want is to be able to DO something.

It’s also my favorite kind of challenge. Between the 3 of them and the 2 of us, we have the following dietary restrictions: vegetarian, gluten free, low carb, dairy free, and neutropenic.

This curry is perfect for a crowd, filling, savory and healthy. And it reheats well, so it’s great to make for a pot luck or to take to a friend who isn’t feeling well!

IMG_6616

IMG_6615

IMG_6624

IMG_6619

Thai Coconut Curry with Brussels Sprouts and Tofu

This dish is naturally vegan, low carb and gluten free. For a paleo version, simply substitute shrimp, fish, chicken, pork or grass-fed beef for the tofu.

1 block extra or super firm tofu, drained, cubed, and dried
1 lb. brussels sprouts, trimmed and shredded
1 lb. sugar snap peas
1 large sweet potato, halved
1 large onion, peeled and sliced
1 lime, zested and then halved
1 small bunch cilantro, washed and dried and minced (save some for garnish)
1 tbs. neutral cooking oil
8 oz. coconut milk
1 tbs. each: turmeric and cumin
1 tbs. grated fresh or minced candied ginger
2 tbs. brown sugar
cayenne to taste
Optional Garnishes: lime, cilantro, peanuts, sriracha or other hot sauce

Place the sweet potato halves on a plate, cut sides down and microwave for 2 minutes or until they just begin to soften. Cool just enough to handle and then cut into generous bite size chunks.

Saute’ the onion in the oil over medium-high heat for a few minutes until the onion begins to soften. Add the spices and the brown sugar, and cook until the sugar melts and the spices begin to smell fragrant.

Add the sweet potatoes, stir and cook for a couple of minutes. Add the brussels sprouts and cook, stirring often, over high heat, until they start to wilt. Now the tofu, snap peas, coconut milk, lime zest and cilantro go in. Bring to boil, turn down to simmer, cook just two more minutes, stir well (gently) a few times.

Serve with garnishes and rice if you like.

And please, consider making a donation to The Leukemia and Lymphoma Society.

IMG_6625

IMG_6619

IMG_6619

Posted in main course, supper | Tagged , , , , , , , , , , , , , , , | 4 Comments

Sweet and Spicy Asian Sesame Cabbage Salad

IMG_6483-0

IMG_6513-0

IMG_6524-0

Once upon a time, there was something even more delicious than food: the way they talked when they were babies. In 1992, my mother saved all the bright objects she could find just so that she could hold them up and make Megan say “wellow.”

We spent a very humid week on Kiawah Island the summer Brian was 4. He was terribly upset about all the things he couldn’t do because of the heat; in a moment of despair, he finally announced, “I’m a wooser.” Around that time, he envisioned an alternate society he named, “The Planet Dumock, home of Awiens and Giant Swugs.”

The one that stuck (you know how they sometimes stick) was “swaw.” So, here I am, two decades later, at the farmer’s market, and I see the purple cabbage, and inside my own head, I say to myself, “I think I’ll make some swaw.”

IMG_6527-0

IMG_6528-0

IMG_6529-0

I’ve always loved me a good swaw. I have memories of my dad standing at the fridge late at night in his t shirt and boxers, snacking on coleslaw. I have been known to do the same. Minus the boxers. My problem with making slaw has always been about water. Cabbage, like many vegetables, is loaded with water. When you first dress the slaw, the cabbage is a little too crunchy. And then when the dressing has time to do its work and wilt the rawness away, the dressing gets too watery.

The geniuses at America’s Test Kitchen solved the problem. If you preseason the cabbage with salt and/or sugar for an hour or more, the cabbage wilts and sheds excess liquid so that when you dress the slaw, the texture is perfect and the dressing doesn’t dilute. Brilliant!

This recipe is an old favorite. I have nothing against a creamy cabbage salad, but I just love the crunchy, sweet, sour, salty, spicy, umami quality of a good asian slaw. This one hits all the notes. It tastes great with Honey Sesame Ginger Glazed Salmon Crispy Chicken, or Glazed Tofu. And it is wonderful, late at night, by the light of the refrigerator, no matter what you’re wearing.

IMG_6503-0

IMG_6504

IMG_6508

IMG_6526

Sweet and Spicy Asian Sesame Cabbage Salad

The is naturally vegan and gluten free as long as you use GF soy sauce. To make it paleo, simply substitute coconut aminos for the soy and coconut sugar for the cane sugar.

This is great to make ahead for parties or holidays.

Serves 6-8

½ large head purple cabbage, shredded*
1 tbs. sea salt
1 tbs. cane sugar
1 large carrot, shredded or julinenned
1 tbs. minced fresh or candied ginger
2 scallions, sliced on the bias, reserve half of one for garnish
3 tbs. low-sodium soy sauce
2 tbs. rice wine vinegar
1 tbs. honey
1 tbs. toasted sesame oil
1 tbs. sesame seeds, reserve a few for garnish
1 tsp. spicy chili oil (or other spicy hot sauce)

*This may be made with green cabbage or with a combo of red and green.

Place the cabbage in a large colander and sprinkle with the salt and sugar. Toss well, place on a plate, and let drain for 1-2 hours. It is not absolutely necessary, but I like to place the whole mass in a towel and give it a good squeeze after it drains. Place the cabbage in a big bowl and add the carrots and ginger.

Mix the remaining ingredients in a small bowl, pour them over the salad, and toss. Serve immediately or refrigerate. This will keep well for 4-6 days.

IMG_6523-0

IMG_6530-0

IMG_6525-0

yeahwell

Posted in salad, side dish | Tagged , , , , , , , , , | 2 Comments

Turkey Stuffed Portobellos

IMG_6389

IMG_6435

IMG_6426-0Well, I’m all set for winter. In the stress and disruption of construction last spring, I appear to have forgotten to switch my snow tires for the all-weather ones in the garage. I suppose it’s a viable way to cut down on errands.

The primary sign of impending deep freeze (besides the snow squall on Sunday and the need for the heavy quilt) is that the snow birds are flying south today. A couple of years ago, my folks bought a house in West Palm Beach to be near my sister, Wendy, and her family for half the year. This year, they are taking Socrates, the cat, on the plane with them. Sox is pretty sure he doesn’t care much for flying.

Their local home is on a lake about an hour from here; this has been a bit of a tough summer for them with health issues including a knee replacement for Dad, so I’ve been bringing them feasts at least once a week. That way, we all have a nice meal together and they get leftovers to last a few days. Yesterday, I cooked all morning and packed up a banquet; stuffed mushrooms, roasted local pink, yellow, and sweet potatoes (we still have some of the sweets we dug at the orchard), braised brussels sprouts, and my famous chocolate chip cookies. I baked a soft bread; this time, I decided to do a braid. Pretty, right?

IMG_6439

IMG_6438

IMG_6449

IMG_6425

We took the leftovers home since they were leaving. Tonight, I made a salad with persimmons, parm, and pumpkin seeds. A beautiful, bright orange kuri squash got cut into rough chunks and roasted with a bit of walnut oil and sea salt. The mushrooms throw off liquid as they cook; it mixes with the bits of cheese that fall on the pan and together, this ugly mixture, warm, forms a sauce that is the essence of umami. Great on the mushrooms themselves, but also on the salad and squash.

IMG_6448

IMG_6447

Turkey Stuffed Portobellos

This recipe makes 8 mushrooms. One per person is really plenty, but if I was making these for a dinner party, I would want some extras just to be safe. I have a little bit of a phobia about running out of food during a dinner party.

There are two secrets to a truly great, succulent, turkey meatloaf. One is to use the stand mixer to mix the meat with all the other ingredients. The other is to add a bit of water.

Gluten Free: Use GF panko, readily available.
Paleo: Substitute walnut crumbs for the panko and omit cheeses.

8 portobello mushrooms with stems, 3 ½-4 inches diameter*
1 large leek
¼ cup red wine
2 tbs. neutral oil for med-high heat (I used walnut)
2 lbs. lean ground turkey, organic if possible (do not use all white meat)
2 eggs
¾ cup panko
1 tomato, small dice
½ cup grated parm
½ cup grated cheddar (or melting cheese of your choice)
salt and pepper to taste

*If you can’t find portobellos with stems, use 6-8 cremini mushrooms instead of the stems in the filling.

Preheat the oven to 375° and line a sheet pan with parchment. Wash them well under running water and trim off the bases of the stems. Remove the stems from the mushrooms by gently rocking and twisting so the cap separates. Lay the caps down to dry on a towel, gills down.

Clean and trim the leek, remove the dark green parts and save them for stock or compost them. Mince the leek and mushroom caps. Sauté the minced veggies in 1 tbs. of the oil over medium high heat until they begin to soften. Add the wine and cook for 5-8 minutes until the wine reduces a bit and starts to become thick. Remove from heat and let the mixture cool for a few minutes.

Place the panko in the bowl of your stand mixer (feel free to use a really big bowl, but the stand mixer is ideal for this job) and add the eggs and 2 tbs. of cold water. Season with salt and pepper and mix to combine. Now add the meat, the cooled leek mixture, the tomatoes and the parm. Mix well.

Prep the mushroom caps by brushing or rubbing the caps side with the remaining oil. Season both sides with salt and pepper. Place them, gills up, on the sheet pan and fill each with an 8th of turkey mixture.

Bake for 30 minutes; at this point, the mushrooms will have thrown off quite a bit of liquid. Being careful not to burn yourself, tilt the pan and pour off most of it. Reserve. Don’t worry if there’s still some left in the pan. Top the mushrooms with the grated cheddar. Some of it will fall off, that’s fine. Pop the pan back into the oven for 10-15 minutes more, until the cheese is melted and a bit brown and the center of the meatloaves measures 160 on an instant read thermometer.

Place the mushrooms on a serving platter and scrape the bits off the pan and add to the reserved liquid. This cheese, sludgy mixture is not beautiful, but wait until you taste it! Since it’s not piping hot, reheat it in a pan or in the microwave before you serve it with the mushrooms.

IMG_6446

Posted in main course, supper | Tagged , , , , , , , , | 4 Comments

Apple Roses

IMG_6369

IMG_6300

IMG_6366

IMG_6361

The phone rang the instant I posted the comment on Facebook.“Are you serious”? I replied, “um…sort of, well…, partly.”

My dear friend and tech angel, Mary, was responding to my comment: “We need to make these immediately”! The comment was in reaction to a video she’d posted of Manuela (our new Pastry Goddess) making roses out of apples and puff pastry. I’m sure you saw it.

I was serious about making the pastries. I was not, however, serious about making them right that minute because I needed to get over to the office to see a client. Instead, I was sitting on the couch talking on the phone and making comments on Facebook.

I explained about being late for work. Mary had an idea. You may remember that Mary’s husband, Martin, has been battling leukemia. And, after 50 days of infusions, his final arsenic trioxide treatment was happening. Mary wanted to celebrate the occasion by bringing apple roses to the wonderful nurses at the local infusion center, Goshen Medical Associates.

A few days later, Mary and Barbara (her amazing 17 year old daughter) came over and we got right to work. We had the most fun ever making both roses and rose buds! Mary said the nurses at the Center were delighted with them. Martin loved them, too.

IMG_6302

IMG_6351

IMG_6355

IMG_6363

So, I made a few modifications (of course): I used homemade pastry. You may do the same or use store bought. If you want to make it at home, I recommend a rough-puff version. I don’t think it’s necessary to go for a classic puff here. I’ve done it and it’s fun, but for this project, the rough version is fine. Here’s a good recipe. This one is even simpler. Feel free to make a vegan version. According to The Kitchn, Pepperidge Farm Puff Pastry is vegan!

I am not a huge fan of spice with apples, so I didn’t use cinnamon in mine. Mary and Barbara like it, so they used it. Your choice. And I didn’t think the powdered sugar added to the appearance of Manuela’s beautiful roses (and I don’t care for the taste of it), so I went with sparkly turbinado instead. I sprinkled it before baking rather than after. Again, your choice.

IMG_6356

IMG_6358

Apple Roses

If you make our own pastry, you can do it up to a week ahead and keep in the fridge. Puff pastry also freezes beautifully, so you can make up a batch and keep it handy for rose emergencies. You can make just a few roses and freeze the rest of the pastry for another time!

We made a dozen roses and 10 or so buds with our pastry.

1 recipe or package puff pastry (see link above)
3 apples, cored and sliced thinly*
juice of 1 lemon
¼ cup apricot jam
½ cup turbinado sugar (you may use any sugar, I like a sparkly one)
cooking spray
cinnamon (optional)

*You want an apple that will hold its shape. We went apple picking recently and the golden delicious were our favorites this year, so we used them. Jonagold or honeycrisp would be good, too.

Preheat the oven to 375°.

Use full size muffin tins for roses, mini muffin tins for buds. Prepare the pans by spraying them with baking spray.

Heat the jam slightly and then strain. Mix with a little water to make a paintable, but thick syrup. Mix the lemon juice into ½ cup water.

Working with one apple at a time, place the slices in a shallow bowl and moisten with the lemon water. Microwave on high for 45 seconds to a minute, or until the apple slices just begin to soften. Place them in a single layer on a dish towel to dry and cool.

Working with 1/3 of the pastry at a time, roll out the dough until it is stretchy and thin, about as thin as you would want for a pie. I’d say 1/8 of an inch. Using a pizza cutter, cut strips about 2 inches wide and 6 inches long for roses. Go with 2 inches wide and 4 inches long for buds.

To construct a rose or bud, place a row of overlapping apple slices along the top half of the dough strip, with the peeled tops lying above the upper edge of the pastry. Paint the slices with the apricot syrup and/or sprinkle them with sugar. Fold the bottom half of the pastry up over the bottom of the apple slices. Now, roll up the strip and place the rose or bud in a muffin cup.

Once you have made as many as you can with that batch of apples and dough, place the unbaked pastries in the freezer.

Repeat this process twice more with the remaining apples and dough. When you’re finished, make sure the last batch gets to stay in the freezer for at least 15 minutes.

Before they go into the oven, sprinkle the roses and/or buds with some extra sugar.

Bake 35 minutes for buds and 45 minutes for roses. They are done when the pastry is GBD (golden brown and delicious). If you open the oven to peek every few minutes, they will take longer to bake.

Let them cool for 5 minutes, and then remove them to a cooling rack. If they stick, use a paring knife carefully to loosen them from the muffin cups. Serve.

If you have any leftover, they will keep well at room temperature overnight.

Special thanks to Michael Laico for the beautiful walnut board!

IMG_6357

IMG_6360

Final note: My beloved brother died of lymphoma in 1987. Since his death, enormous progress has been made in the treatment of blood cancers like the one that took his life. Martin is alive today and his prognosis is excellent because of cancer research. Please consider making a donation to The Leukemia and Lymphoma Society. Thank you!

IMG_6362
IMG_6365

Posted in baked, baked goods, dessert, treat | Tagged , , , , , , , , , , , | 13 Comments

Glazed Tofu Bowl with Tahini Lime Sauce

IMG_6259

IMG_6260

IMG_6276

Today is the one year anniversary of Deb’sPotsBlog! When I started blogging (it’s a verb, how weird!), my intention was to integrate my passions for clay and for food, as well as my interests in writing and photography. I thought I would share my new site with friends and family as a way to keep…well…a log…of my explorations in the studio and the kitchen.

My timing might have seemed, to some, very strange. We were preparing to demolish our deteriorating kitchen and to be without the main floor of our house for the winter. Little did we know that the project would become a nightmare long before it would fulfill anything resembling our dreams.

If you’ve been following the blog, you know that we discovered the house was literally collapsing. The amelioration and reconstruction required substantially more time, money, expertise and disruption than we ever could have imagined.

I never lost touch with the fact that our problems were first world problems. True tragedy has been part of my life; the stresses, concerns, discomforts and inconveniences of even a difficult construction project remain, for me, in a different experiential category. But…it was not an easy seven months! It may seem strange, but blogging provided a substantial “port in the storm.”

Let me describe the scene. It is the dead of winter, three feet of snow. We have no heat or hot water and when we do have power, fuses blow every time I use more than one “appliance” at a time. I am working in a makeshift “kitchen” in our basement. I can keep close touch with the construction going on above me because there is no floor upstairs and the basement ceiling is partly demolished, too. There are heavy wires hanging down around the room, and debris frequently falls to the floor as the guys work over my head.

I have a microwave, a toaster oven and a hotplate. I’ve set up a little photography area with a light because there is almost no natural light in the basement. As I work, I get absorbed in creating the illusion of grace and sanity in the midst of drilling, sawing, and hammering. But in my absorption, I walk into the wires, and yell “fuck, fuck fuck!!!” as I am repeatedly smacked in the head with the realization that, yes, I am in a construction zone.

After the guys have gone home for the day, I sit upstairs, edit my photos, and write my post. I feel a sense of structure and order. The food looks yummy. The recipes will work in a real kitchen. Foodgawker and Tastespotting accept my photos. My Instagram followers “like” them. And each week, as I produce a new post, we get closer to finishing the project.

Before, during, and after:

IMG_6250

We’ve been in the new kitchen for a couple of months now. I will go on record here and say it was worth it. But I hope never to do it again.

Cooking and blogging in the new space is pure joy. It is, in fact, a dream of a kitchen. So, to celebrate the blog’s anniversary, and the end of renovation, I am sharing something that I really couldn’t make in that makeshift kitchen. To get sticky and crispy, this tofu needs to be spread out on a big baking sheet. You will love this healthy, vibrant combination of flavors.

IMG_6258

IMG_6261

IMG_6274

Glazed Tofu Bowl with Tahini Lime Sauce

Use organic ingredients if possible. Local is always nice, too. This is naturally vegan and gluten free.

Serves 4

Tofu
1 block extra or super firm tofu
1 tbs. cornstarch
1 tbs. soy sauce
1 tbs. honey
1 tsp. sriracha or other hot sauce (adjust to your taste)
1 tbs. sesame seeds-black, white or a mixture

Preheat oven to 350°. Line a sheet pan with parchment.

Press the tofu according to the instructions here. Cut into medium dice.

Mix the remaining ingredients in a bowl that is big enough to hold all the tofu comfortably. Add the tofu to the bowl and very gently roll the pieces around in the sludgy mixture.

Arrange the tofu pieces on the baking sheet so that they are in a single layer and not touching. Bake for 25 minutes; moving them around once about halfway through.

Tahini Lime Sauce
1/2 cup tahini
2 tbs. honey
1 tsp. sriracha
juice of 1/2 lime
minced fresh lavender (optional)

Mix ingredients. Thin with water if you like it thinner. This keeps well in the fridge for a couple of days if you want to make it ahead.

Bowl
There are many, many yummy, seasonal foods that work well with this sauce and tofu. Here are a list of possibilities to start you off. You might also look at this post, and this post, and this post for other ideas.
Lightly steamed broccoli
Steamed Asparagus
Steamed or roasted sweet potato
Chick peas
Cucumber
Red or green cabbage
Kale
Grapes
Orange or Grapefruit Slices
Avocado

There a two ways to approach the building of these bowls. One is to create a single, big bowl and everyone gets to help themselves. You may either place the sauce in a single bowl in the middle of the arrangement, or make several smaller containers of sauce.

The other way to to construct individual bowls for each person and a cup or tiny bowl of sauce goes with each. Or, you may drizzle the sauce onto each portion.

IMG_6271

IMG_6270

Try it both ways and let me know what you like best. Or, create a new combination and let me know about it!

Happy Blogiversary!!!

IMG_6272
IMG_6278

Don’t forget to Follow the blog so you won’t miss a post!

Posted in healthy, main course, supper | Tagged , , , , , , , , , , | 4 Comments