Hearty Turkey Chili with Black Beans

image

The holidays are over and I am back to work in the dr deb office. Bob is on sabbatical, but working harder on his many projects than he does during a typical semester. Megan was home for a while, but is now back in Baltimore working on her MA dolphin research proposal. And Brian has one more week of winter break before he goes back to GWU for his final(!) semester of college.

It’s a snowy day, and as usual, Brian and I started planning dinner together. My thoughts turned to my brother’s birthday, which is later this week. If he’d survived the cancer that took is life in 1987, Steven would be turning 54 on the 10th. I was remembering his favorite foods as my son and I were thinking about the options…

I looked out at the snow. Steven was a great skier. He chose to go to UVM so he could ski all winter. There was nothing he loved more than a hearty bowl of chili at the end of a day on the slopes.

So, I suggested turkey chili (I don’t eat red meat) to Brian, who enjoys that kind of thing…he is a fan of dishes involving the potential for multiple garnishes. He said he was craving a dark, meaty sort of chili with lots of umami. So, I set about creating a turkey chili that has the depth of flavor of one made with beef.
image

 Hearty Turkey Chili with Black Beans

 I used some unusual ingredients to create the darkness and beefy flavor we wanted. I also mashed half of the beans to contribute to the meatiness and to thicken the dish. If you are eating paleo, feel free to leave out the beans.

1 tbs. healthy neutral oil (almond, walnut, coconut, or peanut)
2 medium onions
1 jalepeno
1 tbs. ground cumin
2 tbs. ground ancho chili
1 tsp. ground chipotle chili
1 tsp. spicy chili powder
2 packages lean ground turkey
1 can black beans (I like goya), rinsed
2 tbs. soy sauce or tamari
1 tbs. Worcestershire sauce
14 oz can crushed tomatoes (I like Muir Glen)
handful of cilantro, minced, plus more for garnish
¼ cup dark beer
salt and pepper to taste
optional garnishes: cilantro leaves, sour cream, lime, avocado (diced or mashed), minced red onion, grated sharp cheddar, diced fresh tomato, hot sauce

Thinly slice 1½ of the onions pole to pole. Reserve the other half for garnish. Mince the jalepeno finely and reserve half of that for garnish, too. Remember that the seeds and membranes are the hot part, so include as much as you like for heat. Mash half of the black beans.

Saute’ the sliced onion and pepper in the oil in a big pot and let them cook for a couple of minutes. Now add the spices and cook for a couple of minutes; and then the mashed beans. Add the turkey and a hearty pinch of salt. Cook everything, stirring often, until the turkey begins to lose its pink. Tomatoes go into the pot; let the chili cook for 10 minutes. Add the cilantro and the beer and cook for another 15 minutes. Taste for seasoning. Serve with all or some or none of the garnishes.

IMG_3113
IMG_3112
IMG_3116
IMG_3117
IMG_3118

IMG_3115
taste chili

Posted in chili, dinner, main courses, supper | Tagged , , , , , | Leave a comment

Squash Reconstruction

IMG_3073

IMG_3070

Happy New Year! I hope that 2015 is successful, happy and full of good health and good times for you! We have some very exciting plans here in our house in the woods!

Have I mentioned that we’re getting ready for a major kitchen renovation? It’s time. The floor in front of the fridge is so rotted, we are afraid that one of us is going to crash into the basement while getting an ice cube.

This whole process has gotten me thinking again about de- and reconstruction. In the Unstuffed Cabbage post, I talked about a process of falling apart and re-organizing as a sort of organic process that happens during the course of life. And that when it does, the best thing to do is to be aware and to “go with” the process. But sometimes, demolition and reconstruction are conscious and intentional. As with a renovation. Or surgery. Psychotherapy. Altering pottery. Or cooking. In this case, I recommend planning (not worrying), care, and attention to detail.

Think about it for a second. When we cook, we “break down,” our ingredients and then build something with them. We cut up apples, or zucchini, eggplant, or avocado, combine them with other ingredients, and transform them by combining, blending, and/or applying heat. The finished dish may or may not bear any resemblance to the original foods. An apple crisp doesn’t look much like an apple!

When I saw this Reconstructed Squash by Chez LaRae on her beautiful Instagram feed, I was totally charmed! I knew that creating it would be good practice for the kind of energy I am going to need to cultivate in the weeks and months ahead.

I had a pretty butternut on the old, warped counter, and I got right to work on the demolition and renovation. Of the squash. As with any good building project, I put my own spin on it…This is fun, simple, and a little goofy. Everything you could want in a food or a new room!

Squash Reconstruction

I haven’t tried it, but I see no reason you couldn’t do this with any winter squash-acorn, delicata, kobocha, or pumpkin. Oooh, wouldn’t it be cute with a bunch of those little munchkin pumpkins?

1 butternut squash
2 tbs. neutral oil (I used almond; peanut, coconut, macadamia, walnut would all be fine)
1 tbs. sugar (I use organic cane, you can use white or brown)
2 tsp. cumin seeds
sea salt and freshly ground pepper, to taste

Preheat the oven to 375°. Line a sheet pan with parchment.

Stand the sqaush upright and see if it stands securely. If not, start by cutting a bit off the bottom to make it stable. Now, cut the squash into rounds. I use a very sharp chef’s knife and a rubber mallet. Get the knife lined up where you want to make the cut and then tap with the mallet until the knife is embedded. Continue tapping until you’re through. To do this tower, it’s important for your cuts to be parallel; if you mess up with one, compensate on the next one; it helps if you are a potter! Or a builder with a level.

Clean out the seeds and strings from the pieces. I usually use an ice cream scoop because it has a sharp edge. But a fun way to do it is to use a series of round biscuit/cookie cutters; your pieces come out very neat but you might lose a little squash flesh if your sizes don’t match perfectly. A spoon works just fine.

When I roast vegetables, I am usually lazy and don’t bother messing up a big bowl. I put the oil and seasonings right onto the parchment and then roll everything around until it’s coated. Alternatively, you can use a big bowl and you’ll get better coverage.
So, get the squash all lubed up and arrange the pieces on the parchment. It helps if you reassemble the slices before you cook and then lay them out in order.Roast for 25-35 minutes or until they are just tender. You want to watch pretty carefully here-it’s no fun eating raw squash, but if you overcook this, your renovation will be unsuccessful!

OK, now for the fun part. Let the squash cool for a few minutes and then reassemble it on a pretty plate, preferably one made by a potter.

Notes: I love the combination of sweet and cumin in my reconstruction. LaRae used maple syrup on hers and I’m sure that was lovely! You could skip the cumin, add smoked paprika and/or cayenne…ginger or cinnamon are nice with squash…there are so many options!

I made this ahead and reheated the whole construction in the microwave, intact. Butternut squash reheats really well!

IMG_3054
IMG_3055

IMG_3066

IMG_3067

IMG_3069

IMG_3068

IMG_3075

And if you’re not interested in construction, this is perfectly lovely in a bowl or on a plate.

image

This is a great side dish for so many things: grillled or roasted poultry, meat, fish, or tofu. If you want to deconstruct it before serving, or you have leftovers, roasted squash is a wonderful element to add to a salad.

Have fun and good luck with whatever you are renovating in 2015!

IMG_3064

Posted in side dish, supper, vegetable | Tagged , , , , , , , | Leave a comment

White Chocolate Salted Caramel Pecan Ice Cream

perfect scream
IMG_2927

Here in Warwick, I am famous for my ice cream. Really. Well…I am famous among a small group of twenty-something people who grew up around here and still visit our house when they are home. Hehe.

When Brian’s wonderful friends come to visit, they often stay up way later than Bob and me. I play a little game of trying to figure out how many people are sleeping here in the morning. It involves counting the huge young-man-shoes on the rug in front of the door. On those mornings, there is almost always a major reduction in the content of the ice cream container in the freezer. In fact, it’s not entirely unusual for Brian to reach for said container and spoon as soon as certain of his buddies walk in the door.

This is the one “recipe” everyone requests. The reason I put it in quotes is that it is constantly morphing. I change it depending on what else I’m serving, the time of year or feedback I’ve received about the last batch.

The thing that is remarkable about this ice cream is that it does not require a machine. And it is creamy! And dense! And has that chewy consistency that good ice cream must always have. I first learned of a way of doing this from a Cook’s Illustrated recipe. But I have taken it to heights heretofore unimagined by the likes of Chris Kimball and his crews in Brookline and Vermont.

IMG_2983

 Salted Caramel White Chocolate Pecan Ice Cream

 You want heavy cream, not “whipping cream,” for this. And use good sea salt. I toast the pecans in the microwave; you can do them in a skillet or the oven. I suppose you could probably use purchased caramel sauce. But then, again, you can buy ice cream in cardboard containers, too.

You need to let the caramel and pecans cool completely before you make the ice cream. Watch out for creatures who might try to steal (or photobomb) the ingredients.

IMG_2990

The ice cream needs to freeze for at least 6 hours before you can serve it. Which doesn’t mean that everyone won’t snitch some while it’s freezing.

3 cups heavy cream
1 can sweetened condensed milk
¼ cup vanilla syrup (I like Monini)
½ cup toasted pecans
½ cup white chocolate chips
1 recipe caramel sauce (recipe follows)
pinch of salt

IMG_2981

Whip the cream in a stand mixer or with a hand held until it starts to thicken. With the mixer on, slowly add the condensed milk, syrup, and salt. When the whipped cream holds stiff peaks, fold in the remaining ingredients by hand. I like it barely mixed. Transfer to a big, lidded container and freeze for at least 6 hours before serving.

IMG_2929

IMG_2989

IMG_2931

IMG_2932

IMG_2933

IMG_2935

IMG_2934

Serving suggestion: Crack Bark is a really good accompaniment!

 Caramel Sauce

 You will need to use all of this if you are making the ice cream. It is a delicious caramel sauce all on its own; double it if you want some to serve alongside the ice cream. I keep a batch in the fridge and warm it to use on…well so many things! Brownies, pound cake, fruit, my husband…

1 cup white sugar
¼ cup water
½ cup heavy cream
1 tsp vanilla
pinch of salt

Put the sugar in the bottom  of a very heavy medium saucepan. Add the water and stir to moisten all of the sugar evenly. Cook over high heat. You’re not supposed to stir after the sugar melts and you are supposed to brush down the sides of the pan with a wet pastry brush. I do these things and my caramel always turns out well. Yes, it’s a bit fussy. I can’t tell you how long it will take for your caramel to cook, it depends on your burner. Mine takes 8-10 minutes. You are looking for it to be amber in color. Watch it carefully, it will go from amber to burnt in a heartbeat. And then you have to start over. I hate when that happens!

Keep the cream nearby while you are cooking the caramel, that’s how you stop the cooking when it’s the right color. As soon as you think it’s right, pour in the cream. It will bubble like mad and look like a nuclear accident. Don’t worry. Stir it and let it calm down. Now take it off the heat and add the vanilla and salt. Pour it into a heatproof bowl to cool. Don’t under any circumstance think you can taste it right away or lick the spoon with which you stir. You will burn yourself! Consider yourself warned!

IMG_2999

image

You are going to love this ice cream, I promise. Leave me a comment and let me know if you try it!

Posted in dessert, ice cream, treats | Tagged , , , , , , | 13 Comments

Hummole

image

image

I have appetizer issues. Now, I know right now, about half of you are thinking, “Yeah! Right on, me too!!! And the other half are like, “Geez, this woman is pathetic! What kind of blithering first world problem involves the first course of a dinner?” Either way, read on, I’ve got something for you.

The thing is, I just don’t think much about what to serve before supper. If you think about it, how often do we serve something to munch before sitting down when it’s just the family? So, we don’t get a lot of practice with these sorts of dishes on a regular basis. And I don’t know about you, but when I’m having people over, I think about the important part. Sides are easy because they have to go with the main. And dessert? Dessert is just plain fun. But for me, the appetizer is an afterthought. After I’ve already gone shopping. And now what?

My other concern is that after I’ve put so much energy into stuffing chicken breasts or unstuffing cabbage, I don’t really want everybody filling up before they sit down to eat. But then again, you can’t just give people drinks and nothing to nibble. So…

I want something that is really simple and easy. Like perhaps, four ingredients, including salt. Something for which you can keep the ingredients on hand. Something versatile. And something that can feed people with special food needs.

image

image

I’m having sort of a love affair with avocados these days. I’ve always admired them. Once, in my early twenties, I sold them at the farm market in Santa Monica. They are very popular among all the wonderful food blogs on the interwebs right now! Recently, I finally figured out the secret to having nice, ripe ones without the risk of those horrid brown funky spots: don’t buy them the day you need them. Buy them once a week or so and get them when they are still rock hard. That way, no one else has bruised them up by squeezing them at the store. Let them stand on the counter in a nice bowl and make a pretty little still life while they ripen. And then use them when they are ready. Which is when they give slightly to light pressure with your thumb.

image

This dish was born when Brian was on his way home and I knew his friends were close behind. I was interested in a substantial snack, something with more protein than guacamole, to serve with crackers or chips. This combines all that is wonderful about hummus and gaucamole; Brian says the flavorfulness of hummus with the richness of gauc.

Hummole

This is good as a dip or a spread. Serve with crackers, chips, toasts, or raw veggies. It is especially good on mindfulness bread. Put some on your salad and call it lunch. I have used it as a bed for salmon, grilled chicken, or kababs. It is gluten free, dairy free, vegan, kosher, paleo, and relatively low carb. And. And. And! It is the color of one of my favorite glazes: celadon! What more could you ask?

1 perfect avocado, preferably haas, preferably organic
1 can chick peas, I like goya
juice of ½ lime
sea salt, to taste

image

image

Place all ingredients in a food processor (I do it in my mini one in two batches) and process until smooth. Or partially smooth, if you tend to like things chunky. I like a silky puree with some small pieces of avocado and chick pea, so I stop just shy of a a uniform consistency. In a pinch, you could make this with a masher or a fork; it won’t have the creaminess, but it will still be good.

image

This is a base recipe. You can do many things to vary it. Spice it up with some red pepper flakes, minced hot raw or roasted peppers, or hot sauce. Make it more hummus-y by adding sesame oil and/or toasted sesame seeds and/or tahini. Use lemon instead of lime. Guac it up by adding onion and/or tomato. The possibilities are really endless, but try this version once and then get creative.
image
image
bitch

Posted in appetizer, healthy, snack | Tagged , , , , , | Leave a comment

Salted Caramel Chocolate Crack Bark

image

So here I am telling you all about mindfulness and blessings and being a middle aged hippie. Well, what I haven’t admitted yet, though you may have guessed, it that I am also intensely competitive. I have a complicated relationship with this aspect of my personality, but I’m a first born. We usually need to be better than…

My kids know this about me. They capitalize on it. If they like something they’ve eaten in a restaurant, they make sure I get there to taste it. If they read about an interesting recipe, they share it with me. If they have something good at a friend’s house or a party, I get a picture and a description. They know that I won’t be able to help myself. Not only will I have to make that dish, but I’ll also have work at it until it’s better than the original. They enjoy watching me knock myself out trying. More importantly, they enjoy being my tasters. Both of them have developed very sophisticated palates and they are good cooks (and bloggers) in their own right. So, they spur me on to greater heights of culinary creativity.

Right before the holidays last winter, one of Brian’s friends showed up with a tin of treats his mother sent us as a gift. Well. Brian took one look at my face when I tasted this “bark,” and he knew he was in for some fun. It was a kind of edible crack! The gauntlet had been thrown. This stuff hit all the right notes-sweet, chocolaty, salty, crunchy and chewy. I snapped right into action finding recipes on the interwebs and shopping for ingredients.

image

The first batch I made was a lot like the original version. The base was saltines and the toppings were butter caramel, chocolate and almonds. Next, I tried a pretzel base. I varied the nuts. Then I tried graham crackers. There was a white chocolate drizzle in there somewhere. In the end, we settled on the rendition I am sharing here. It is the best. Hands down.

 Salted Caramel Chocolate Crack Bark

A good coarse-grain sea salt, like Maldon, is nice here, but not necessary. I like Ghirardelli chocolate chips. Nabisco saltines are fine, but I used some organic ones (yeah, yeah, I know…) and they are great, too. You can use matzah and be the hit of the seder. If you want to do a white chocolate drizzle, just melt some white chips and have at it! And you can use any nuts you like.

1 package saltines
2 sticks unsalted butter
1 cup light brown sugar
1 tsp. vanilla
1 package chocolate chips (we like milk, but bittersweet are good, too)
1 cup toasted almonds, chopped
sea salt, to taste

image

Preheat the oven to 375°. Line a baking sheet with parchment. Lay the saltines out on the sheet. You will have a few leftover for the deer.

image

image

Melt the butter in a heavy, medium saucepan and add the sugar. Stir until the sugar melts and then cook over medium high heat for about 5 minutes until the bubbles begin to look frothy (look at the pictures below; the bubbles get smaller and, well, frothier). Remove from heat and stir in the vanilla and a pinch of salt. Now, be really careful, this stuff is super hot, pour the caramel over the saltines and spread with an offset spatula.

image

image

image

Bake for 10 minutes. Leave the oven on. Take the sheet out and sprinkle the chocolate chips over, try to disperse them evenly-ish. Pop the sheet back into the oven for 2 minutes. Now, take them out and turn off the oven. Have the almonds and salt nearby. Using the offset spatula, spread out the now-melted chocolate. Immediately, sprinkle with salt and then the almonds.

image

image

image

image

Now, they have to cool. If you are making this for the holidays, you can put the pan outside for a half hour or so.

image

If it’s warm out, or you are worried about hungry neighbors, or dogs, you are going to have to try to find space in your freezer. The fridge will work, too. You just need the caramel and chocolate to set. Once this happens, you get to the fun part. Break up the bark and try to resist eating the whole pan all by yourself all at once!

image
image

Posted in Uncategorized | Leave a comment

Blessing Bites

image
bless my bites
How often do you remember to count your blessings?

This morning, at the end of my 7 mile run, I slipped on the ice on our driveway and regained my balance just in time to prevent a bad fall. I know all too well how life can shatter in an instant. Here was yet another reminder…

In the face of evidence of the fragility and impermanence of life, some of us choose numbness or denial. It is scary to remain open, to cherish what we have, even as we remember that our existence is temporary.

When I think about blessings, I am not really referencing a higher power. I am referring to good fortune, luck, the objects of gratitude. The giving of a blessing, for me, has to do with bestowing a wish for safety, for positive outcome, or at least, compassion.

I am always a little nervous about travel. And I’ve noticed over the years that often when I am anticipating a trip, I’ll see a hawk take off from an overhead perch and soar over my head. When that happens, I am soothed. I have the perception that the hawk has blessed my journey, and I feel safer. I think of this as a “hawk blessing,” and I share it with my loved ones, too.

When the kids were small, we would often take walks together, and they would be sad if they saw a squirrel or a bunny that had been killed by a vehicle. We talked about it once and I suggested that perhaps it would be helpful if we said a little blessing when we saw a dead animal. Both kids liked the idea…but what should we say? Brian had the solution: “goddamn cars!” To this day, whenever we see road kill, someone will say the “blessing,” “goddamn cars!”

As a family with small children, we developed nighttime rituals to help the kids transition from the day’s activities into sleep. We did pajamas, toothbrushing, stories and then Bob and I would take turns going into each child’s room to give them a nighttime blessing. We always placed a hand on their forehead. Bob gave the same one to each child, I developed different ones for each.

I still love the blessing Bob used to give them:
Feel my hand on your forehead.
Feel your forehead become warmer as all the warm sweet thoughts come into your brain and push out all the mean scary thoughts.
So you’ll have nothing but warm sweet dreams all night long knowing mommy and daddy are in the next room that we love you and will keep you safe.

The one I gave Megan came from something I heard when I took a workshop at Kripalu:

I wish you happiness
I wish you peace
I wish you ease of well being
I wish you freedom
Peace
Shalom
Shanti
Peace

The one I used to say to Brian was a little psychotic, but he liked it:
I am your Mommy
There was no Mommy before me and there will be no Mommy after me
I am your Mommy now and forever
Love, Mommy

Megan is 24 now and Brian is 21; we don’t give the nighttime blessings often these days. Most of my blessings for them come in the form of food. When they are home, I feed them their favorite things and they feel nourished and blessed. And so do I!

Brian is eating low carb (remember the zucchini post), and it can be difficult for him to find healthy choices near his apartment a few blocks from the White House. Last semester, I drove down to DC to bring him a cooler full of carbtastic creations from my kitchen here in Warwick.

Meg was home overnight earlier this week and we spent some quality time together. When she left to go back into the city to give a grad school class presentation, she realized she probably wouldn’t have time to eat supper until very late at night. I did some quick thinking about what I could pack for her that would be portable, easy to eat, and give her good energy to talk about dolphins to her colleagues.

I’ve made many variations of coconut/dried fruit/nut bars and bits. So I looked in the pantry for supplies and quickly threw together a packable snack for her to pick on for the rest of the day. She called when she got back to Brooklyn that evening to report that her presentation had gone perfectly and that the “blessing bites” were “awesome, Mom!”

image

image

Blessing Bites

These are vegan and gluten free, making them perfect for just about anyone who doesn’t have a nut allergy.

Makes about 20 one inch balls. If you like, you may substitute 1 tbs cocoa powder for half of the peanut butter powder to make chocolate bites. You might also experiment with different nuts. Pecans are good, as are cashews. And you can use more nuts and skip the coconut if your husband (like mine) hates coconut.

½ cup almonds, toasted
¼ cup coconut, toasted
2 tbs. sesame seeds, toasted
¼ cup chopped dates
3 tbs. hot water
2-3 tbs powdered peanut butter
sea salt to taste

Optional garnishes: sesame seeds, sea salt, cocoa nibs or cocoa powder, finely ground coconut, finely ground almonds.

image

image

image

Soak the dates in the hot water for ½ hour or so. Alternatively, put the water and dates in a cup in the microwave for a minute. Put all ingredients in a mini food processor (use 2 tbs peanut powder to start). Process until the mixture starts to form a ball. Feel it; it should be slightly sticky but not gloppy. Test by trying to roll into a ball. If it is too loose to roll, add the extra pb powder and process for a few seconds. If it’s too stiff, add a bit of water. Roll into one inch balls and place on parchment, then roll in the optional garnishes.

image

image

image

If you want to pack these, it’s a great help to refrigerate them for a few hours or overnight first, they’ll be firmer. But if you don’t have time, it’s really not essential.

Serve to busy, hungry graduate students or other people you love and wish to bless.

bitchiest balls

Posted in gluten free, snack, trail food, travel food | Tagged , , , , , , , | 5 Comments

Mindfulness Bread

image
mbtaste
image
image

I answer to a lot of different names. I think most people do. I am “Deborah” or “Deb,” “Dr. Bernstein” or “dr deb,” “The Weather Goddess” or “The Weather Bitch,” “Deb the Potter” or “dr deb, potter.” Sometimes, I get “debs pots” or “deb spots.” My favorite is probably “Momma.” Followed closely by “Aunt Deborah,” “Aunt Deb,” or “Aunt Debbie.” When I was in college, a friend’s grandmother referred to me as, “That Little Hippie Girl.”

In some ways, really, I am still the little hippie girl, sitting on the floor at Brandeis in the round room in Pearlman Hall, meditating with one of the Morries and trying to figure out what it means to be “present.” We sat in circles and held hands and listened to each other’s life stories with “awareness.” We rolled oranges around on our faces and tried to “experience” the fruit. Went outside in the Massachusetts winter to try to feel what it was truly like to “be” a rock.

It took a couple of decades before I figured out that my beloved teachers were teaching mindfulness. This realization coincided with the rising popularity of yoga in the culture and of mindfulness in psychology. Psychologists began to do research and discovered that the practice of mindful awareness is an effective tool to treat many types of physical and mental difficulties, and to promote happiness and well-being.

In case you’re not familiar, here is Jon Kabat Zinn’s definition of mindfulness: “paying attention on purpose, in the present moment, and nonjudgmentally, to the unfolding of experience moment to moment.” The key part of this, for me, is intentionality, the choosing of one’s focus of attention. So that means when I am working on the wheel, I am paying attention to the clay and the birthing of a form. When I cook, I am tuning in to the sensory experience-looking, listening, and feeling what I am creating. For example, when I bake, I can usually tell if the cookies or granola are done by smell. Did you know that if you pay attention, sometimes you can tell when food is done cooking (or needs to be stirred or flipped) by listening?

When I eat mindfully, I center myself in the experience of smelling, looking, feeling, and tasting my food. There is so much richness in color and texture! Different parts of the mouth experience different taste sensations. The sensory aspects of eating provide a wonderful opportunity for the cultivation of awareness.

I also often open my consciousness to the origin of food. Was it grown locally; who was part of the harvesting? Did it grow in the earth or was it produced in a factory? If animals were involved, were they treated well? And I pay attention to how the food makes me feel. Does it give me good, pure energy to fuel my body? Or does it give me a stomachache or a headache? Do I feel light yet satisfied or heavy and sluggish?

It was the process of mindful eating that lead me to become interested in experimenting recently with something new for breakfast. One of my favorite bloggers, Sarah Britton published an intriguing recipe on her gorgeous blog, My New Roots. It is a whole grain bread called The Life Changing Loaf of Bread. I tweaked the recipe and it has become my breakfast ritual. I love the oaty, toasty taste and the substantial texture. Bob likes it, too. I usually have one slice with melted cheese and the other toasted, with coconut almond butter or natural peanut butter. It is dense and heavy in a good way, slightly sweet and moist. I feel nourished and well fueled after I eat it (following my 5-7 mile run most days), and I’m not hungry for many hours.

image

I wanted to post my breakfast bread here on the blog, so I decided to try to get in touch with Sarah and ask for her permission to use the recipe. Even though I tweaked it, she deserves credit, and I wanted to get her blessing. She was very gracious and generous. She told me that people refer to her bread as “LCLOB.” It has a substantial following!!! Go ahead, google it. I’ll wait.

My copycat version of the LCLOB, like me, has quite a few names. Try Sarah’s version and try mine. Let me know how they turn out and what you call them.

image

Mindfulness Bread
Life Altering Loaf
Life Affirming Loaf
Loaf of Life Modification
Bread of Much Fiber
Doorstop Bread

I encourage you to practice mindfulness when you bake and eat this bread. And I will point out that it is vegan and gluten free if made with gf oats. Unlike other bread doughs, this one is delicious raw, in which case it is called Overnight Oats with Grains, Seeds and Dried Fruit.

2 cups rolled oats, I use Bob’s thick cut
¼ cup sunflower seeds
¼ cup sesame seeds
¼ cup chopped walnuts or almonds
¼ cup flax meal
¼ cup chia seeds
¼ cup millet
¼ cup raisins or chopped dates
1 ¾ cups water
salt and sweetener to taste (I use agave or cane sugar)

Combine all ingredients in a big bowl.
image
image
imageStir. You might find a cat to help you do this.

image

Let stand 20 minutes, then stir again. Now, let stand overnight.

image

In the morning, stir once more and preheat the oven to 325°. Grease a 9 x 5 inch loaf pan really well. Dump the oat mixture into the loaf and pack it down. Get it really compressed and even.

image

Bake for 30 minutes. Check to see if it’s firm. If it’s not, bake it a bit more until it is. Then run a knife around the edge and turn it out onto a board. Being careful about burning yourself and about breaking the loaf, turn it over and slide it back into the oven, directly onto the rack. Bake for another 15 minutes until all the surfaces are dry and a little toasty.

image

I keep my bread in the fridge; slice and toast as needed.
mindy breadimage
I wish you good health and mindful nourishment!

Posted in baked goods, bread, breakfast, whole grain | Tagged , , , , , , , , , , | 23 Comments

Chickpea and Rutabaga


IMG_4703

So…do you remember I promised you a new blog? A mother-daughter project by Megan and me? It is now ready! Meg wrote a post that I think is the best thing in the blogosphere. So without further fanfare, I give you Chickpea and Rutabaga!

And again, I wish you and yours a wonderful holiday.

image
image

Posted in Uncategorized | Tagged | Leave a comment

Taking Thanksgiving by Storm

image

Brian made it home before the snow started falling here in Apple Valley. Francesca was here within minutes of his arrival. Sam joined us for Hung Shao Rao (recipe in a future blog post), and Harry made an appearance for whole wheat chocolate chip cookies before the evening was over. Meg will travel on Thursday morning. I love having everyone home, hugging, talking and eating together.

The snow started while I was at work this morning, so I’ve cancelled office hours in the dr deb practice for the afternoon and headed home on slippery roads to blog and cook. Check it out, blog as a verb!

image

Happy Thanksgiving! Did you know that talking about food is my idea of the most fun ever?  Ask me a food question! Let’s talk about what you are going to make for your next dinner party, picnic, or ski trip. You have one guest who is lactose intolerant, someone who is strictly kosher, and a person who eats only raw food, dr deb is here to help! Comment on a blog post or send me an email by using the Contact page on the site menu. This will make me giddy with happiness, I promise!

image

image

I am feeding seven people for Thanksgiving dinner tomorrow. Only five of them eat turkey. Mary is vegan, gluten and dairy free. Barbara is veggie. So, in a fit of total insanity, I bought a 23 pound bird. Good thing we like leftover turkey! Mary offered to bring some mushroom, lentil and walnut balls with cranberry pear sauce. And coleslaw.

image

Here is what I am planning:

Turkey with gravy
Sausage stuffing with leeks and quince
Vegan brown rice stuffing
Cranberry orange sauce
Sauteed shredded brussels sprouts with walnuts
Butternut squash and sweet pototo puree
Sweet potato and pecan pie
Homemade sourdough bread

Would you like a recipe for the puree? Here goes:

Butternut Squash and Sweet Potato Puree

Wash several sweet potatoes. Peel a butternut squash, take out the innards, and cut it into chunks. Toss with salt and pepper and a bit of oil of your choice. Roast both. Use whatever oven temp you already have going from all your other cooking escapades. Take them out when they are soft. Scoop the flesh out of the sweets when they are cool enough to handle. Pop everything into a food processor. Process in batches if necessary. These are things you may add for flavor: butter, maple syrup, brown sugar, salt and pepper. If you like spices, go for cinnamon, nutmeg, cayenne and/or cumin. If you need a bit of moisture to loosen (depending on how dry your veggies are to start),  your options are milk, cream, stock, coconut or almond milk or even water. And if you want some crunch, you could top with some toasted nuts. Almonds, pecans, or walnuts are nice!

image

IMG_4679

I’m sure I’ll have some extra time during the weekend and I’ll give you the cookie recipe, too.
image


All my love and best wishes for a peaceful, loving and delicious Thanksgiving!

Posted in Uncategorized | 2 Comments

Deconstructed… (Unstuffed Cabbage)

image

Learning to throw pots is a lot like learning to ride a bicycle or to drive. It is a very complex activity that is much more difficult than it looks. Experts make it look easy. But when you sit down at the wheel with a piece of clay for the first time, it is very humbling.

I’d been studying with Judy for about a year when I took my first workshop at Peter’s
Valley. I thought I was pretty spiffy, I could sort of center a fist size hunk of stoneware. I could sort of make a small bowl, a form you could call a cup (though some might mistake it for an ash tray). So, as I drove to the clay studio, I was nervous about meeting new people, about my lifelong tendency to need to be teacher’s pet, and about being away from the kids for so many hours, not about the throwing.

Well. I watched Ben work at the demo wheel and felt my brain start to heat up, to sizzle, and then to melt. I went to “my” wheel, and I might as well have had no brain at all. The wheel appeared to spin the opposite way from my wheel at home (in fact it did, it was set for a lefty), the clay felt all wrong, I couldn’t find the right tools, I was completely inept. This predicament persisted for the whole morning.

When we went to lunch, someone asked me, “how’s it going?” I said, “I am a worm. I’m the lowest form of life crawling on the crust of the planet.” For the rest of the five day workshop, my new friends would check in with me, “how’s that worm thing going?” It would come and go, but I learned to welcome what the meditation gurus call “beginner’s mind.” In trying to integrate an enormous new batch of information, I needed to regress, to tear down the structure that was there and replace it with more current data. I needed to allow myself to deconstruct.

Maybe you think this only happens to short, middle aged, visually impaired psychologist-potters. Try parenting! When the kids where tiny, you’d see it often. As a baby, Brian would be miserable for a week. Clingy, weepy, easily frustrated, he’d follow me around like a little puppy, whining. I’d wonder if I’d ever see my sunny, sweet son again. And then he’d wake up in the morning with 5 new teeth. Or toddler Megan would decompensate constantly for days on end. Not sleeping, having meltdowns at the slightest frustration. And then, she’d start speaking in full paragraphs or suddenly learn to walk.

And don’t get me started talking about what happens when my 78 year old mom tries to learn something new on Zelda (her ipad). Or with my clients in the dr deb office! My beloved friend Karen is preparing to teach high level couple’s therapy and is convinced she has forgotten how to work in her therapy chair! Let’s just say, things often get worse before they get better!

So I think it makes a lot of sense for all of us to have a lot of room to let ourselves fall apart a little bit as we move along in life…to tear down in order to build up. And to be comfortable with the experience of being a little messy, disordered and confused.

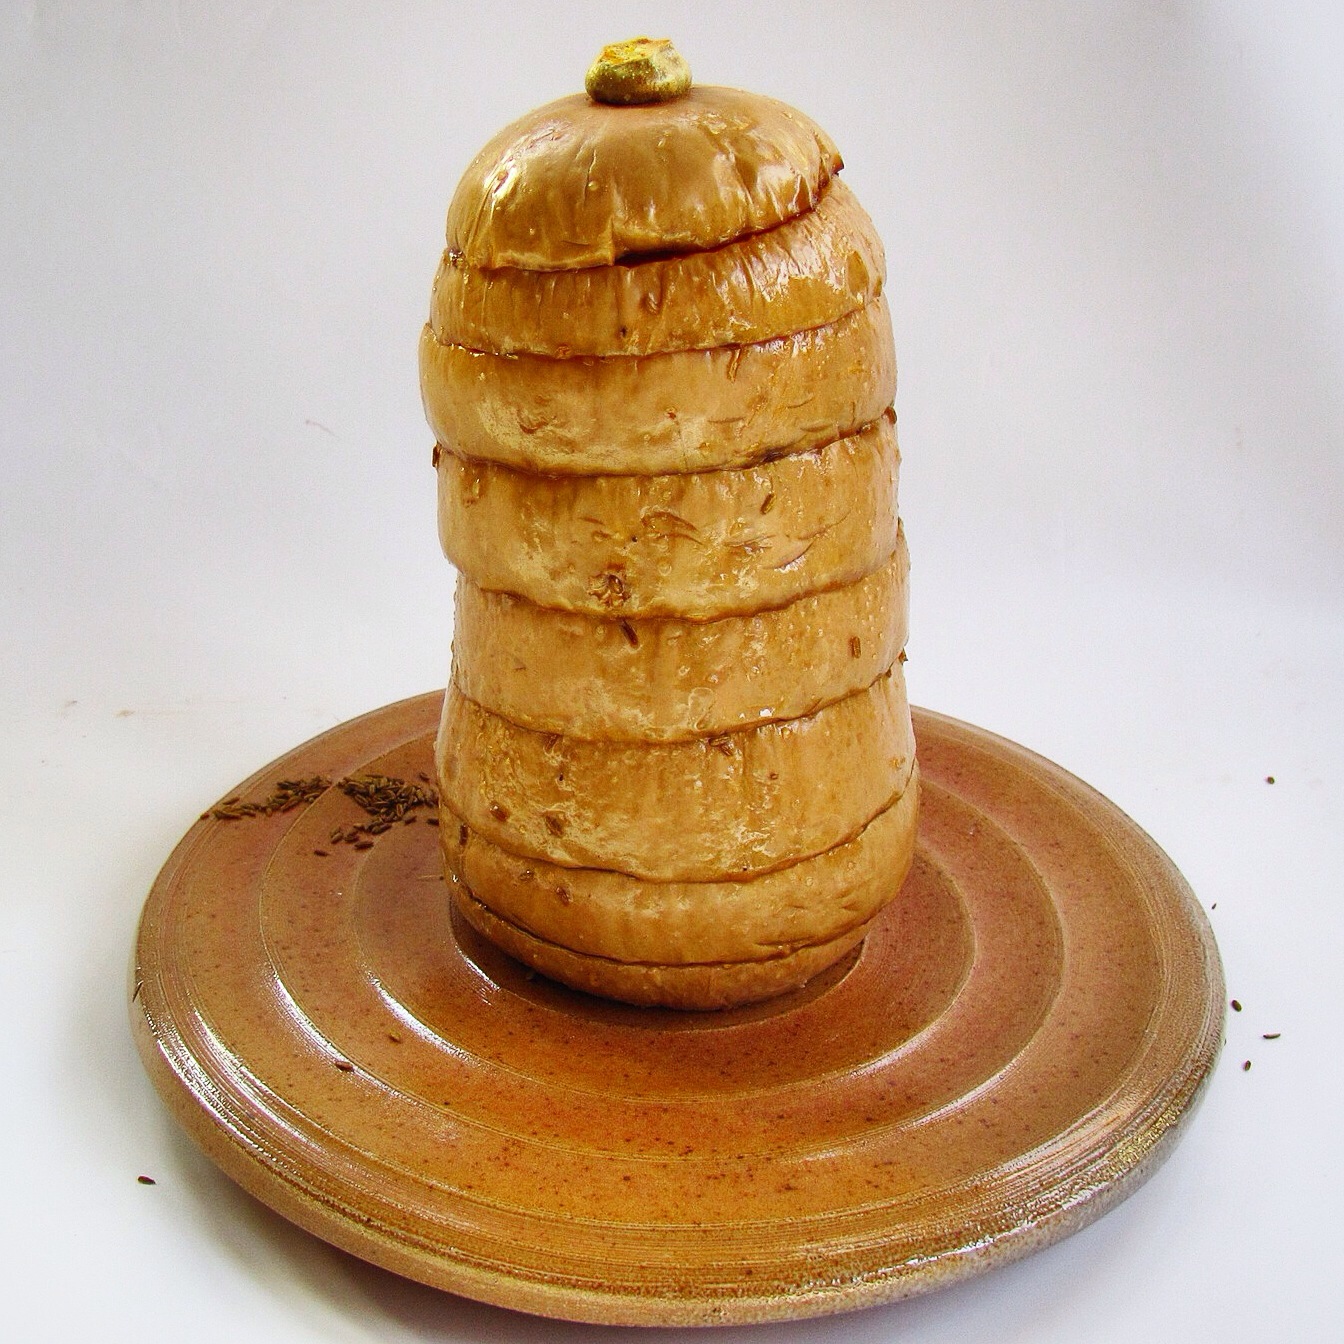
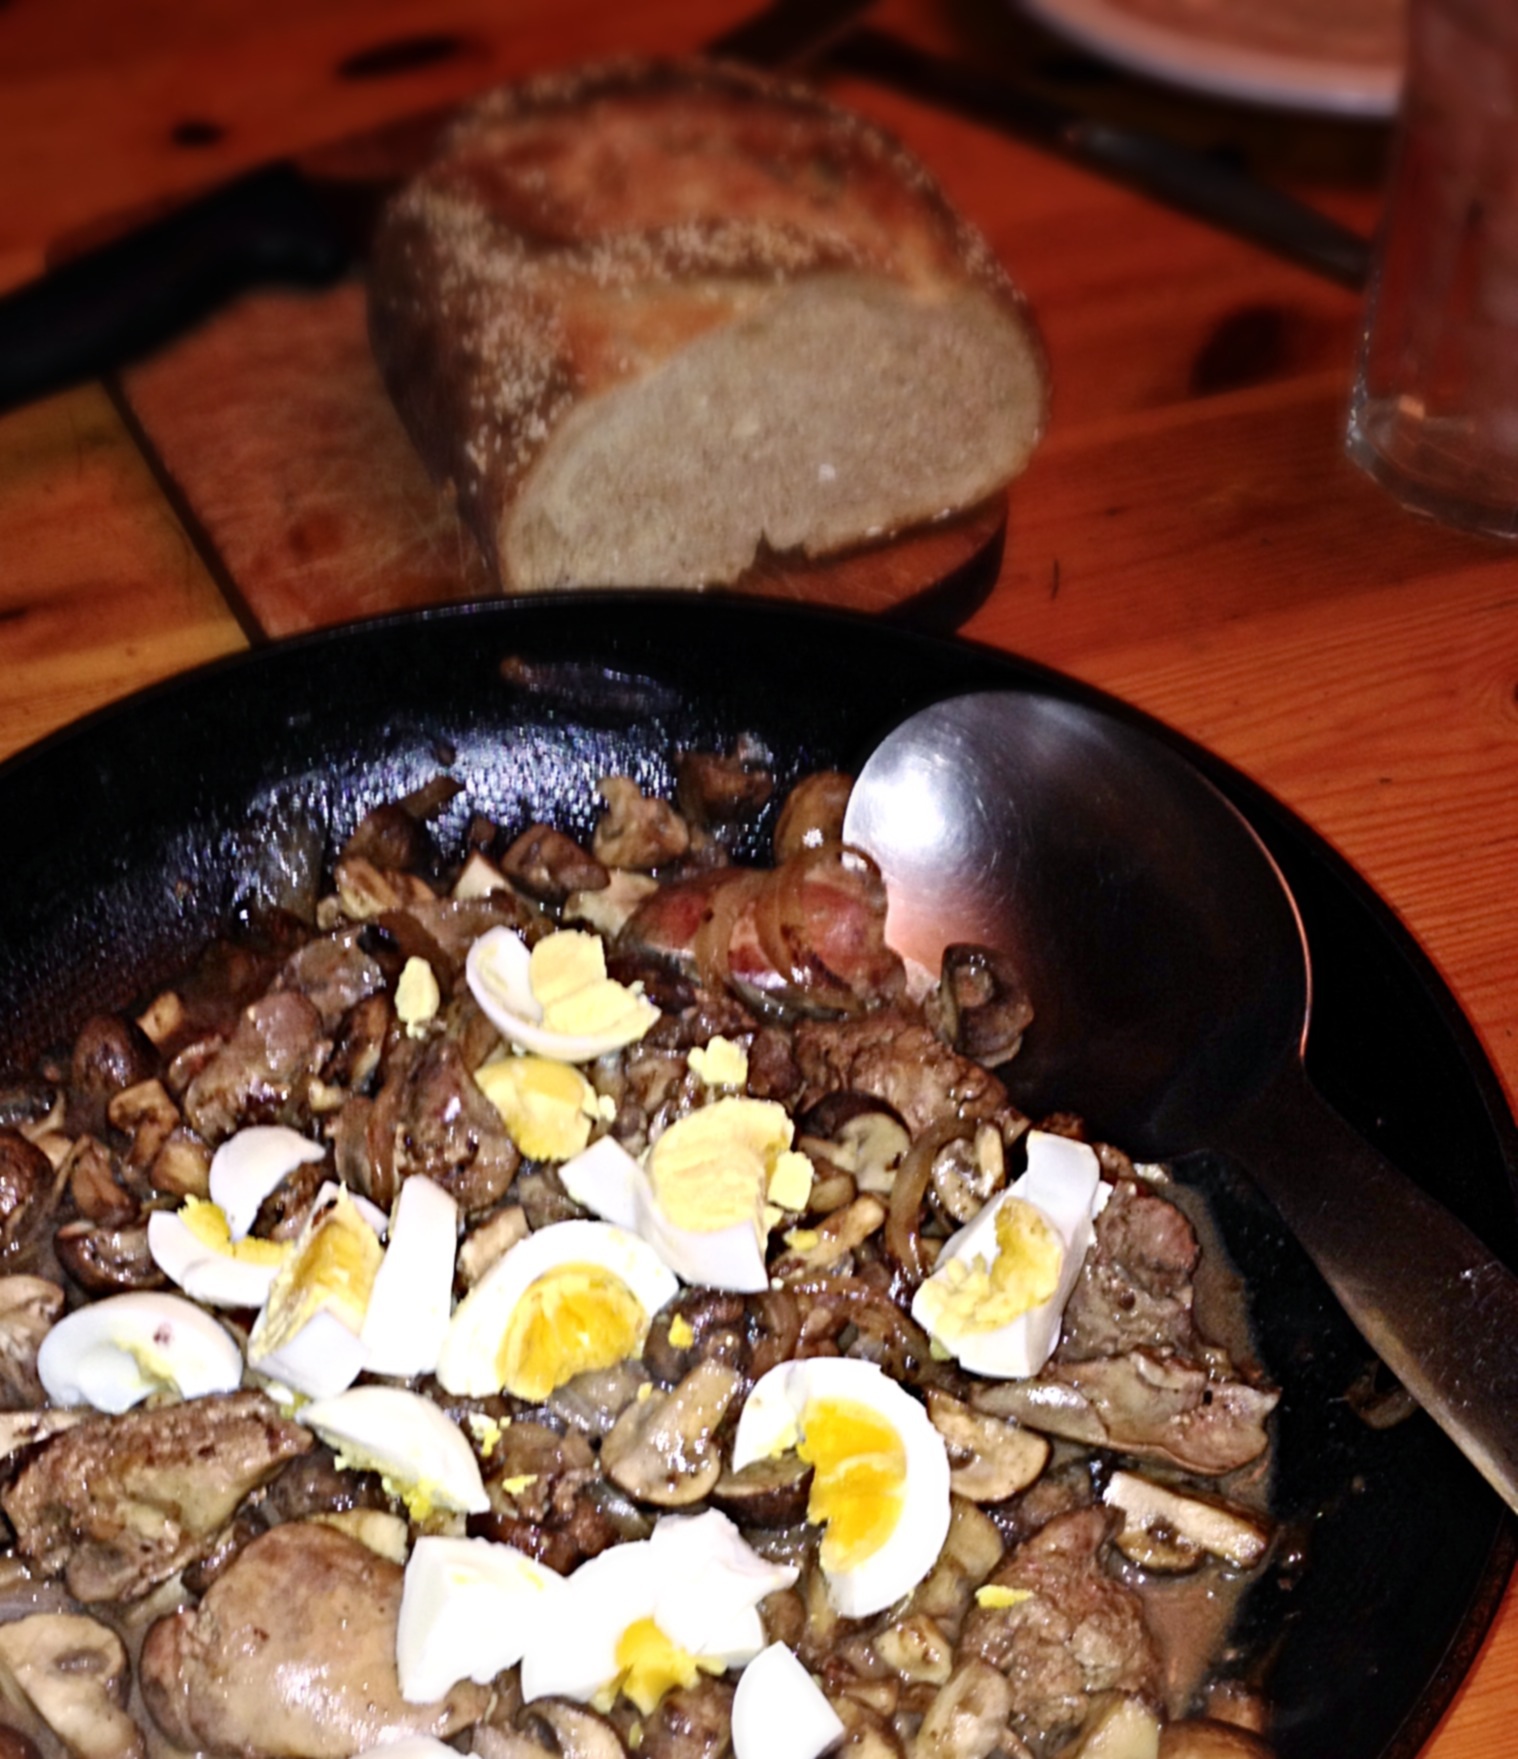
And so, in the spirit of doing this, I offer you the concept of deconstructed food! My two favorite deconstructed dishes are chopped liver and stuffed cabbage. Yes, I am messing with the traditional meals of my heritage. I’ll give you a picture of the unchopped chopped liver-it’s not beautiful, neither is chopped, chopped liver. But it is really wonderful. If you want the recipe, leave me a comment. Or leave a comment anyway because I really like them!

image

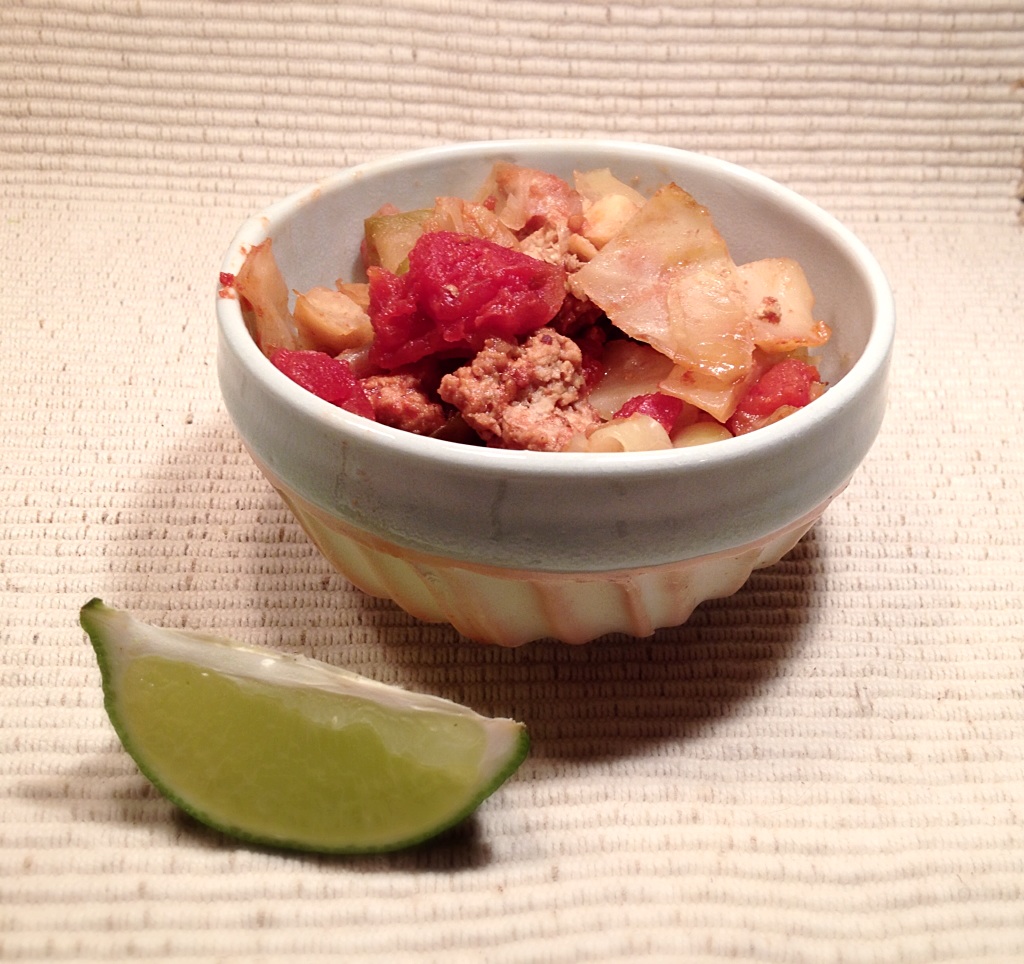
I’m going to give you the recipe for the unstuffed stuffed cabbage. Not only will it make you more comfortable with falling apart, but it is also much easier to make than real stuffed cabbage and I think it tastes just as good!

image

I have Wendy to thank for this idea!

And yes, my veggie friends, you can leave out the meat; it’ll be great! You can sub tofu or bulgur, throw in some nuts for protein, this is a very casual dish, meant to be modified to your tastes or food preferences. Note: it is gluten free!

image

image

Deconstructed Stuffed Cabbage
AKA Unstuffed Cabbage

 Traditional stuffed cabbage includes rice. You have a couple of choices here. You can go low carb like we do and leave it out entirely. Or you can throw some rice in with the tomatoes (I’d use a half a cup or so). Or you can make it like I do and then serve it over rice, either white or brown. Or do a different grain. Am I giving you too many options and making your head explode? Sorry!

image

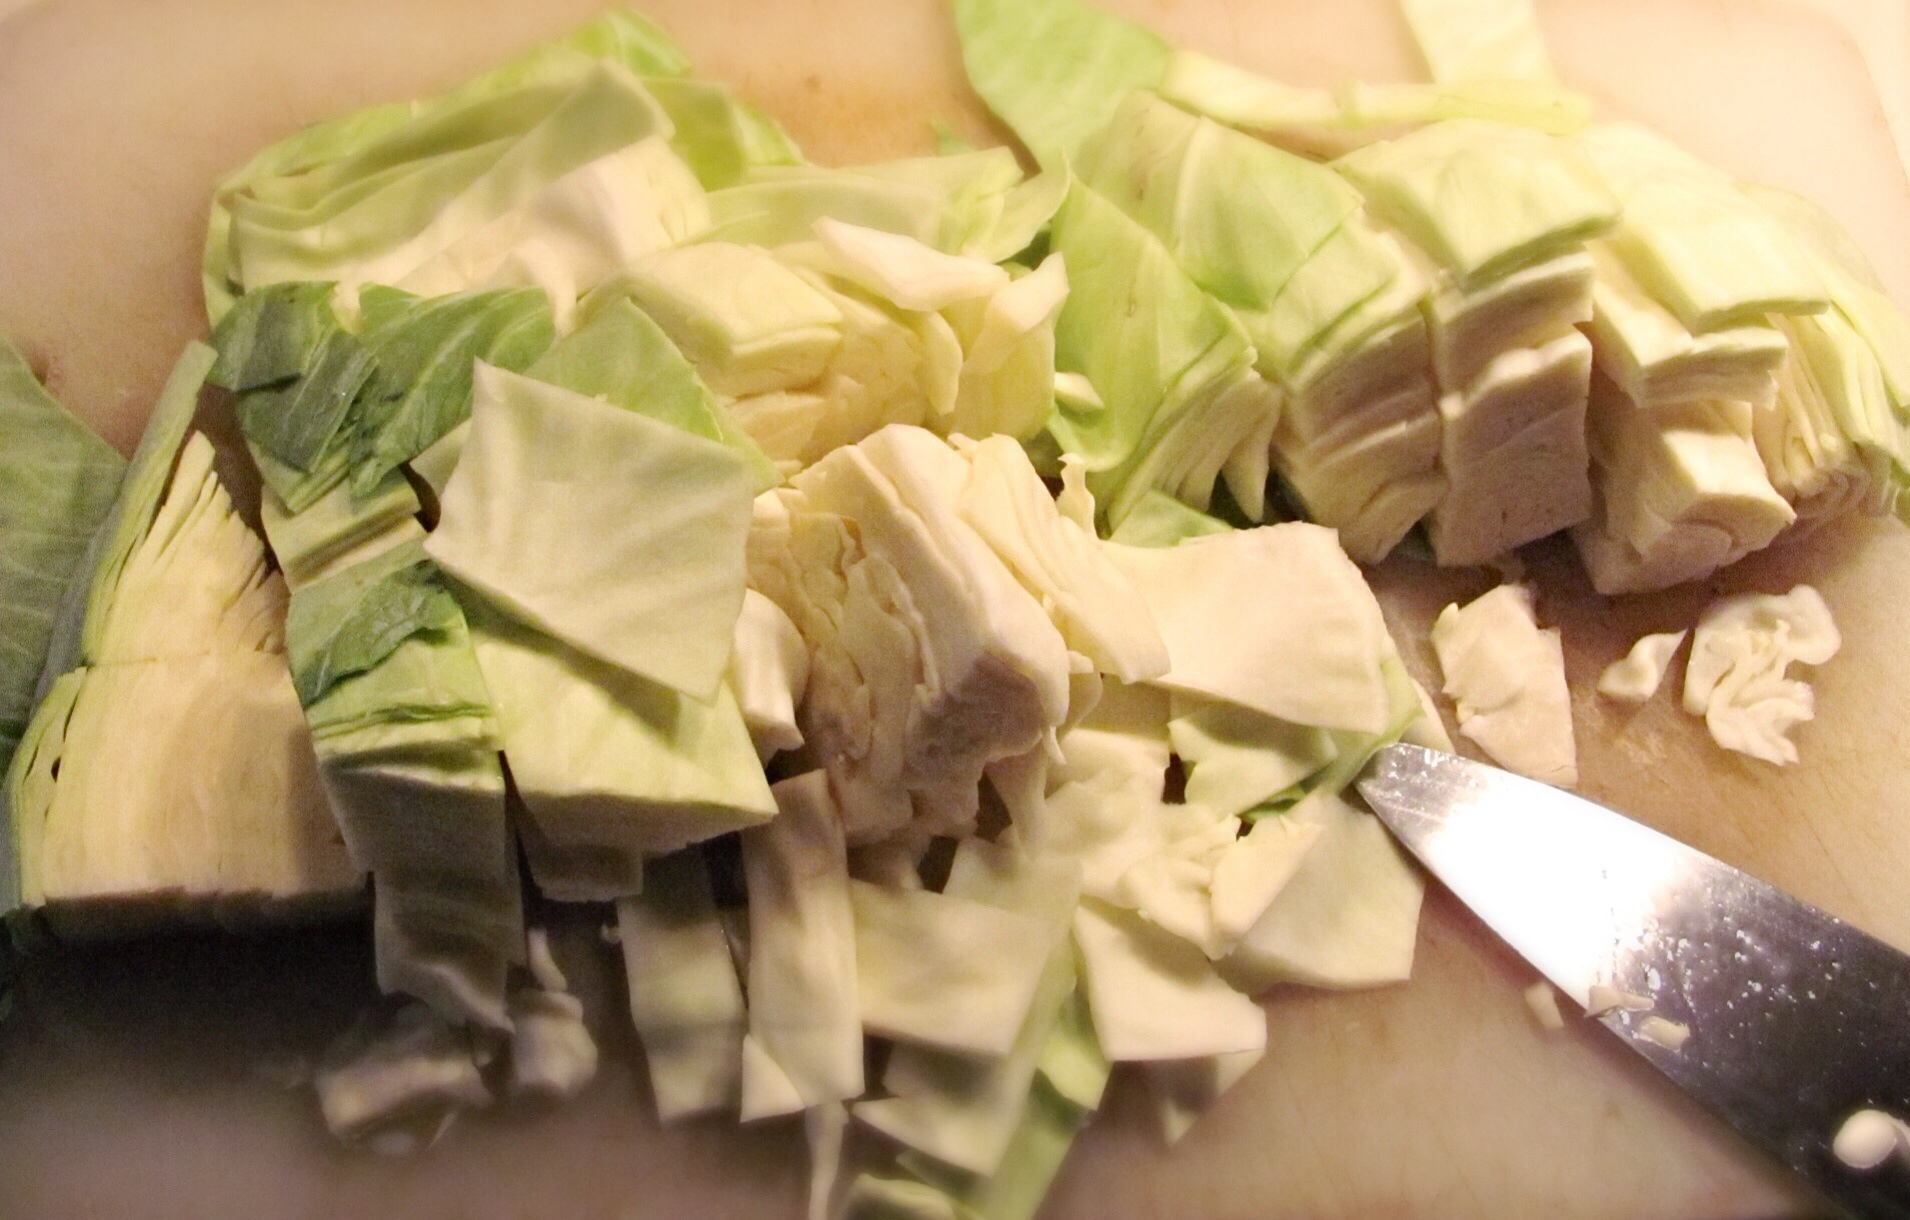
1 medium head of cabbage (if you have a huge one, cut off a bit and make slaw)
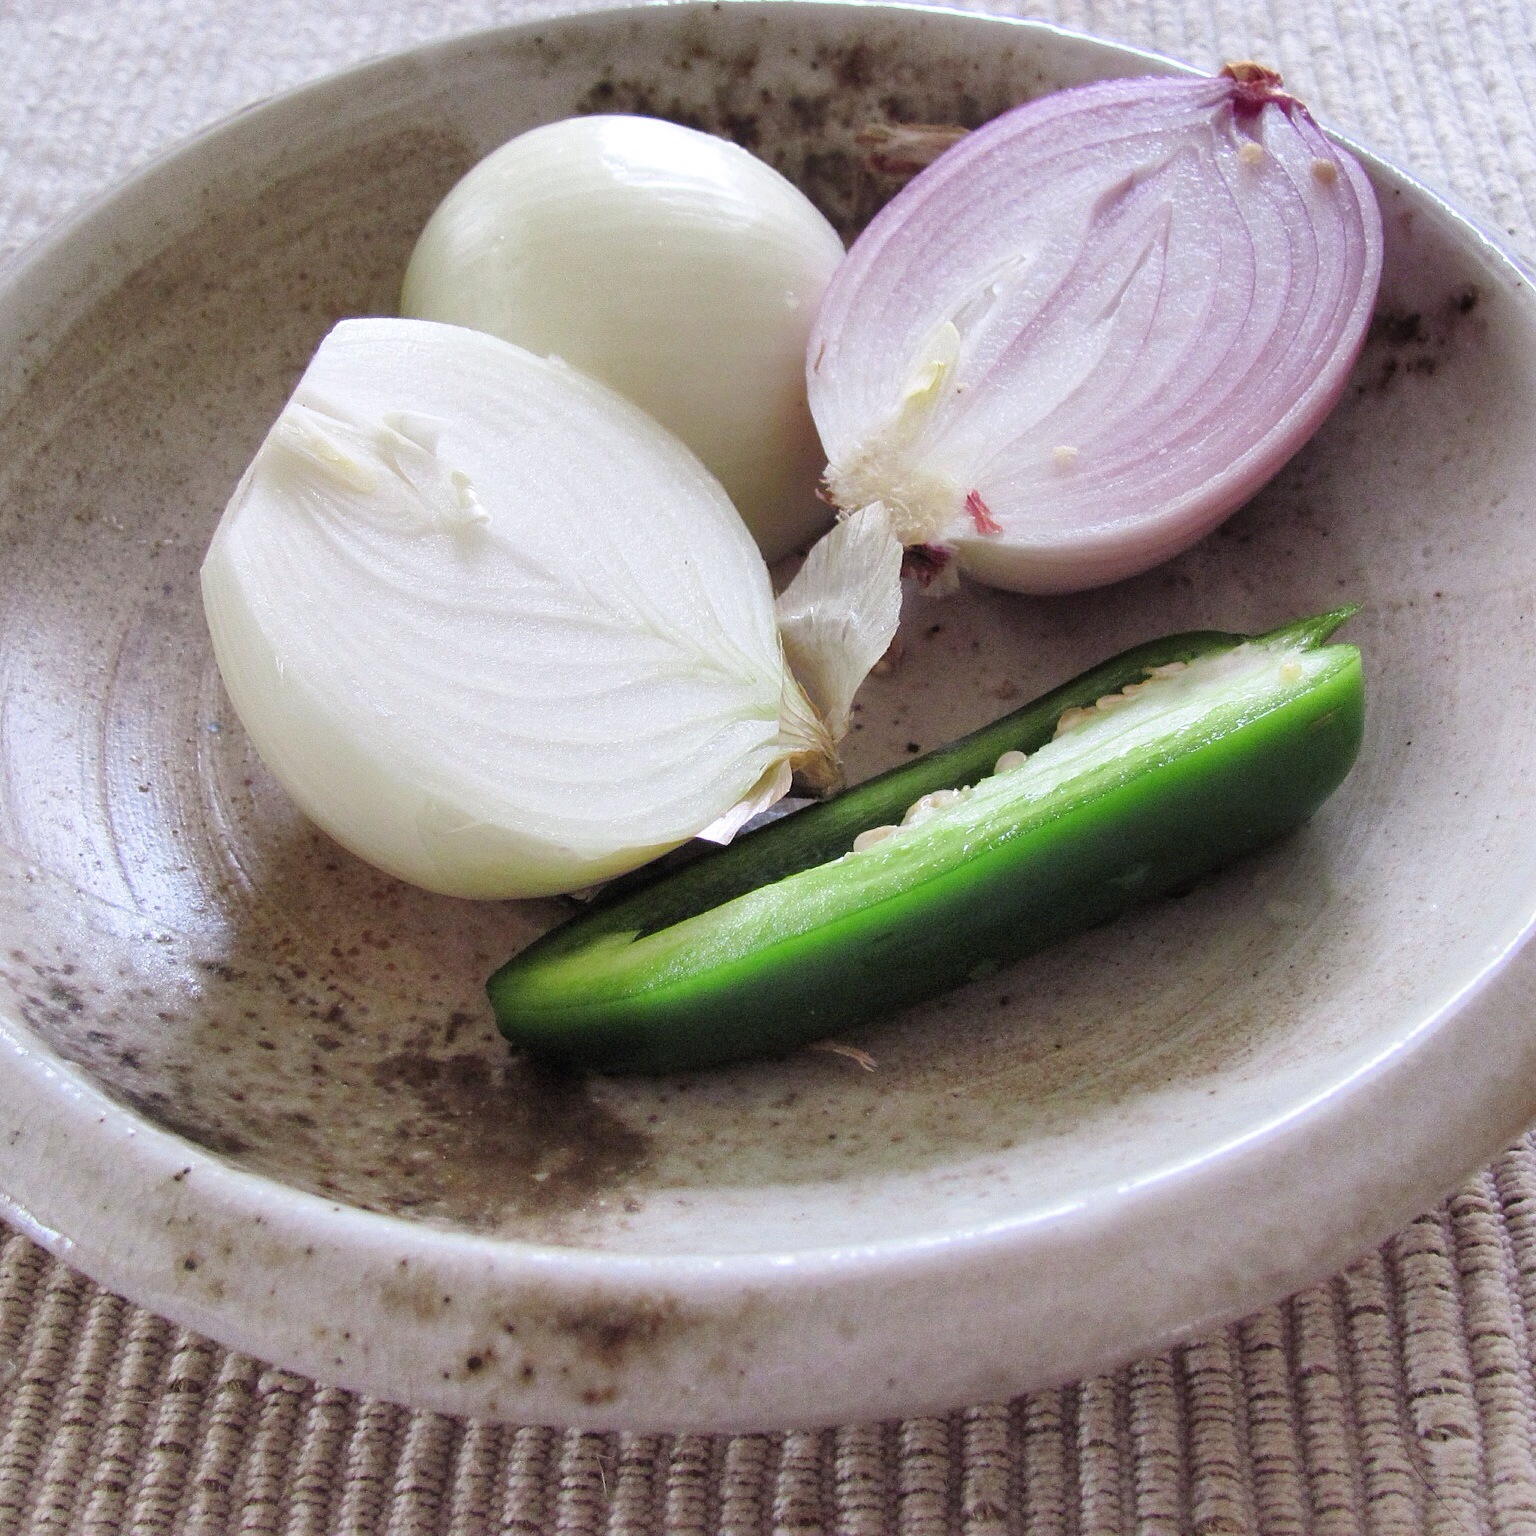
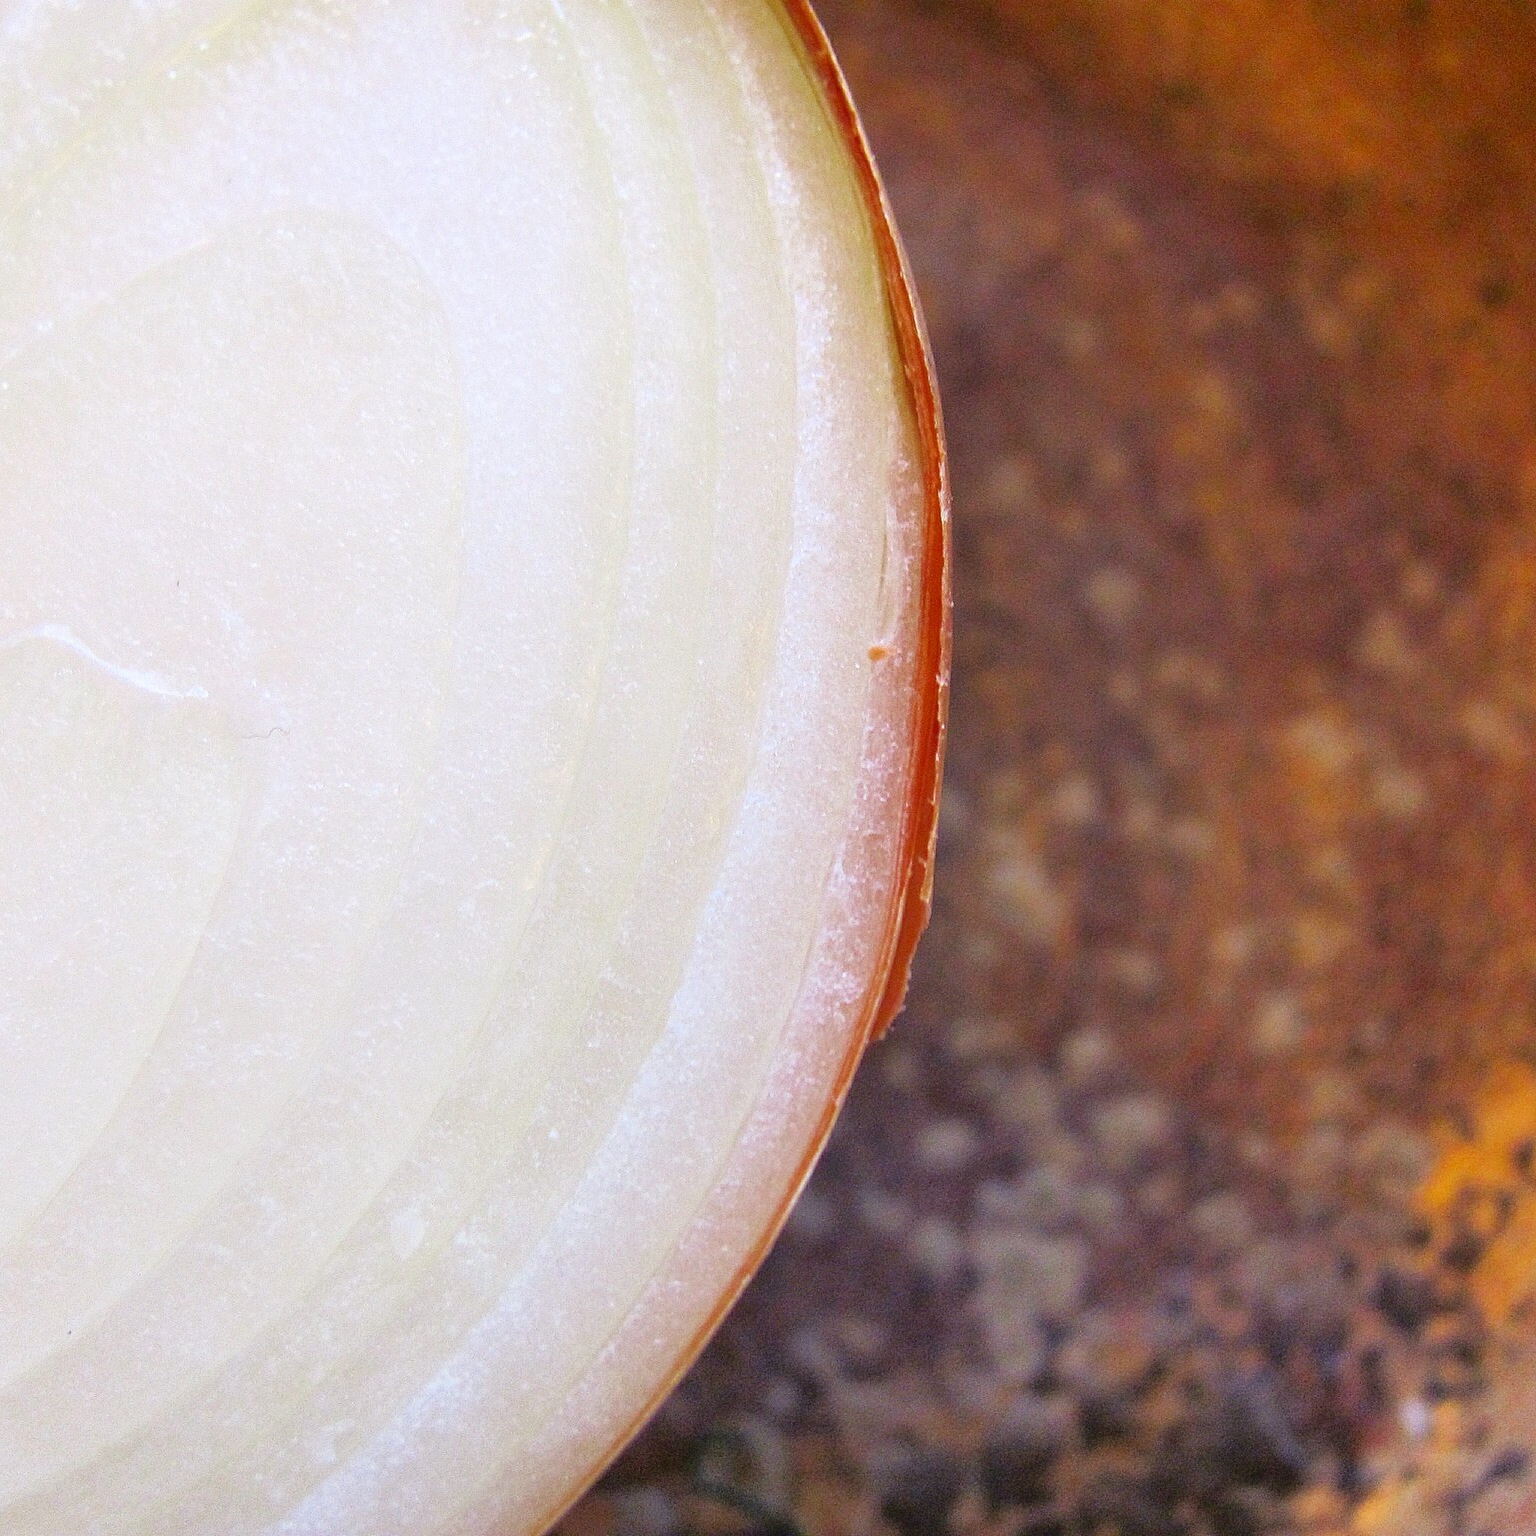
1 big or 2 small onions, large dice
1 tbs. oil for cooking (peanut, walnut, coconut)
1 lb. ground meat (I like turkey or chicken, organic; you can use beef or pork)
1 apple, peeled and cut into chunks
1 can diced tomatoes, I like Muir Glen
handful of raisins
sweetener to taste (a big pinch of organic cane sugar, you can use honey or brown sugar)
juice of half a lemon
salt and pepper

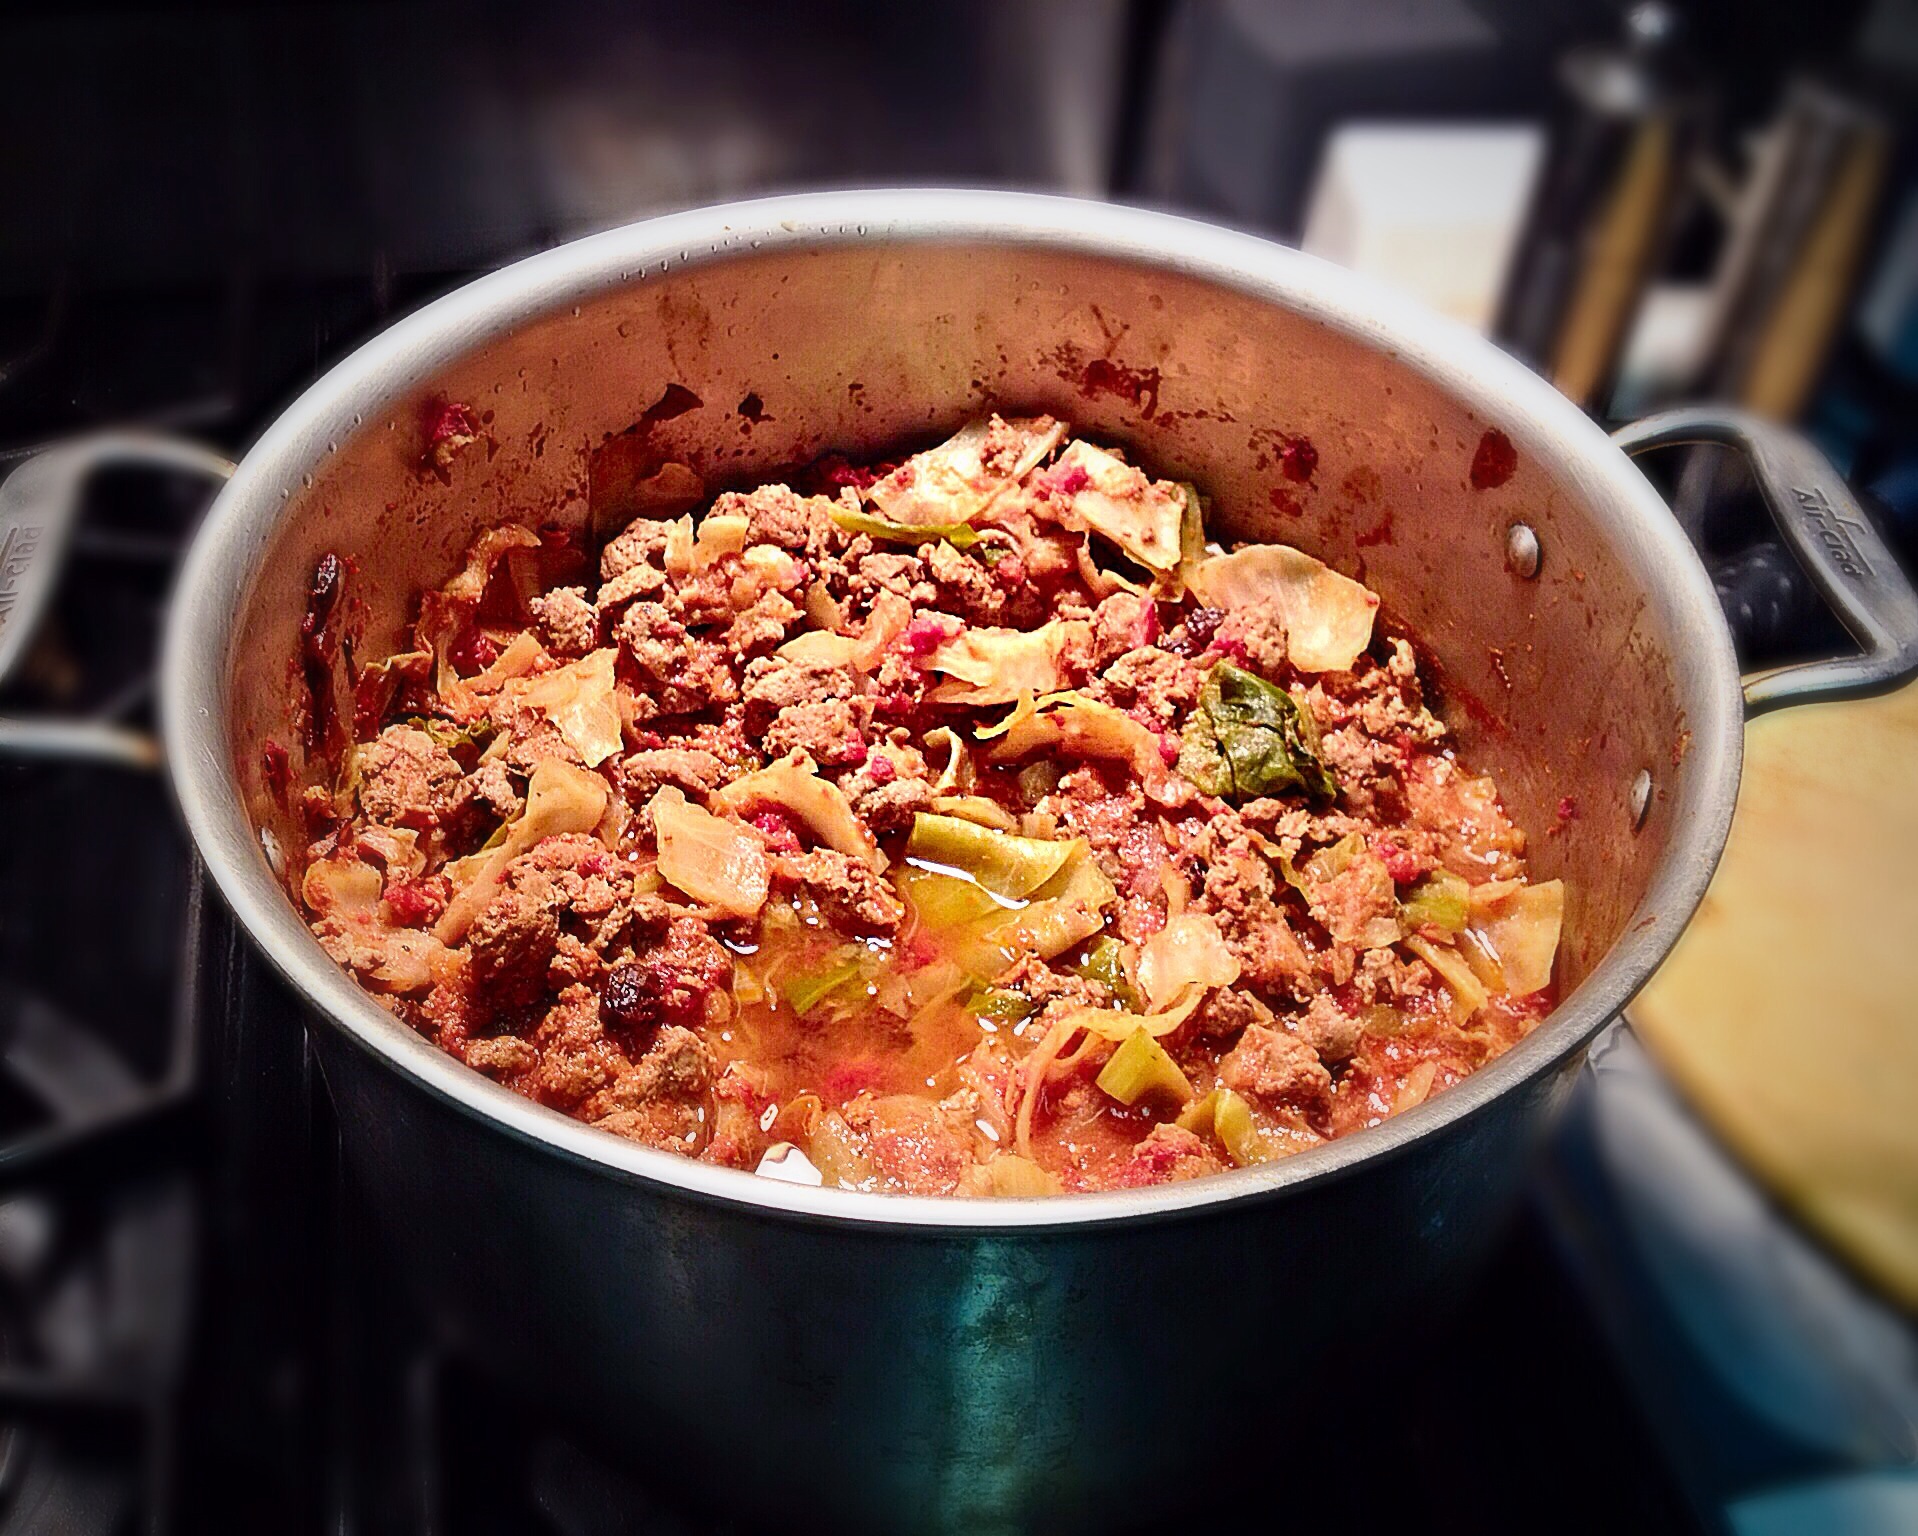
Cut the cabbage in half, core it, and cut it up into bite size chunks. Use a big pot and heat the oil over high heat, add the cabbage and onions. Throw a little salt into the pot now.Then the meat. Brown everything up a bit. Add the apple and cook for a couple minutes. Then throw in the tomatoes and raisins. Now, you can keep this on the stove, turn the heat down to keep it at a simmer. But my preference is to bring it to a boil and then pop it in a 325° oven. I just feel more comfortable going out for a run with something in the oven rather than on a flame. Either way, cook it for a good hour. It won’t be ruined if you cook it longer, the cabbage will get softer.

image

Now taste. Add your sweetener and lemon juice. Remember that all your flavors will be stronger with a bit of salt, so if it tastes wimpy, add a bit of salt before you add more sugar.

image

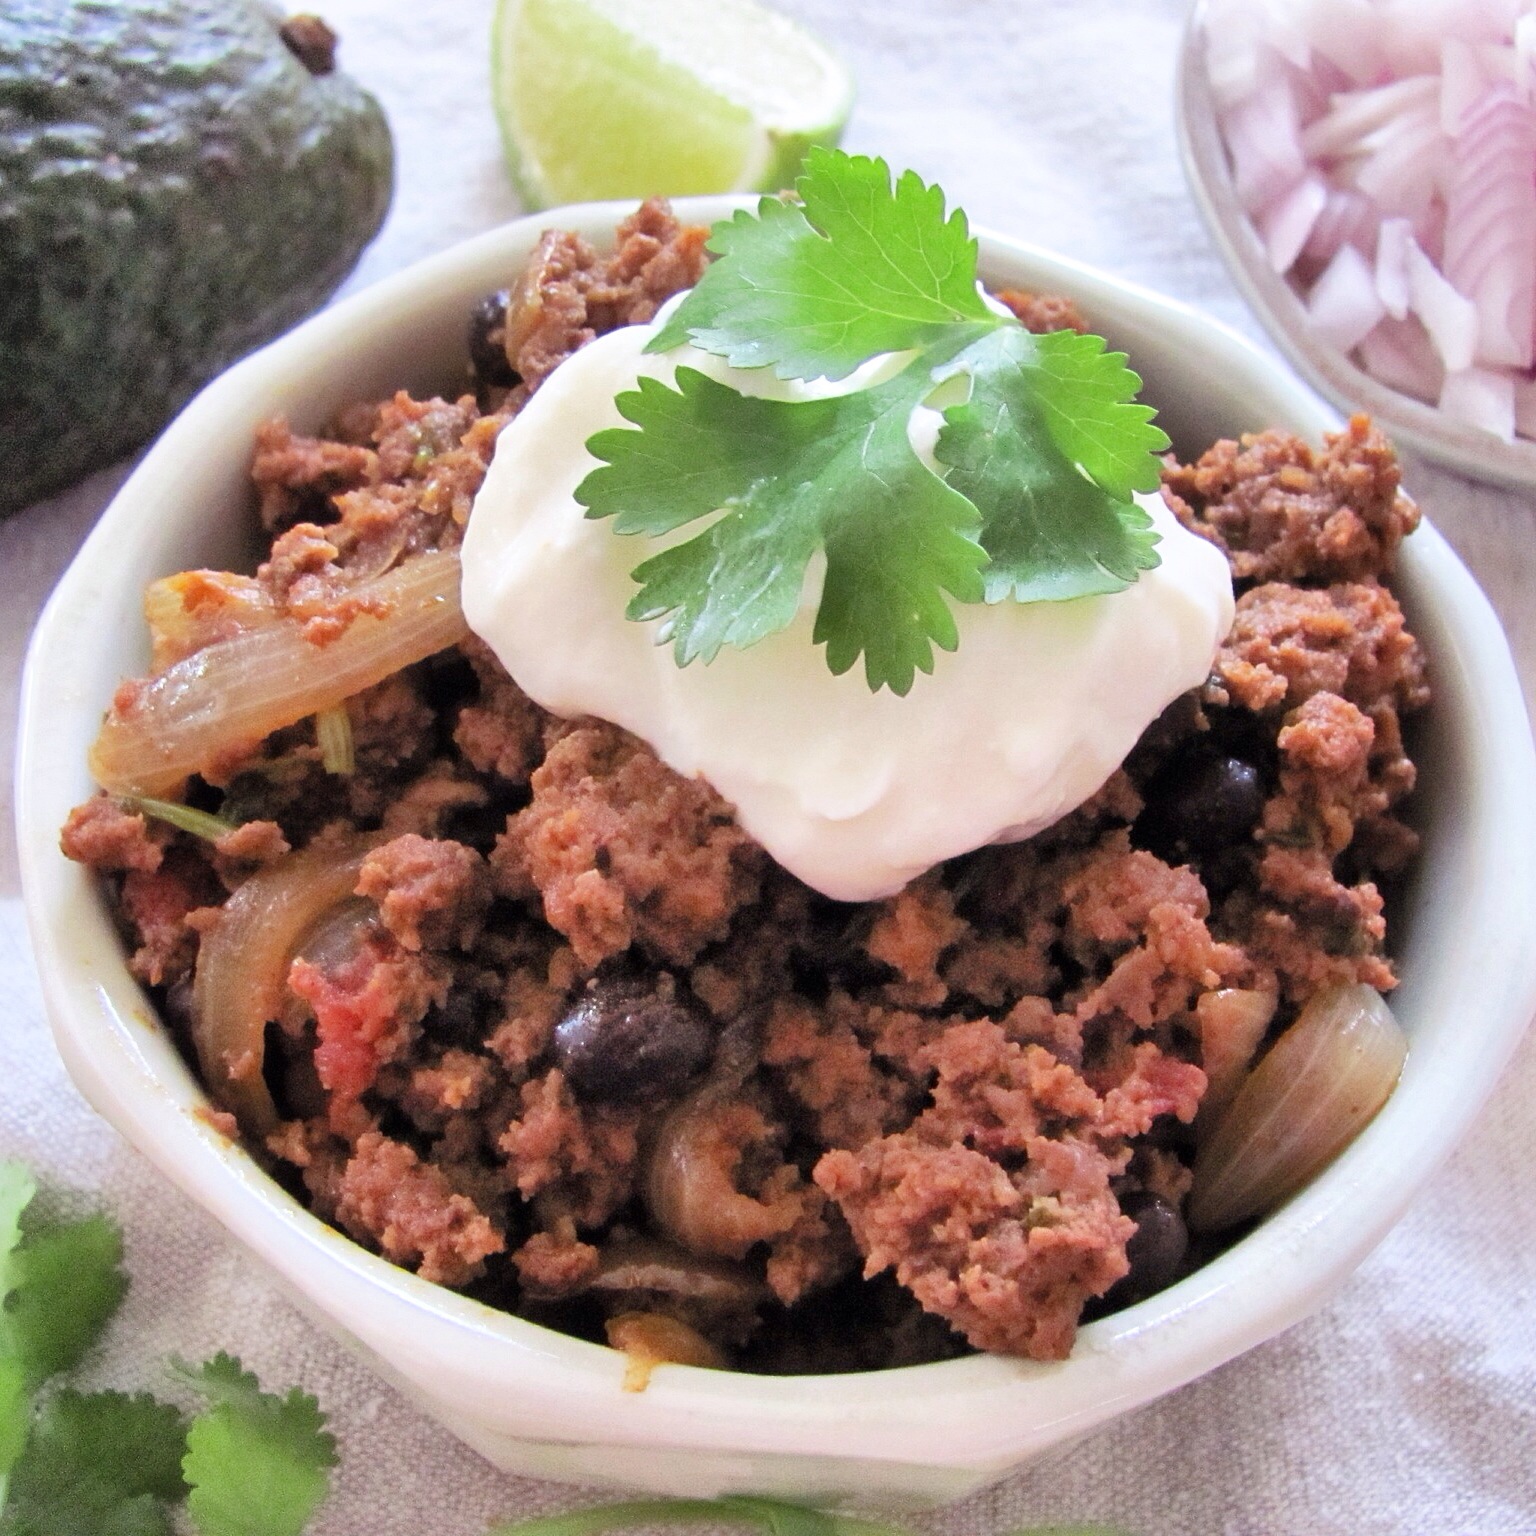
Like all stewy things, this makes great leftovers. You can reheat on the stove, in the oven or in the microwave. It freezes pretty well, with only a minimal change in the texture of the cabbage. You might notice that in one of the pictures, I threw in some leftover brussels sprouts, for a sort of double cabbage effect. Very nice! And finally, a little sour cream on top never hurts!

You may find, if you make this and eat it, that it prepares you for learning new things and for dealing with stress…like, for example, during the holidays…

image
image

Posted in supper, main courses | Tagged , | 4 Comments