
If you know me, follow me here on my blog, or on social media, you know that this has been an interesting winter here in the house in the Warwick woods. I thought there was supposed to be an ancient Chinese curse about living in interesting times, but according to Wikipedia, there is no such curse. But don’t we all understand the invention of such a fake Chinese curse?
Last summer, we discovered that part of the floor in front of the refrigerator was “spongy,” not a desirable quality in a floor. The counters were warped, the cabinets no longer stayed closed even though we asked them nicely. It was time either to move or to renovate the kitchen.
I called realtors and went looking at houses for sale. We saw some nice homes, but none we liked as well as ours, so the decision was made to do construction; this would not be the first renovation for us, but by far the most extensive. We chose a builder we know very well, a friend and artisan named Bill Merritt. Bill has worked with us before and we trust him, which is turning out to be very important. We are also working with a kitchen designer named Judi Price; we think the world of her, too.
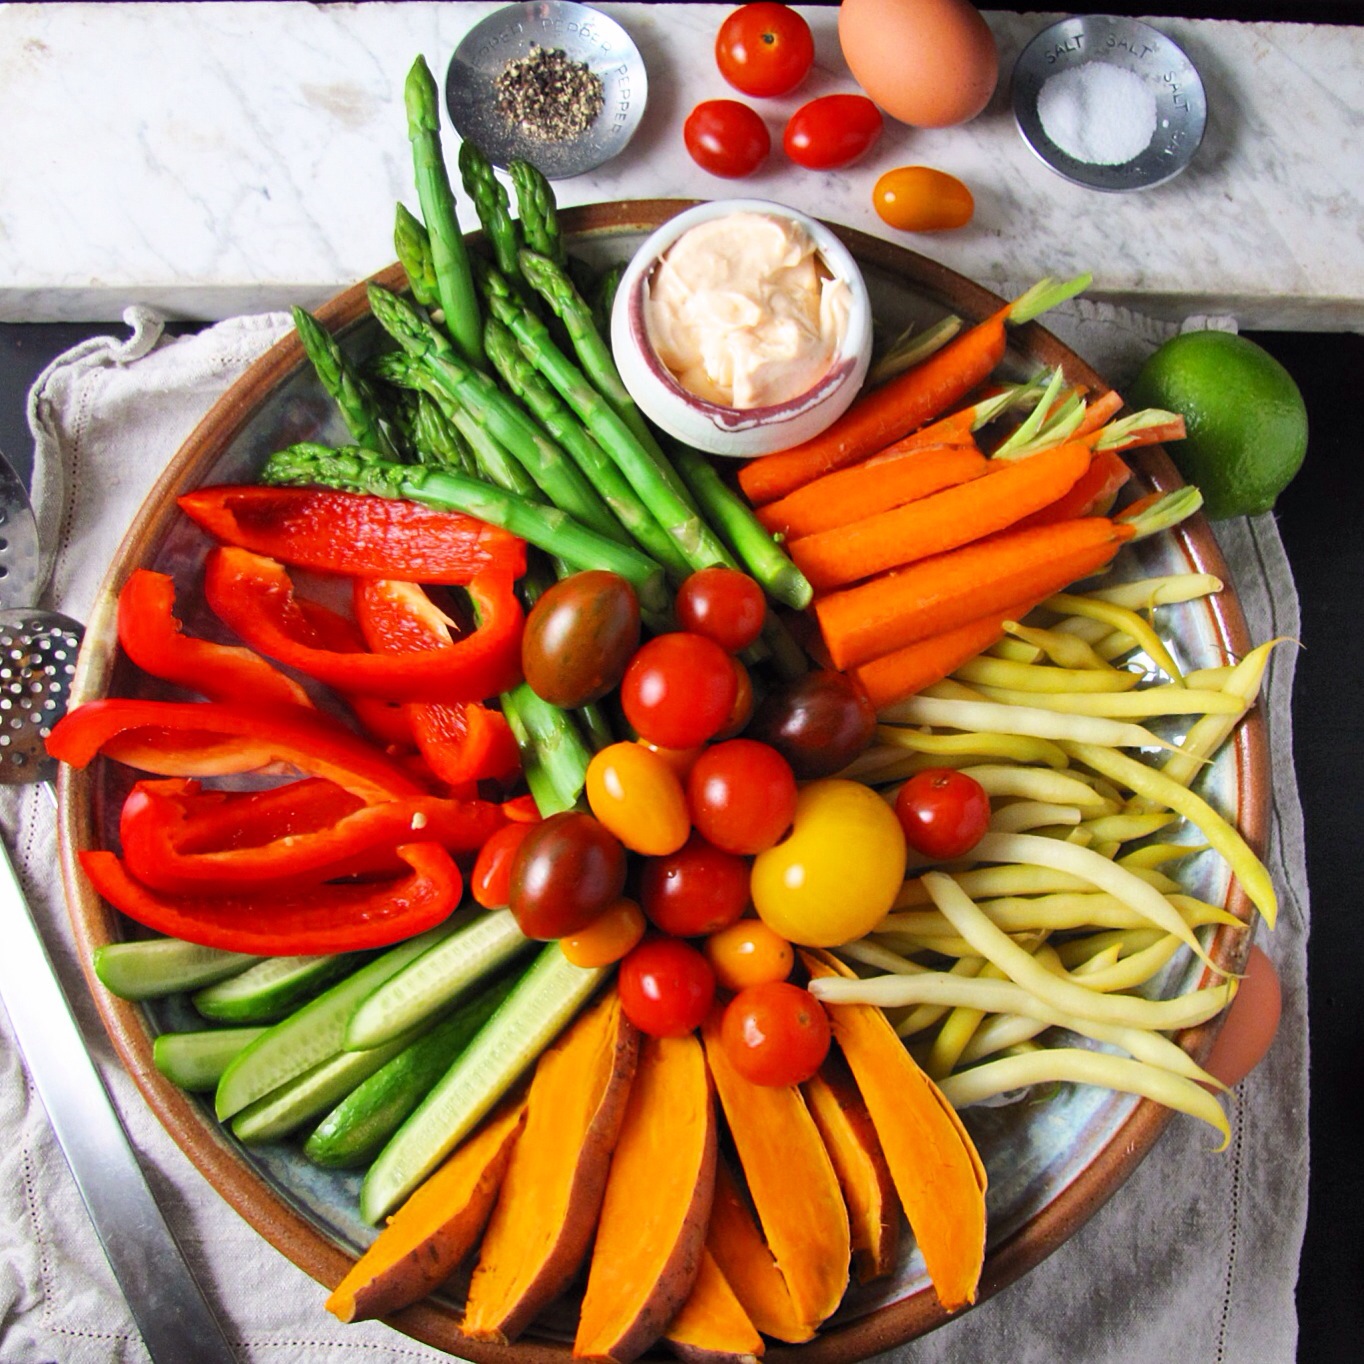
The kitchen we are planning is a real workhorse; authentic, handmade, function meets form. We are working with local artists and crafts people as much as we can afford, reclaiming when possible. I am taking pictures as we go, which I will show you when it’s over. I can’t bear to reveal the “before” and “during” until I can also give you “after.” Wouldn’t you rather see pictures of ingredients and my lovely pottery?

 It has been a creative and collaborative process, and there are the normal stresses of building: mess, loss of privacy, time suck, inconvenience…these we have weathered well. The tough part for all of us has involved unexpected structural problems with the house. We designed the floor plan based on the original drawings, kindly provided by our home’s original owners. But demolition revealed that the actual building fails correspond to those drawings. It also fails to correspond to common sense.
These surprises have cost us a huge amount of time, energy, frustration and eaten up our budget. We have been stalled for weeks at a time. Poor Bill has been so frantic he has lost sleep and weight. There have been times it appeared that there was to be no solution to the problem, and that we would just have to live forever with a gutted, wall-less, ceiling-less, floor-less hole in the middle of our house.
Yesterday, we met with Judi in the gutted hole and a light appeared that was not coming from a hole in the plywood floor boards! We are all creative thinkers, and I believe our collaborative “thinking outside the box,” (pun intended) has finally produced a workable solution. Stay tuned.
Through all of this disruption, frustration and stress, there have been a few enormous comforts for me. The primary one has been my life perspective. I have experienced true tragedy; this experience is not tragic, nor does it constitute true hardship. I never lose sight of that. It does help. A lot. The other one is our relationships. We trust our people, we are working as a team. Bob and I have a very strong relationship. We have walked through fire in our marriage and it has made us stronger, as individuals and as a couple. We work very well together. I am grateful for him every minute of every day.
And a very real salvation for my sanity has been my ability to use my culinary creativity to feed us well and to continue to maintain the blogs even without a kitchen. Thanks to our dear friends, Tina and Andy, we have a borrowed hotplate in the basement, along with an ancient toaster oven and a brand new microwave (the old one smashed in the demolition).


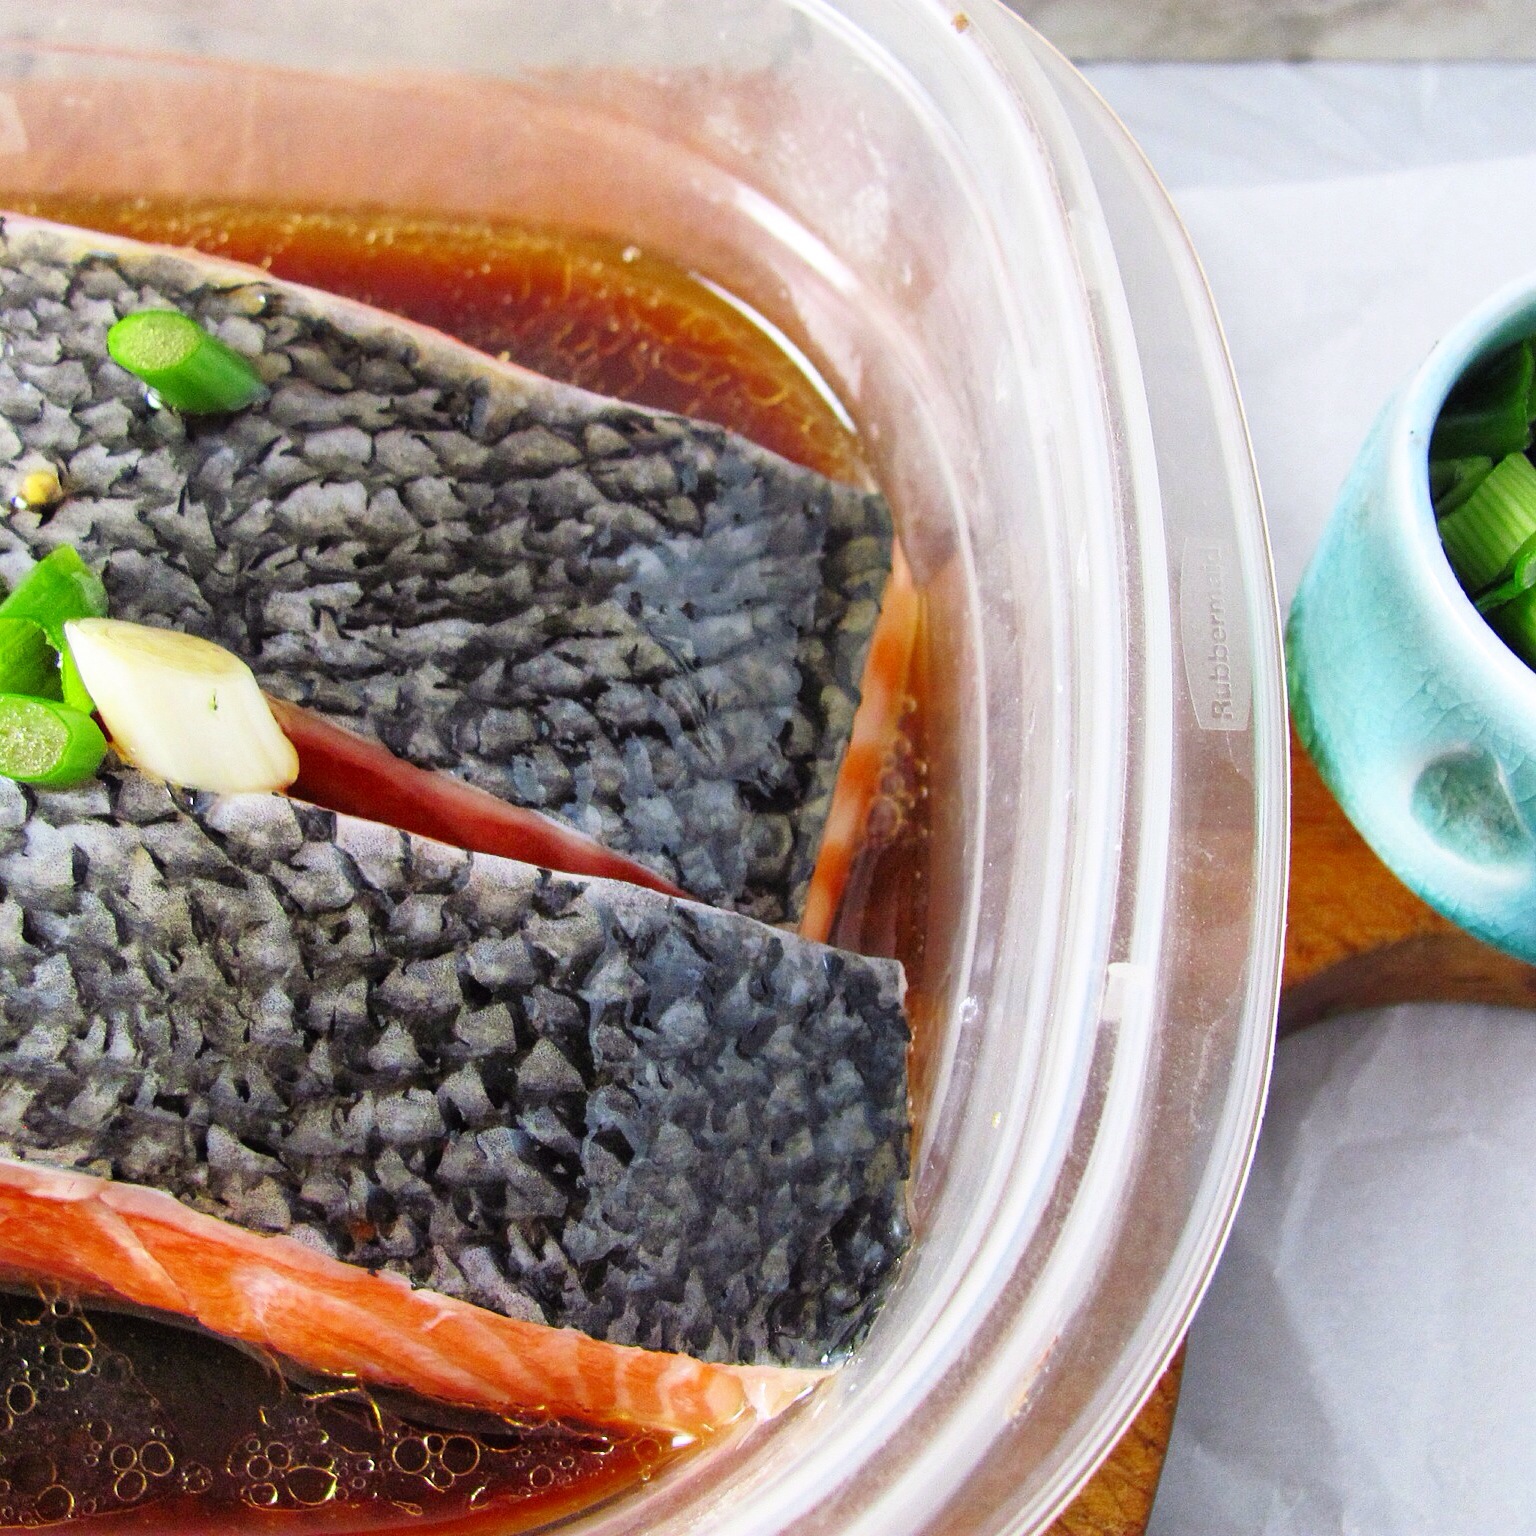
So…as we ready ourselves for another snowstorm and another week of construction, I am puttering around in the basement, making a beautiful salmon supper and taking pictures as I work. This recipe is loosely Chinese. No curse in sight!

Honey Sesame Ginger Glazed Salmon
I like salmon filet, but feel free to use salmon steak. The same marinade and cooking method and times will work perfectly using halibut, shrimp, or scallops. And this marinade is also delicious with chicken, pork or beef.
Serves 2, multiplies perfectly
Gluten free folks, use GF soy. Paleos, skip the sweetener.
12 oz center cut salmon filet, cut in two pieces**
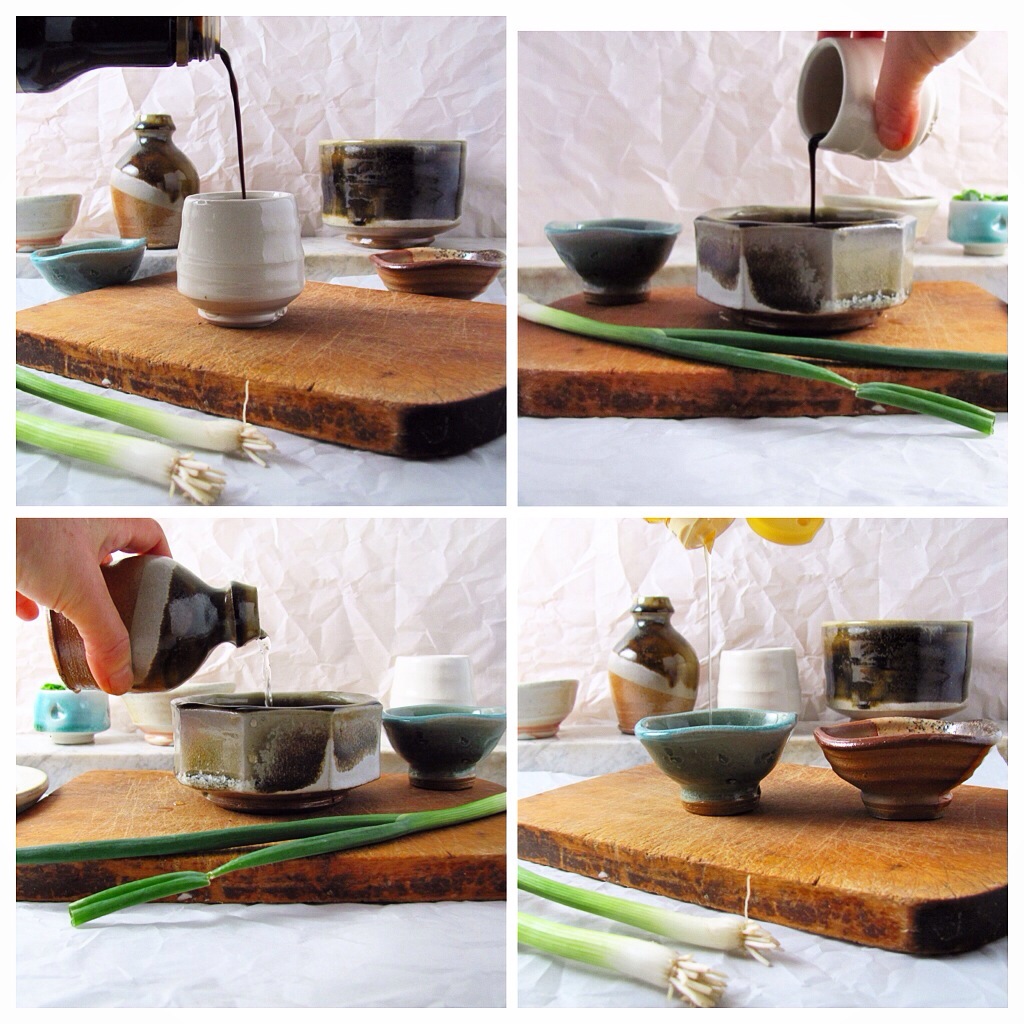
¼ cup white wine or sake
¼ cup soy sauce or tamari
2 tsp. honey or agave (optional)
1 tsp. toasted sesame oil
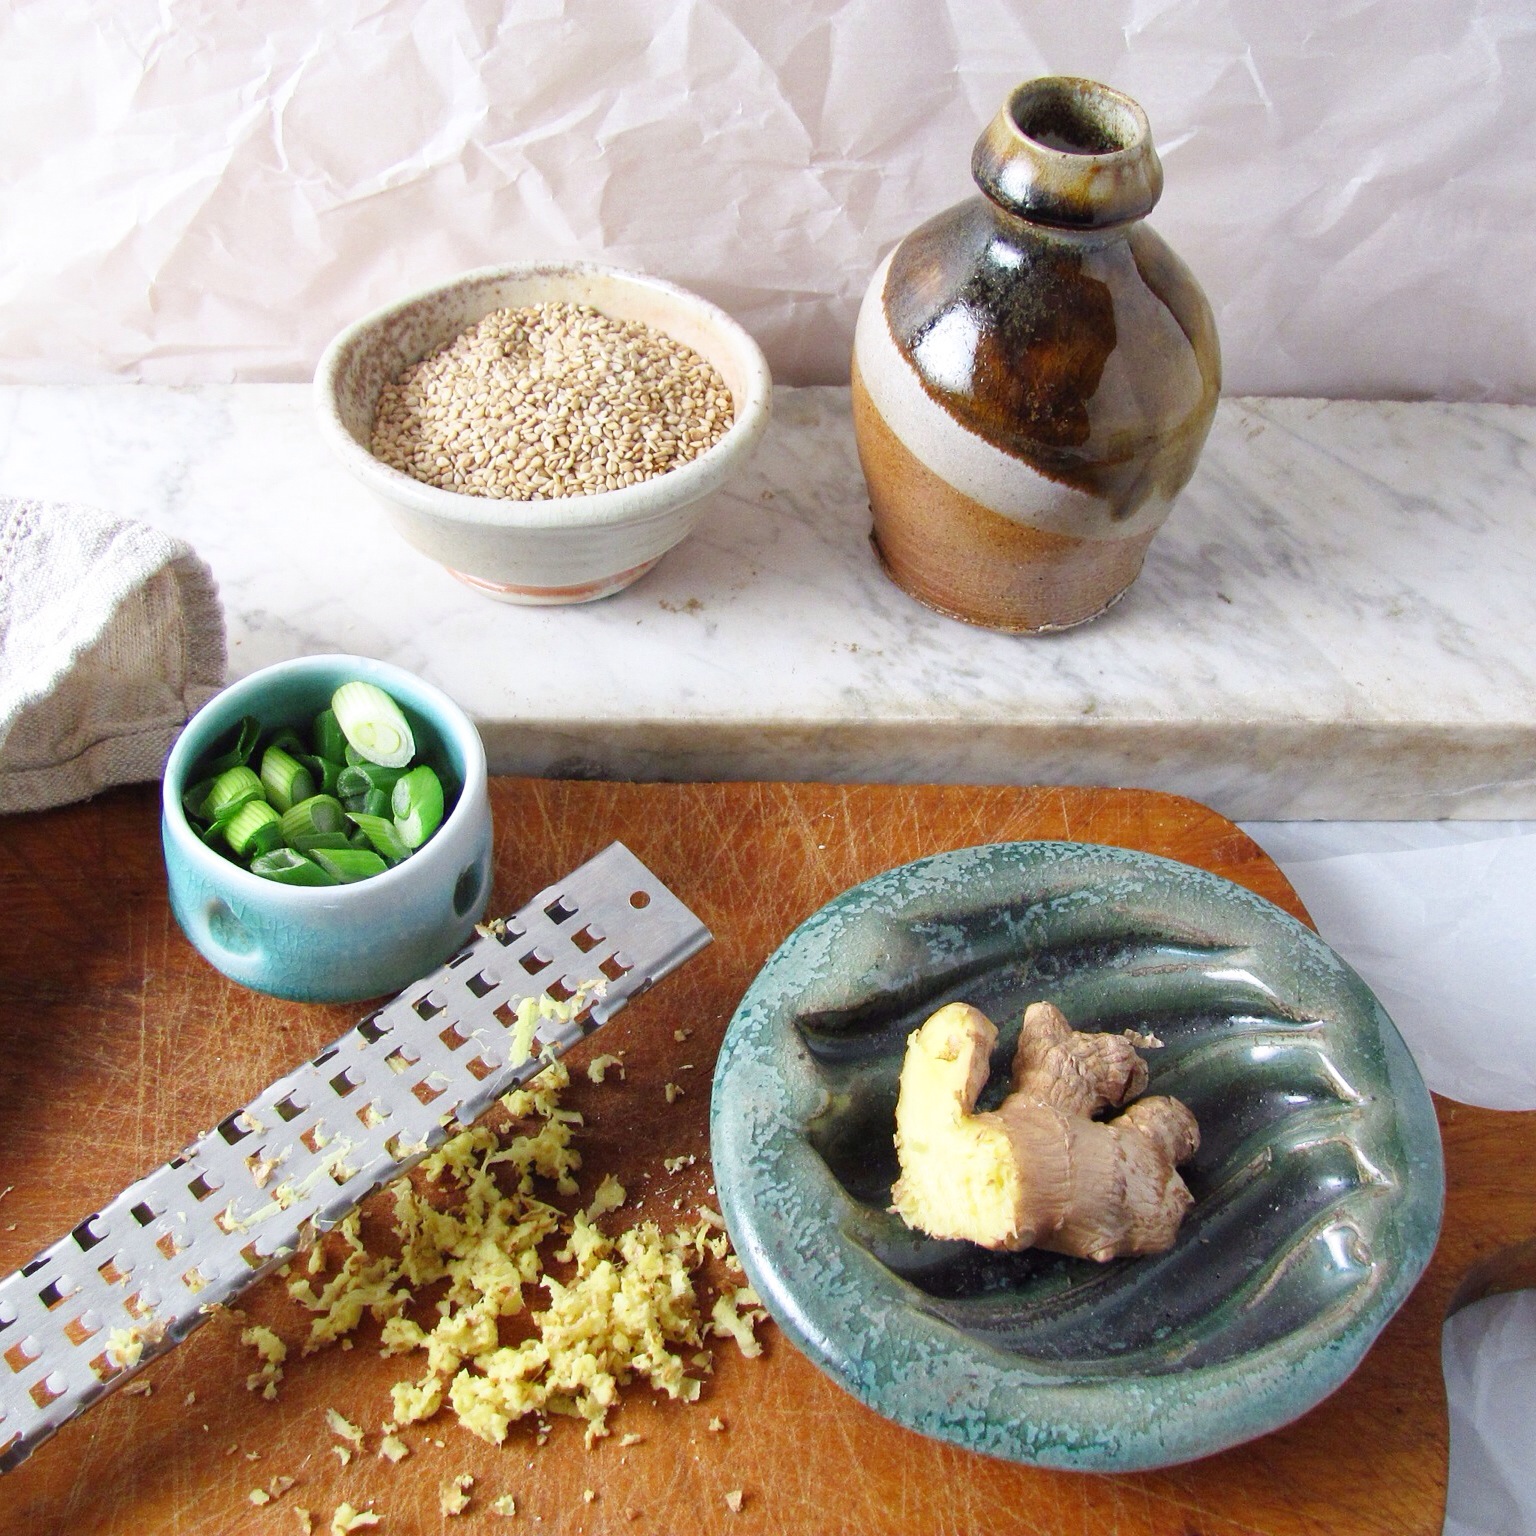
2 tsp grated ginger*
1 scallion, thinly sliced, divided
2 tbs. sesame seeds
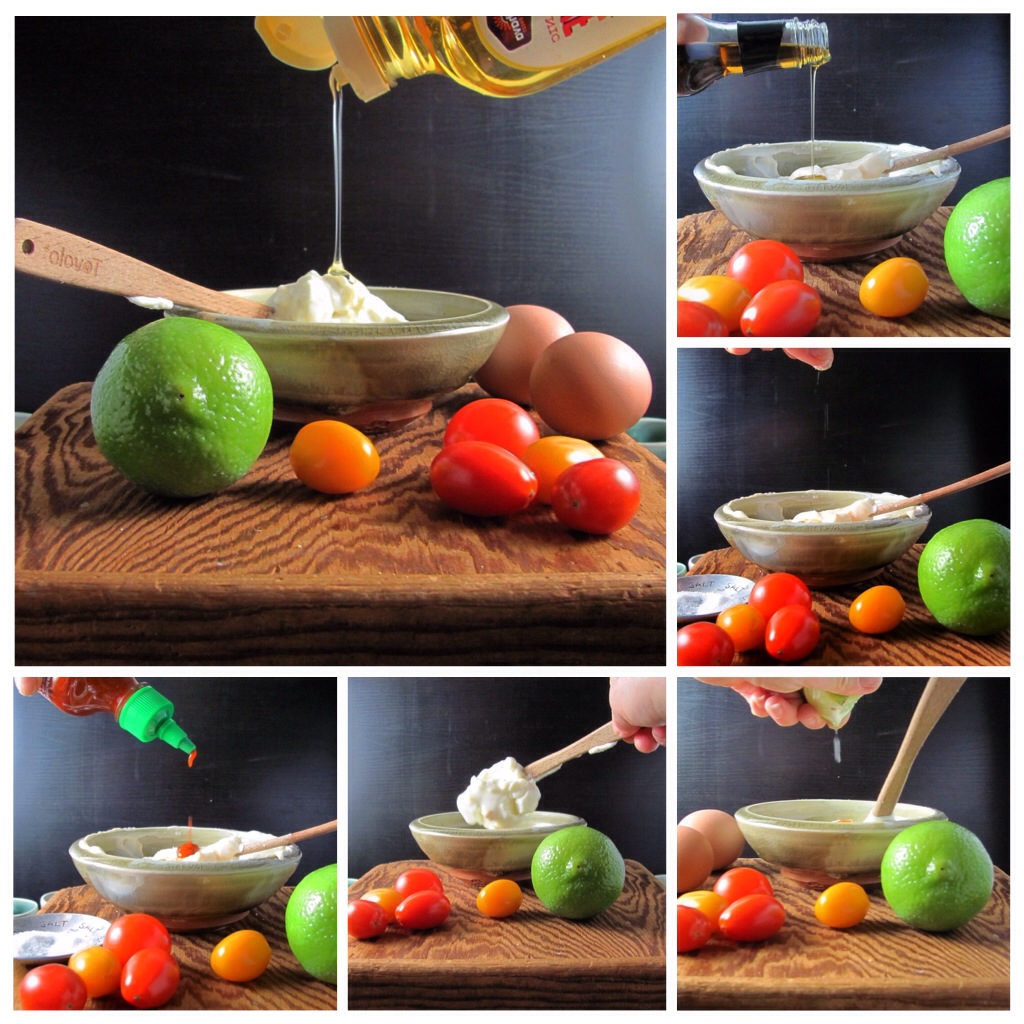
Optional garnishes: extra scallion, soy, sesame oil, honey, chili oil, lemon, Mongolian Fire Oil or sriracha.
Mix all ingredients except the fish and sesame seeds; reserve half of the scallions for serving. Put into a sealable container or a zip top bag and roll around to coat. Pop into the fridge. It’s great if you have up to 3 hours, but 20 minutes will do if you are in a hurry.
Preheat the oven to 450° for 20 minutes while the fish is soaking in its yummy bath. Prepare a sheet pan with a piece of parchment. When the oven is ready, give the fish a little shake as you take them out of the bath and put them on the parchment. My pieces were fatter than wide, so I decided to roast them on their sides. Position yours in whatever way they seem most stable and beautiful. Sprinkle the sesame seeds in a thick, even layer on top.
Put the pan into the oven and immediately turn the heat down to 275°. Bake for 15 minutes. The fish will be silky and pink in the center. If you like it more thoroughly cooked, add an extra five minutes.
Garnish with the reserved scallion and your choice of optional garnishes.
*I use a coarse microplane rasp grater. Fresh ginger is great, but I often used candied ginger instead. Its keeps well and works just fine in most recipes, including this one. Just grate it as you would the fresh.
**I consult the Monterey Bay Aquarium’s Seafood Watch when I buy fish.